Asset manager
#Overview
The Asset model is included in every project by default. It is commonly used for images, but can also support any file type. Assets can be fetched, referenced, transformed, uploaded, updated, published, localized, deleted, and embedded.
As an Editor, you may have to add assets to content entries using the asset picker field.
One of the great features about Assets in Hygraph is that, depending on project configuration, an asset can also have associated metadata, such as an image caption.
Check out our Add asset entry document section to find out more about this.
#Work with assets
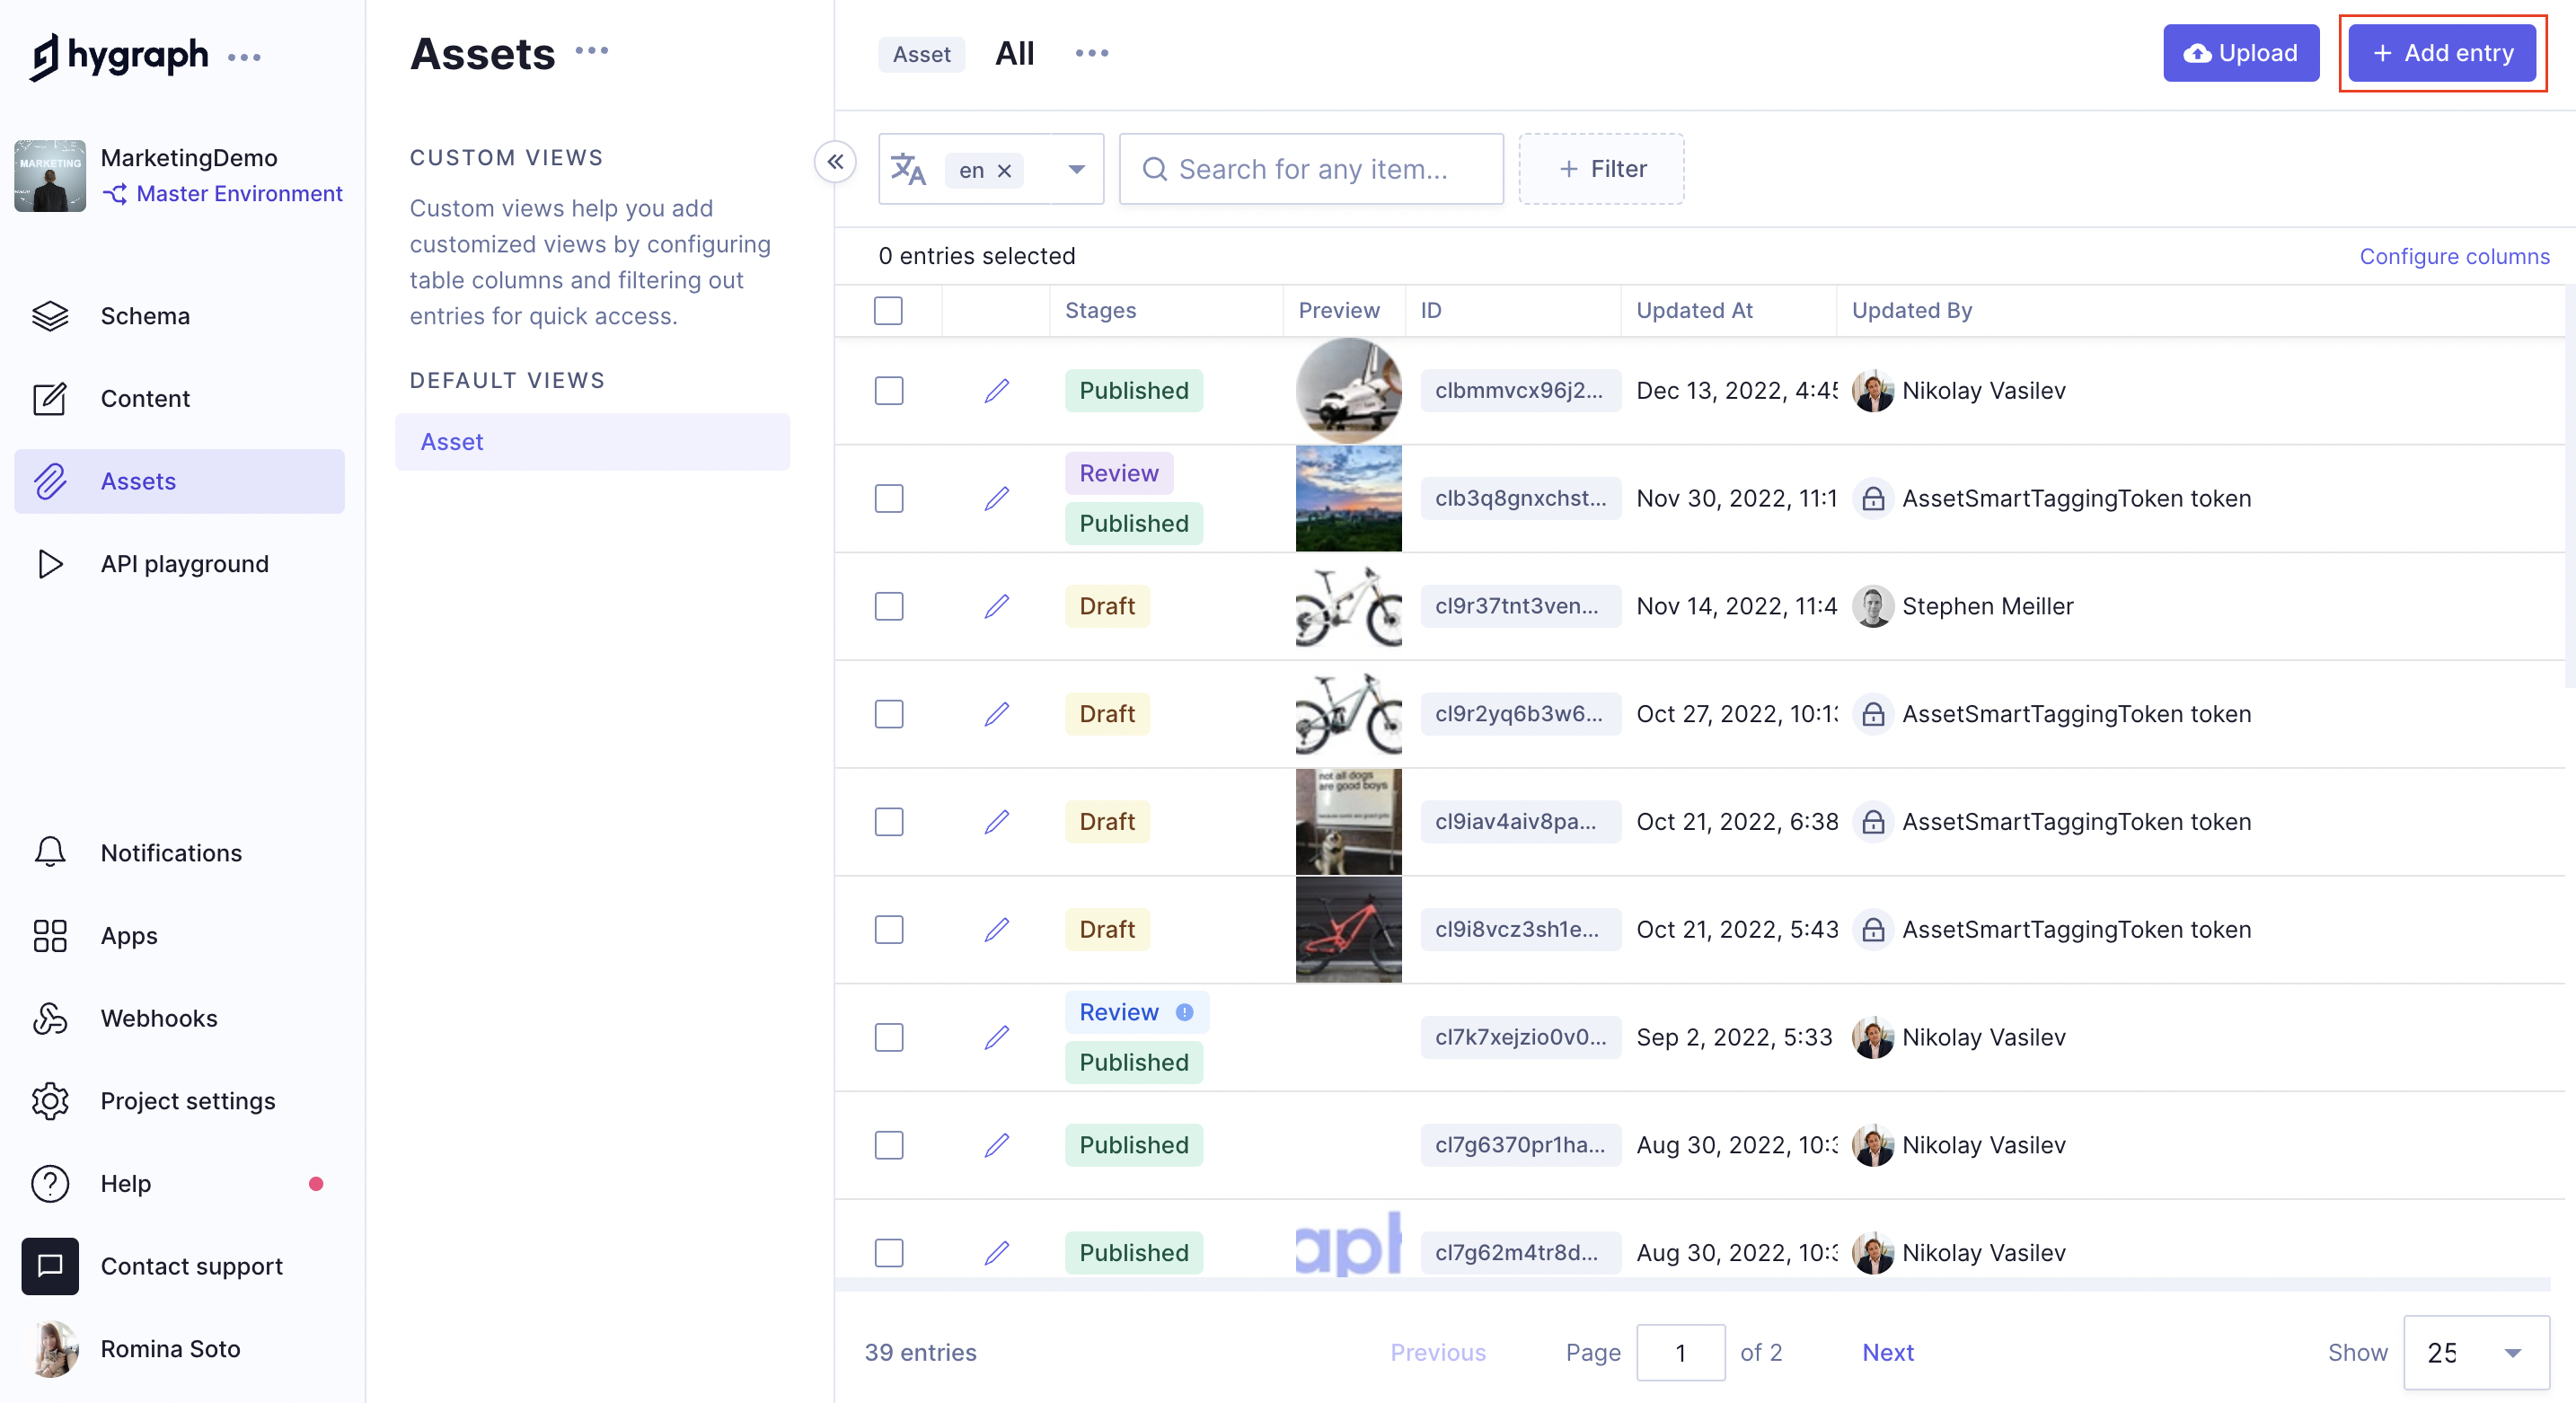
If you have access to the Assets section of the app, you will see that the screen displays all uploaded assets in a table. On this screen, you can perform the following actions:
Filters: Filter assets by name, or add new filters by clicking on+ Filterand selecting one from the list. Look into our Filters document to learn how to create custom filters.Edit: Edit the details of an asset entry by clicking on the pencil icon.Configure columns: This option allows you to configure the columns that display on the assets table. When you click on this link, a dropdown allows you to select/deselect columns using checkboxes. Here you can find detailed information on how to configure columns.Clear selection: This option displays only if at least one item from the list has been selected. It clears the selected items.Show selected entries: This option displays only if at least one item from the list has been selected. Clicking on this option displays only the selected items on the list.Publish: Just like regular content entries, assets can be saved without being published. This option displays only if at least one item from the list has been selected, and starts the publishing process. Clicking onPublishprompts a pop up screen where you can use checkboxes to select whether non localizable fields and/or the default localization fields will be published, before clicking on thePublishbutton to finish the process. You can publish entries in batch by selecting multiple entries then clicking onPublish, but please consider that when using batch-publishing, non-localized fields and the default localization will always be published.Delete: This option displays only if at least one item from the list has been selected. Clicking onDeleteresults in the elimination of the selected entries. Please consider that this change is permanent and cannot be rolled back.Schedule: This option displays only if at least one item from the list has been selected. Clicking onScheduleprompts a pop up screen where you can schedule publication. The process is similar to the one for content entries that you can find in our scheduled publishing document.
#Upload asset
-
Navigate to the Assets tab of your project and click on the
Uploadbutton, located at the top right corner of your screen. -
Select an asset source from the popup screen. Uploading an asset from your device is the default option, but you can select different options:
- Upload an asset from your device.
- Provide an asset URL.
- Search images through web search.
- Connect the project to a Facebook account to select an asset from it.
- Connect the project to an Instagram account to select an asset from it.
- Connect the project to a Google Drive account to select an asset from it.
You can add assets from one or more of these sources.
-
As you select multiple assets, the pop up screen will display them on a list, where you will have the following options:
Filter: You can filter assets by name. This is specially useful when you need to find a specific asset in a long list.Edit: TheEditoption allows you to crop the image, create a circular image using part of it, or rotate it.Eliminate: TheEliminateoption simply removes the asset from the list.Deselect all: This button clears the assets list.
-
Upload more: Optionally, you can upload multiple assets at the same time. To do this, click onUpload more, or click on one of the asset source icons then select a new one. -
Upload: This button finishes the process by uploading all selected assets. As a result, the assets will display in the uploaded assets list in stageDRAFT. Don't forget that for a content entry that you publish to display correctly, all associated assets need to bePUBLISHEDas well.
#Add asset entry
Out-of-the-box this process works as follows:
 Assets - Add Entry
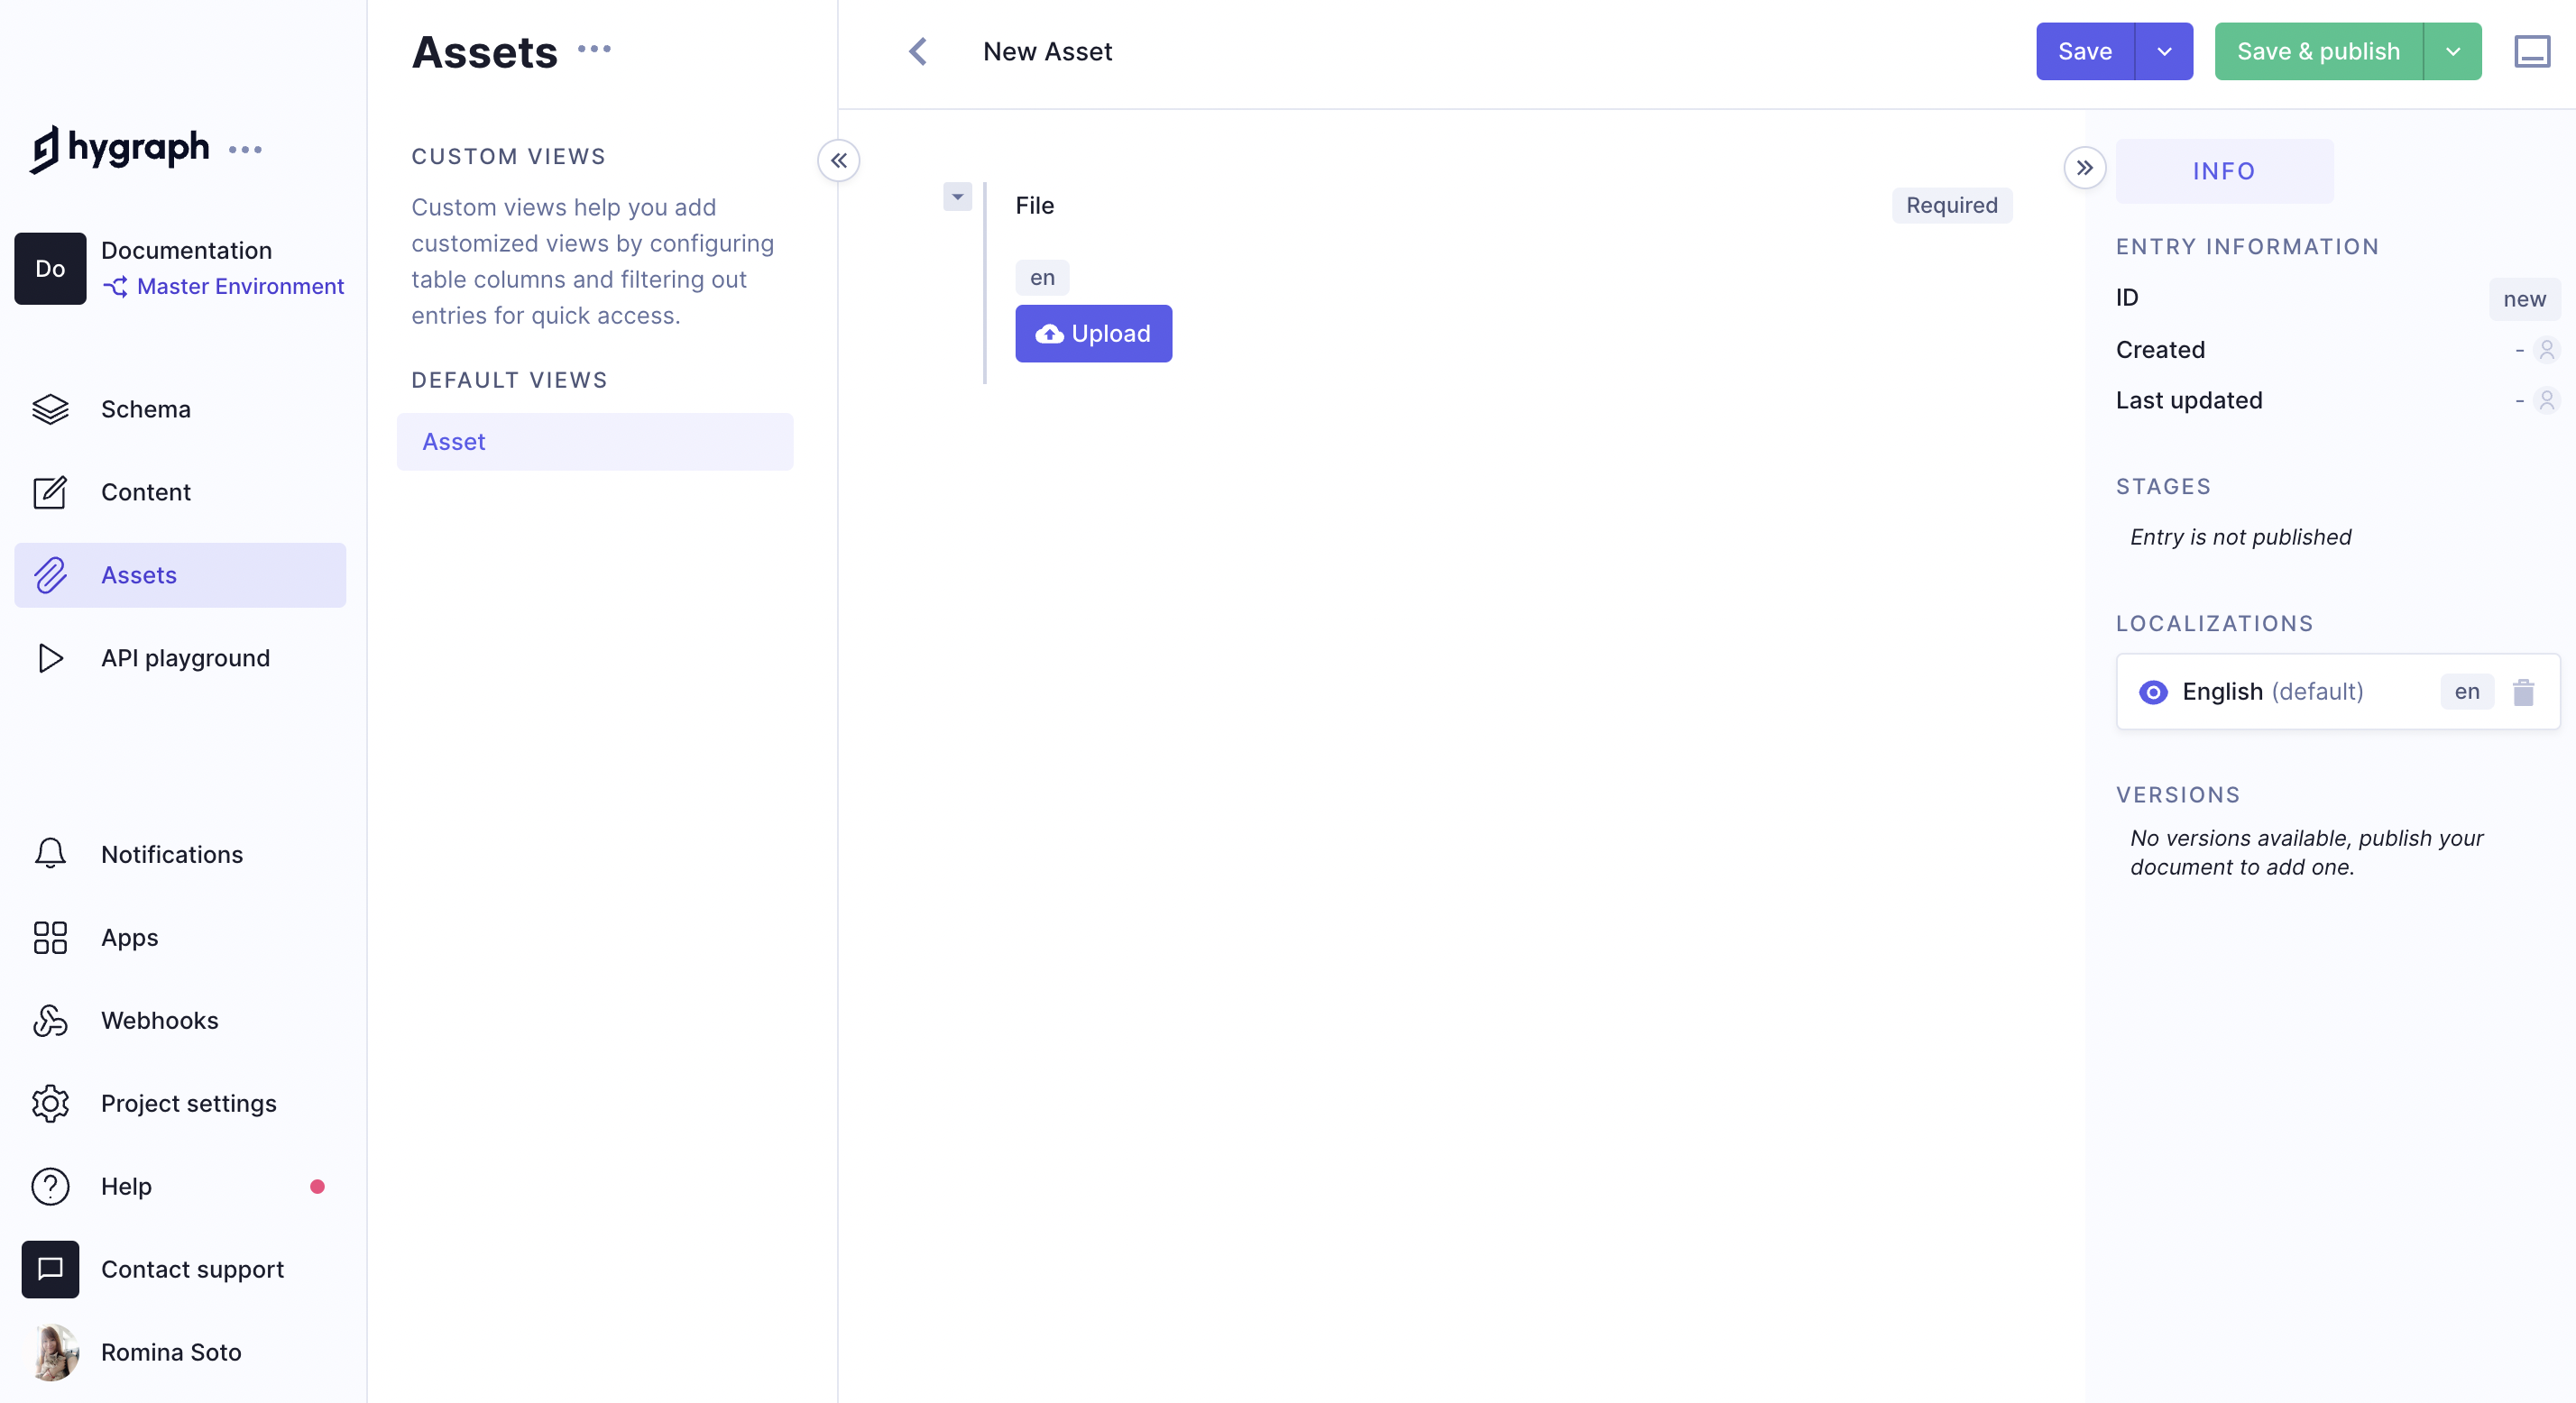
To add an asset entry, navigate to the Assets tab of your project and click on the + Add entry button, located at the top right corner of your screen.
Unlike our regular asset upload, when you add an asset entry you may have more options depending on configuration, such as the possibility to add a caption.
Asset is a system model that appears by default in every Hygraph project. So, a system administrator could edit this asset model to include other necessary information. This asset model configured in your project's schema will determine the data you can add to an asset entry.
It's important to note that the fields that can be added to the asset model are the same field types that can be added to any model, and work the same way.
This is what the Add asset entry screen looks like by default:
 Assets - Add Entry
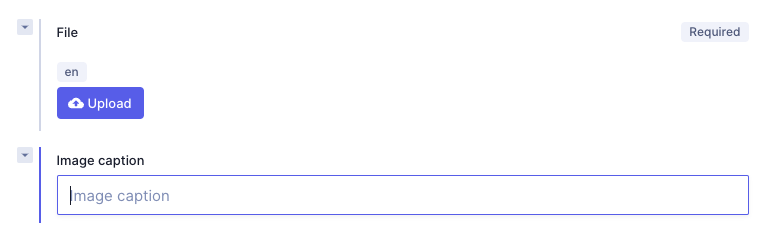
Besides the metadata - that may or may not display here depending on configuration - the + Add entry screen has an Upload button that displays the same options as our regular asset upload.
The following is an example of what the option to create an asset would look like having a caption field:
 Asset picker - customized
While it's not possible for us to anticipate all possible customizations of this field, know that if this screen does not display the default view, customization is the reason.
#Integrations
Some apps that manage assets can be integrated with your project. This section contains information on how to use them.
Whether this is available to you or not, depends on project configuration and integrated apps.
#Bynder
- Navigate to the Content editor.
- Select the view that you will be working on.
- Click on
+ Add entryat the top right of the screen or, alternatively, edit an existing entry by clicking on the pencil icon. - Locate the Bynder asset section of the screen and click on
Select asset from Bynder. A new screen displays showing the assets available in your Bynder domain. - Select the asset you want to add to the entry, then click on
Add asset. - Now that the asset has been added to the entry, you can click on
SaveorSave & Publish, depending on the workflow you follow.
#Cloudinary
- Navigate to the Content editor.
- Select the view that you will be working on.
- Click on
+ Add entryat the top right of the screen or, alternatively, edit an existing entry by clicking on the pencil icon. - Locate the Cloudinary asset picker section of the screen and click on
Add from Cloudinary. A new screen displays showing the assets available in your connected Cloudinary account. - Select the asset you want to add to the entry, then click on
Add asset. - Now that the asset has been added to the entry, you can click on
SaveorSave & Publish, depending on the workflow you follow.