2.1 Configure reference fields
In this lesson you'll learn how to configure different types of references and add them to your content models.
#Overview
This step of our Getting Started tutorial covers Reference type fields.
References are relations between two or more content entries that exist in your project. With references, you can reuse content entries by connecting them to one another. For instance, in our project, a product content entry could be both a standalone product that a potential customer can browse, but also a reference linked to a different product content entry, as part of a related products section.
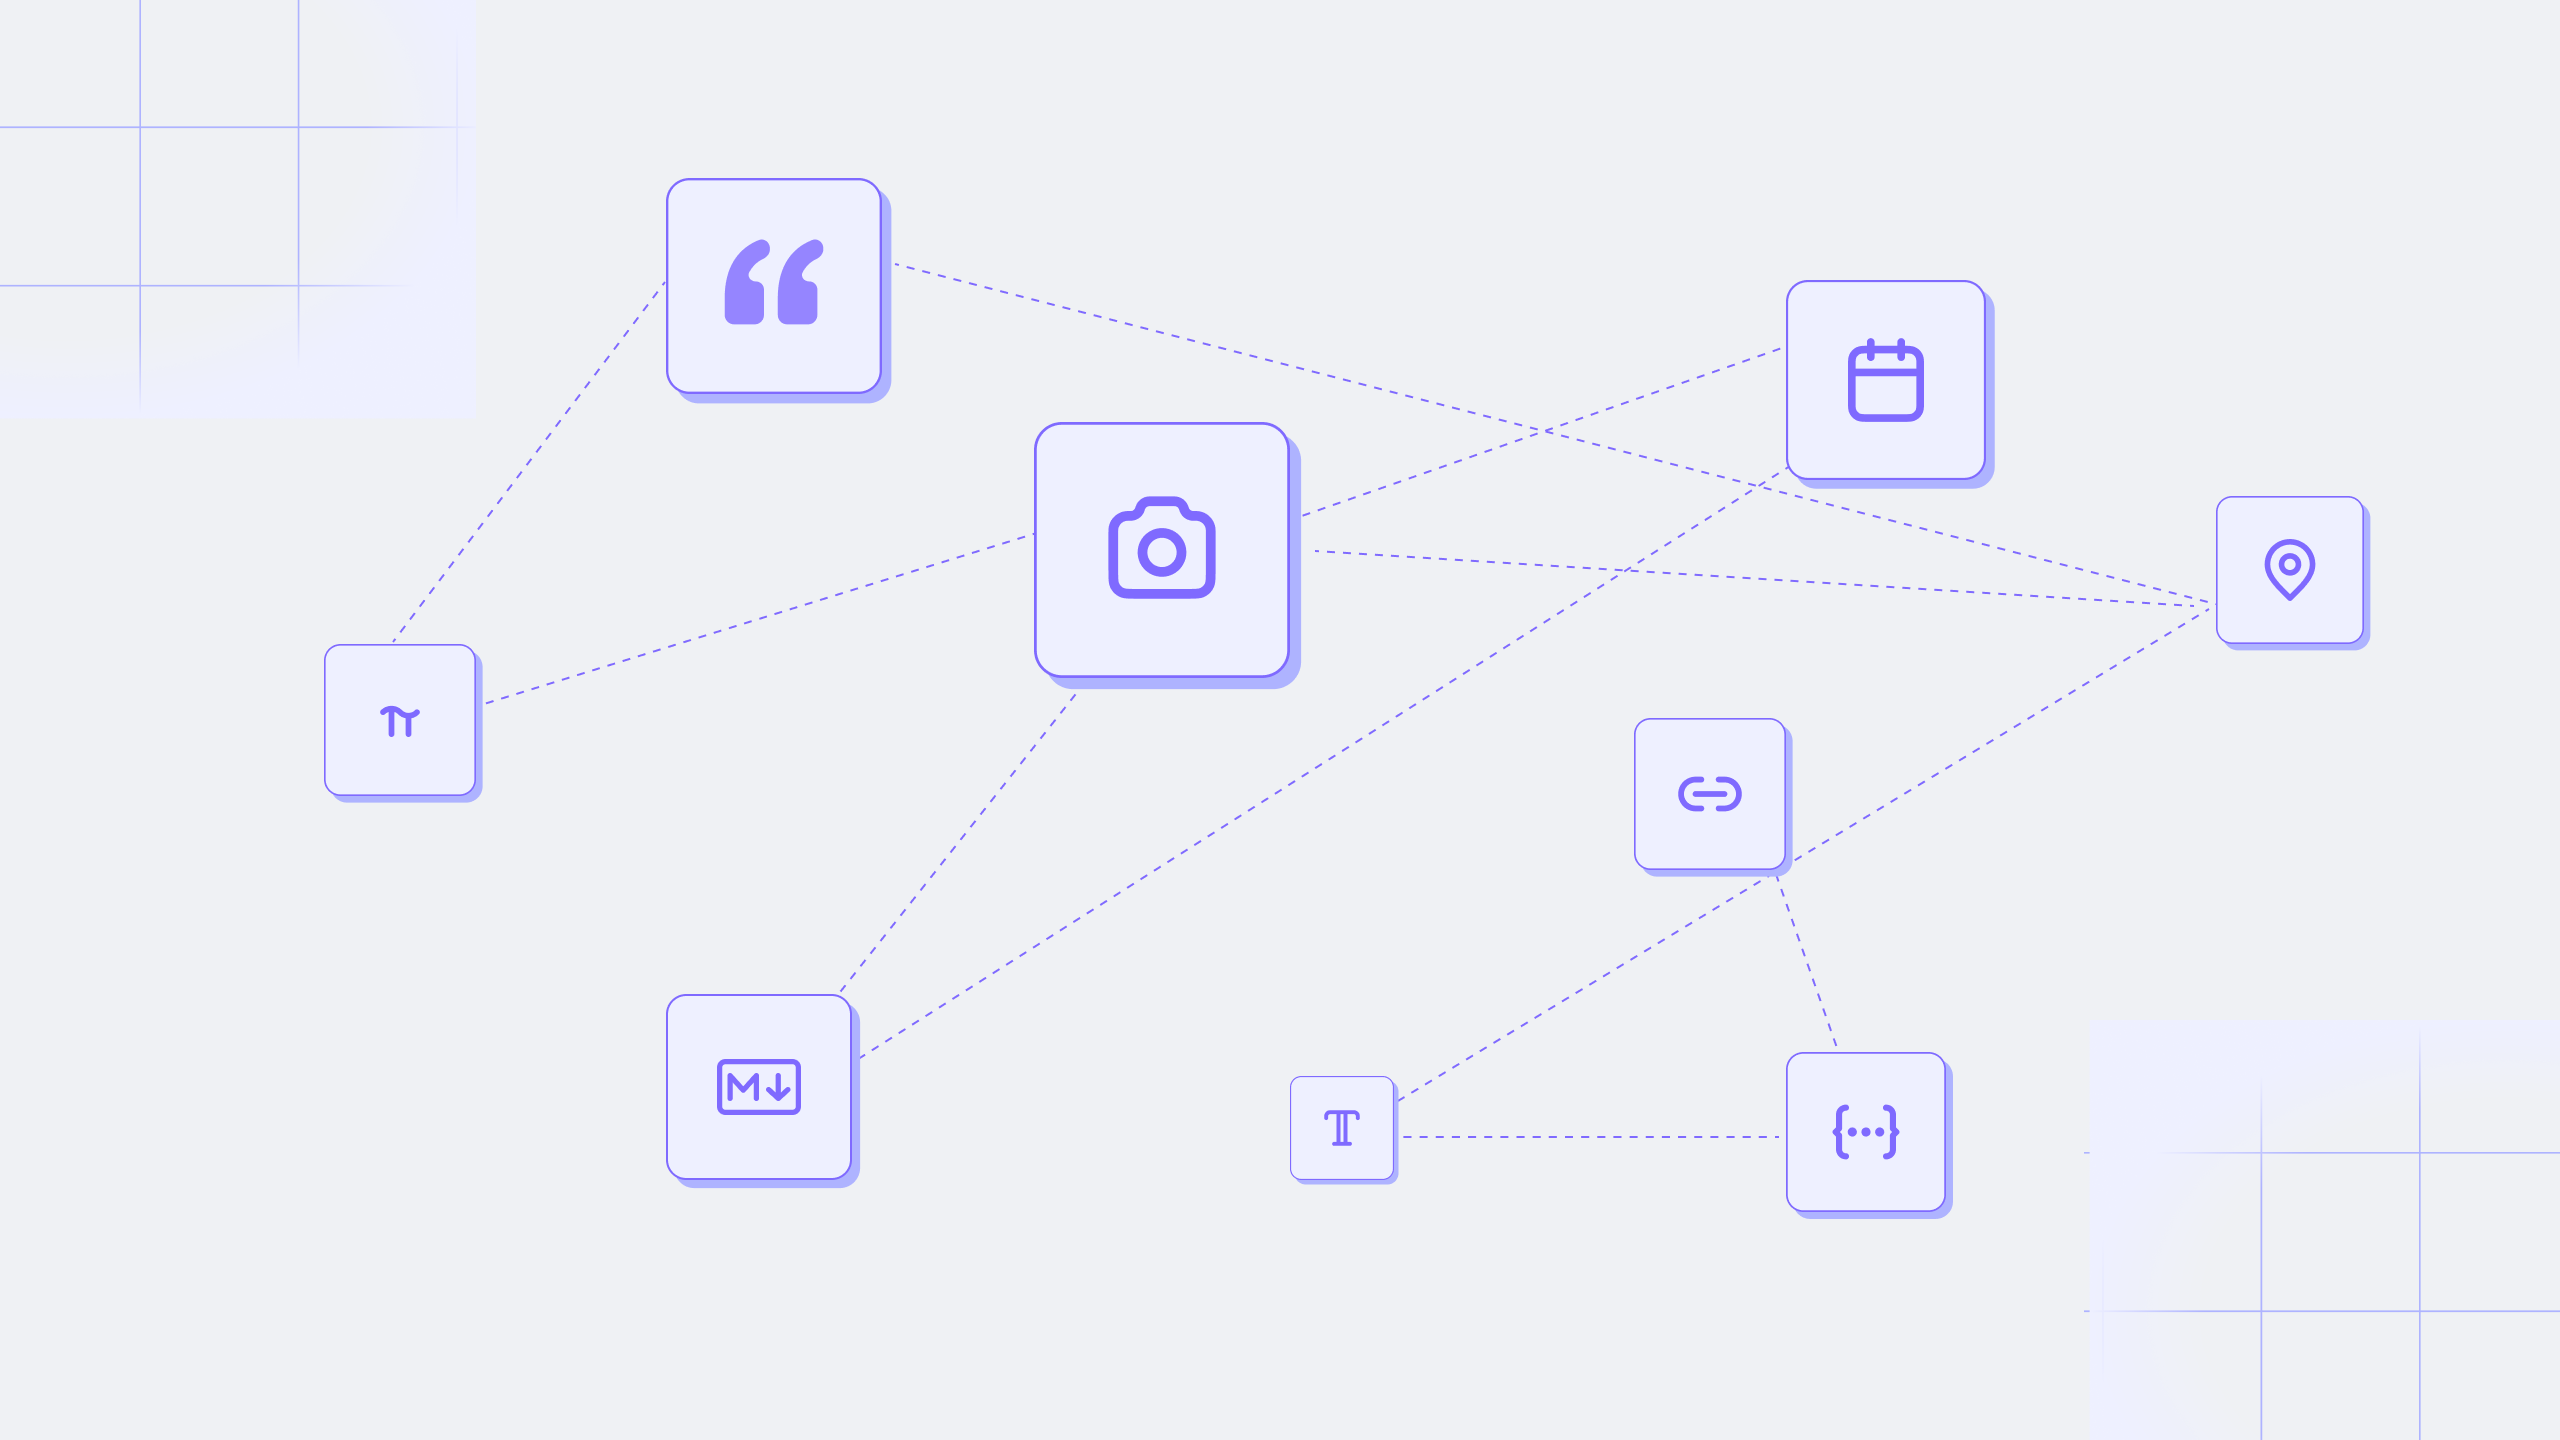 References
References have a type, direction, and cardinality that define the relationship:
- The type allows us to select if one or more models can be referenced and lets us select which models those will be.
- The direction allows choosing between one-way references, which allow querying content only from one side, or two-way references, which add a reverse-field to query content from both sides.
- The cardinality allows defining whether it will be possible to connect one or many entries to the parent entry, as well as the directions of that relation.
The way you configure a reference will result in one of four possibilities:
- One-to-one reference: It allows adding a reference to one content entry from one model configured as referenceable. For example, you could use this to link a blog post to an author.
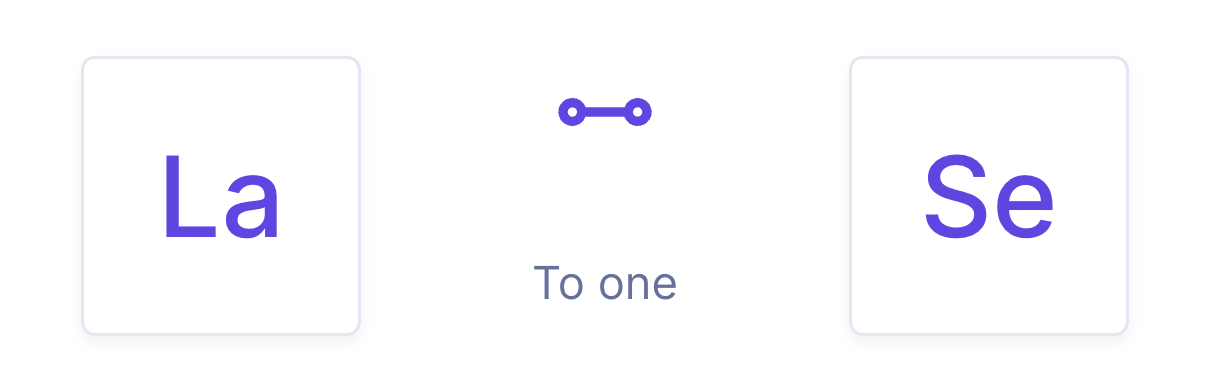 One-to-one reference
 - One-to-many reference: It allows adding references to multiple content entries from one model configured as referenceable. For example, you could use this to link a blog post to its multiple authors.
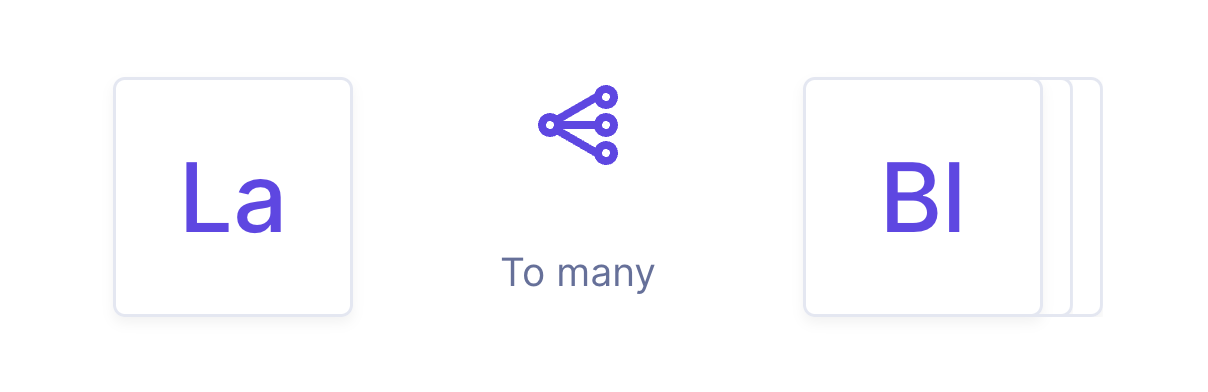 One-to-many reference
 - Many-to-many reference: It allows adding references to multiple content entries from the different models configured as referenceable. For example, you could use this to link your products to the categories they belong to. In this case, a product can have multiple categories, and category can have multiple products.
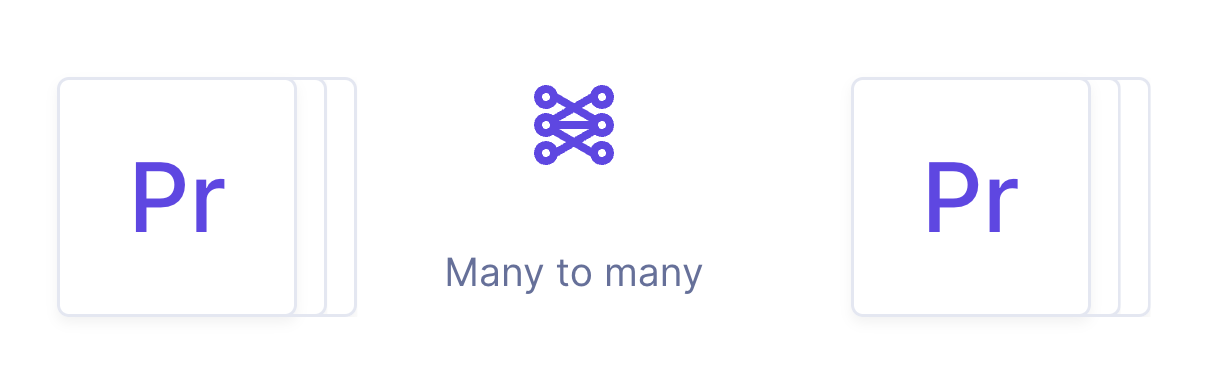 Many-to-many reference
 - Many-to-one reference: It allows adding references to multiple content entries of the parent model to one model configured as referenceable. For example, you could use this to link an author to all their related blog posts.
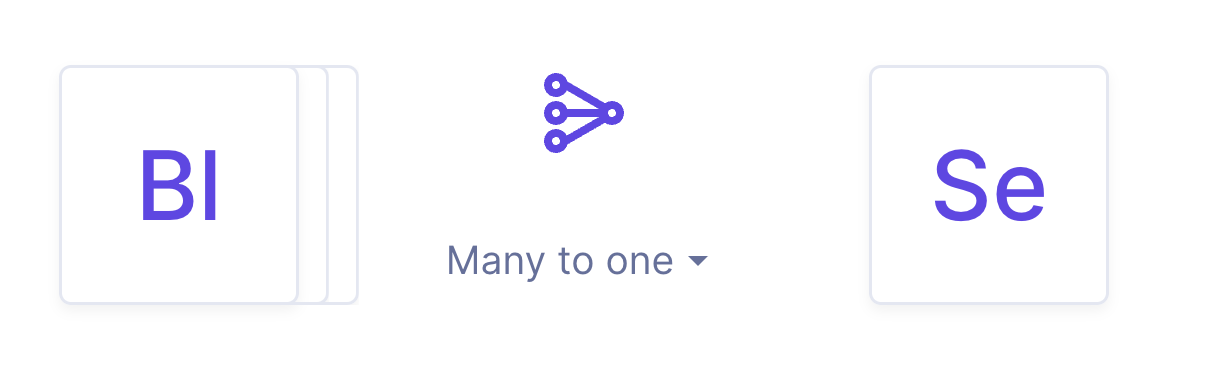 Many-to-one reference
We'll learn how to configure some of them in the context of our e-commerce project, so we can later use them in the content editor.
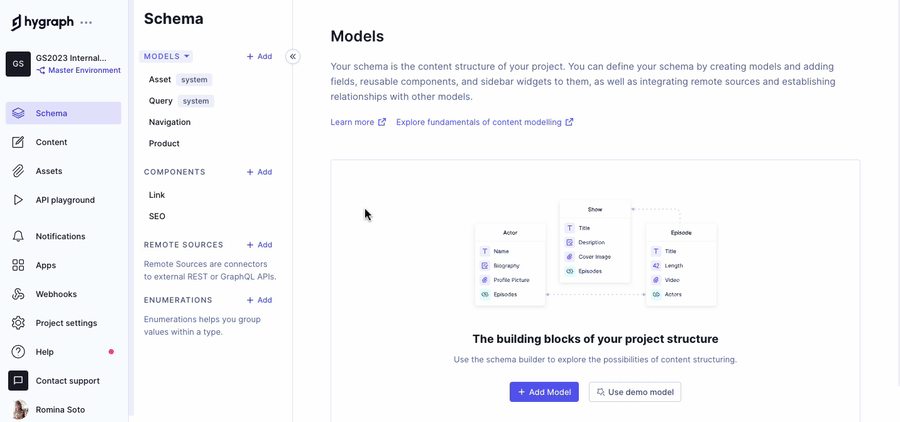
To be able to establish relations in the content, we first need to configure the relations in our schema. Our project will use different types of references to connect models in different ways, but we won't be covering all possibilities in this tutorial. You can learn about all of them here.
#Products and categories
In a previous step, we created models for Product & Product category. We want to be able to select categories our product belongs in every time we create a listing. We will create a reference that will make it possible for customers to browse categories besides looking for specific items.
To link these two models, let's click on the Product model to open it and select the Reference field from the right sidebar. You'll find it under Relation.
 Adding a reference field
Since this is a many-to-many reference type, we'll first define the relationship, then configure the reference, and finally the reverse field.
We'll use the following information:
| Screen section | Field | Input |
|---|---|---|
| Define relationship | Reference type | Select Allow only one model to be referenced because we only want to be able to product categories here. |
| Define relationship | Model to reference | Use the dropdown to select the ProductCategory model. |
| Define relationship | Reference directions | Select Two-way reference. This will allow us to query what category a product is, but also to query all the products within a category. |
| Define relationship | Reference directions | Select the Allow multiple Products per ProductCategory and Allow multiple ProductCategories per Product checkboxes. |
| Define relationship | Relationship cardinality | The graphic will show that the relationship between models is of type many-to-many. Let's click Continue to configure the reference. |
| Configure reference | Display name | Pre-configured according to our selection. This information will appear in our Product model. We'll leave this value as it is. |
| Configure reference | API ID | Pre-configured according to our selection. This information will appear in our Product model. We'll leave this value as it is. |
| Configure reference | Description | "Select the categories that apply to your product" |
| Configure reference | Field visibility | Select Read / Write. Click Continue to configure the reverse field |
| Configure reverse field | Display name | Pre-configured according to our selection. This information will appear in our Product model. We'll leave this value as it is. |
| Configure reverse field | API ID | Pre-configured according to our selection. This information will appear in our Product model. We'll leave this value as it is. |
| Configure reverse field | Field visibility | Read / Write |
Finally, click Add to save.
We'll see that it's been added at the bottom. Let's use the six-dots handlebar to move it upwards, under the slug field.
Now that we've added the product category reference, we'll be able to work on the content editor later on to both create our categories and reference those categories in our product listings.
#Landing page sections
We want our Landing page model to provide featured content through blog posts, allow users to browse our product categories, and also have a section where our business information can be displayed. We'll do this through relations.
#Blog Post
First, we are going to connect our Blog Post model. In the Landing page model in the Schema builder, we'll add the Reference field from the right sidebar.
We'll use the following information:
| Screen section | Field | Input |
|---|---|---|
| Define relationship | Reference type | Select Allow only one model to be referenced because we only want to be able to blog posts here. |
| Define relationship | Model to reference | Use the dropdown to select the BlogPost model. |
| Define relationship | Reference directions | Select One-way reference. This will allow us to add blog posts to the landing page without generating a reverse field in the Blog Post model. |
| Define relationship | Reference directions | Select the Allow multiple BlogPosts per LandingPage checkbox. Let's click Continue to configure the reference. |
| Configure reference | Display name | Pre-configured according to our selection. This information will appear in our Landing Page model. We'll leave this value as it is. |
| Configure reference | API ID | Pre-configured according to our selection. This information will appear in our Landing Page model. We'll leave this value as it is. |
| Configure reference | Description | "Featured item" |
| Configure reference | Field visibility | Read / Write |
Finally, click Add to save.
#Product category
Now, we are going to connect our Product category model. Let's add a Reference field from the right sidebar again.
We'll use the following information:
| Screen section | Field | Input |
|---|---|---|
| Define relationship | Reference type | Select Allow only one model to be referenced, because we only want to be able to add product categories in this relation. |
| Define relationship | Model to reference | Use the dropdown to select the ProductCategory model. |
| Define relationship | Reference directions | Select One-way reference. This will allow us to add categories to the landing page without generating a reverse field in the Product category model. |
| Define relationship | Reference directions | Select the Allow multiple ProductCategories per LandingPage checkbox. Let's click Continue to configure the reference. |
| Configure reference | Display name | Pre-configured according to our selection. This information will appear in our Landing Page model. We'll leave this value as it is. |
| Configure reference | API ID | Pre-configured according to our selection. This information will appear in our Landing Page model. We'll leave this value as it is. |
| Configure reference | Description | "Browse our categories" |
| Configure reference | Field visibility | Read / Write |
Finally, click Add to save.
#Seller information
Last, we're going to connect our Seller information model. Let's see if you can add a reference by yourself now.
This reference needs to have almost the same characteristics as the last two we added. We'll use the following information:
| Screen section | Field | Input |
|---|---|---|
| Define relationship | Reference type | Select Allow only one model to be referenced, because we only want to be able to add our seller information in this relation. |
| Define relationship | Model to reference | Use the dropdown to select the SellerInformations model. |
| Define relationship | Reference directions | Select One-way reference. This will allow us to add our seller information to the landing page without generating a reverse field in the Seller information model. |
| Define relationship | Relation cardinality | Select To one. Let's click Continue to configure the reference. |
| Configure reference | Display name | Pre-configured according to our selection. This information will appear in our Landing Page model. We'll leave this value as it is. |
| Configure reference | API ID | Pre-configured according to our selection. This information will appear in our Landing Page model. We'll leave this value as it is. |
| Configure reference | Description | "Business information" |
| Configure reference | Field visibility | Read / Write |
Finally, click Add to save.
Your Landing page model should look like this:
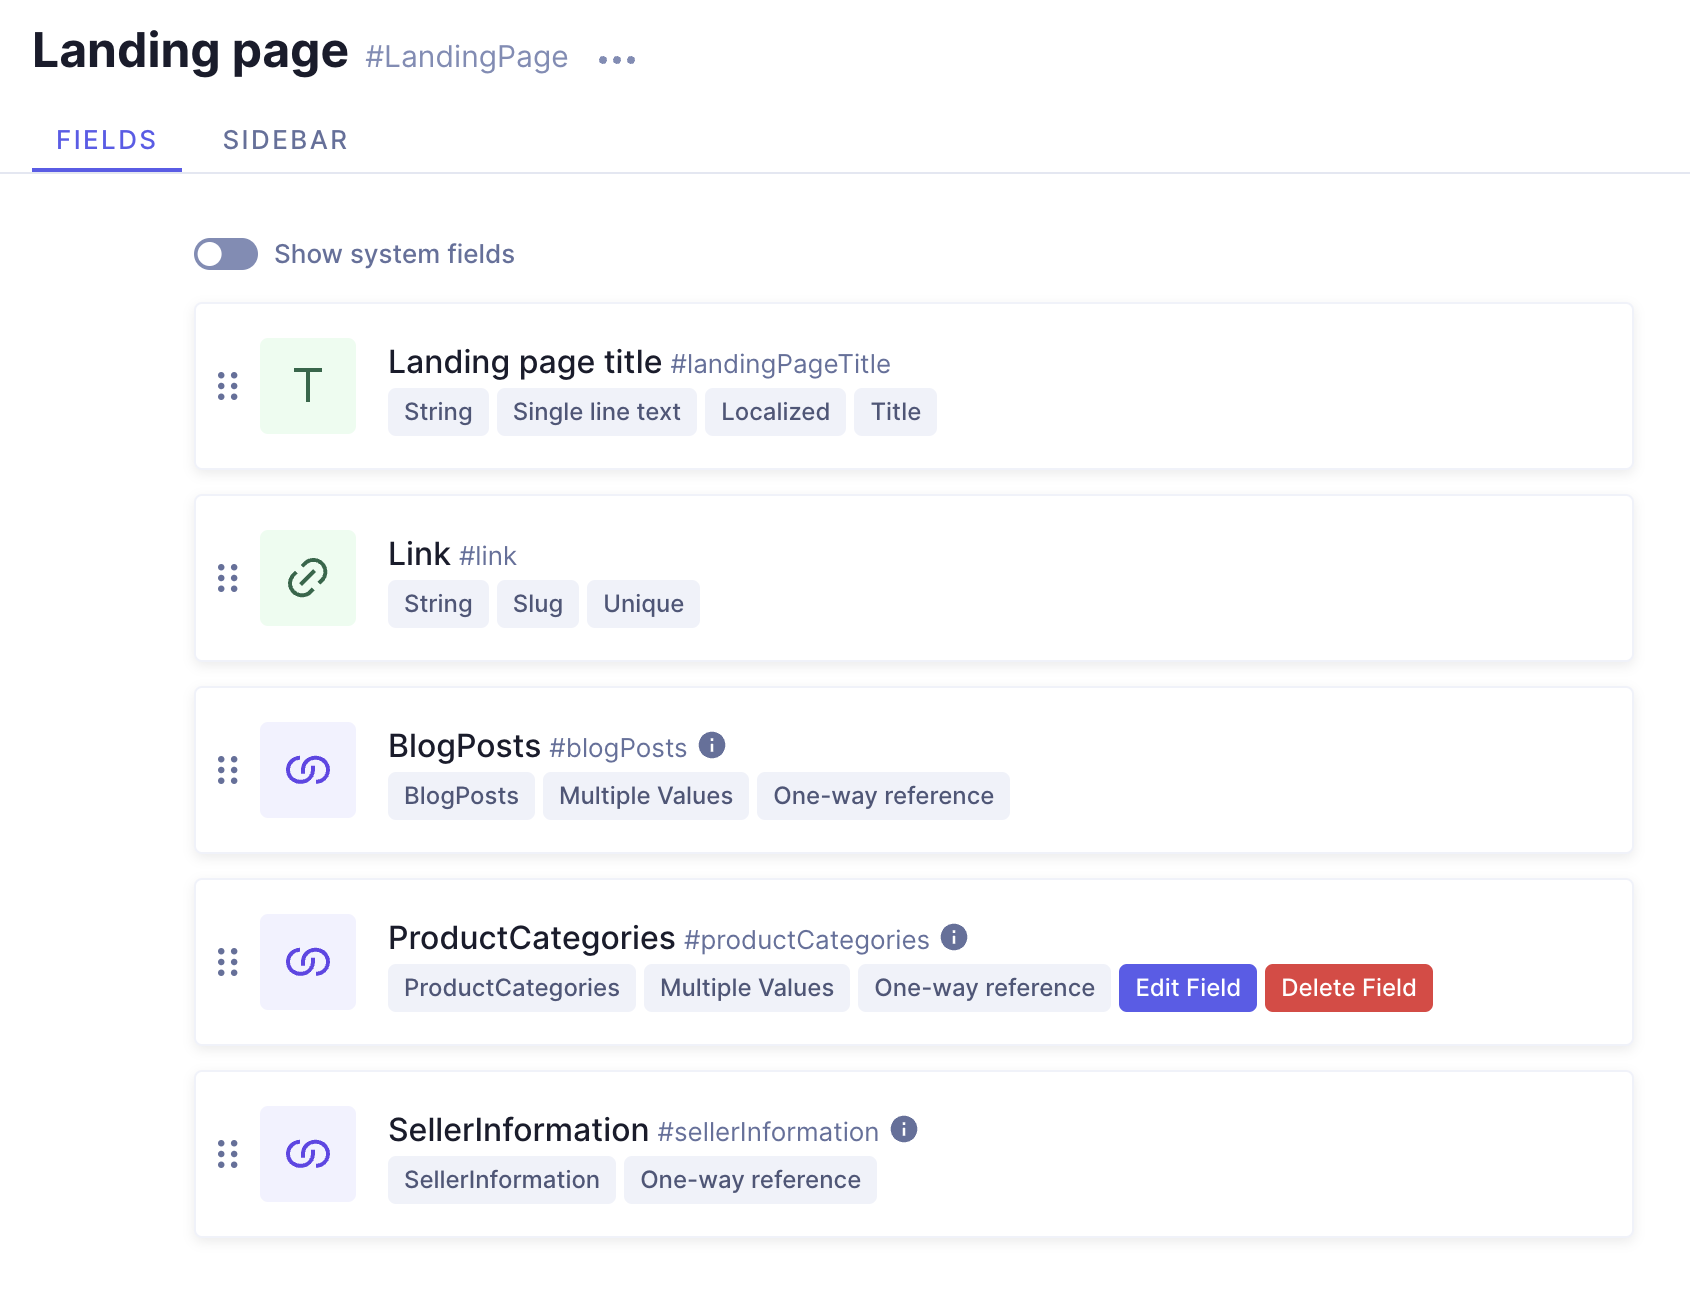 Your Landing page model so far
Once you've added the reference fields to your content models, move on to our next lesson:
2.2 Enumerations