Quickstart
#Overview
This quickstart guide shows the basic mechanics you need to create a Hygraph project with a schema.
We also have a Getting Started tutorial that covers these subjects - and more - in depth, where you can follow step-by-step lessons that will take you from project creation to frontend connection.
You'll need an account to get started, sign in or create a new account.
#Create a project
When you log into Hygraph, you will see a list of any projects you created or have been invited to. If you're new to Hygraph, this section might be empty.
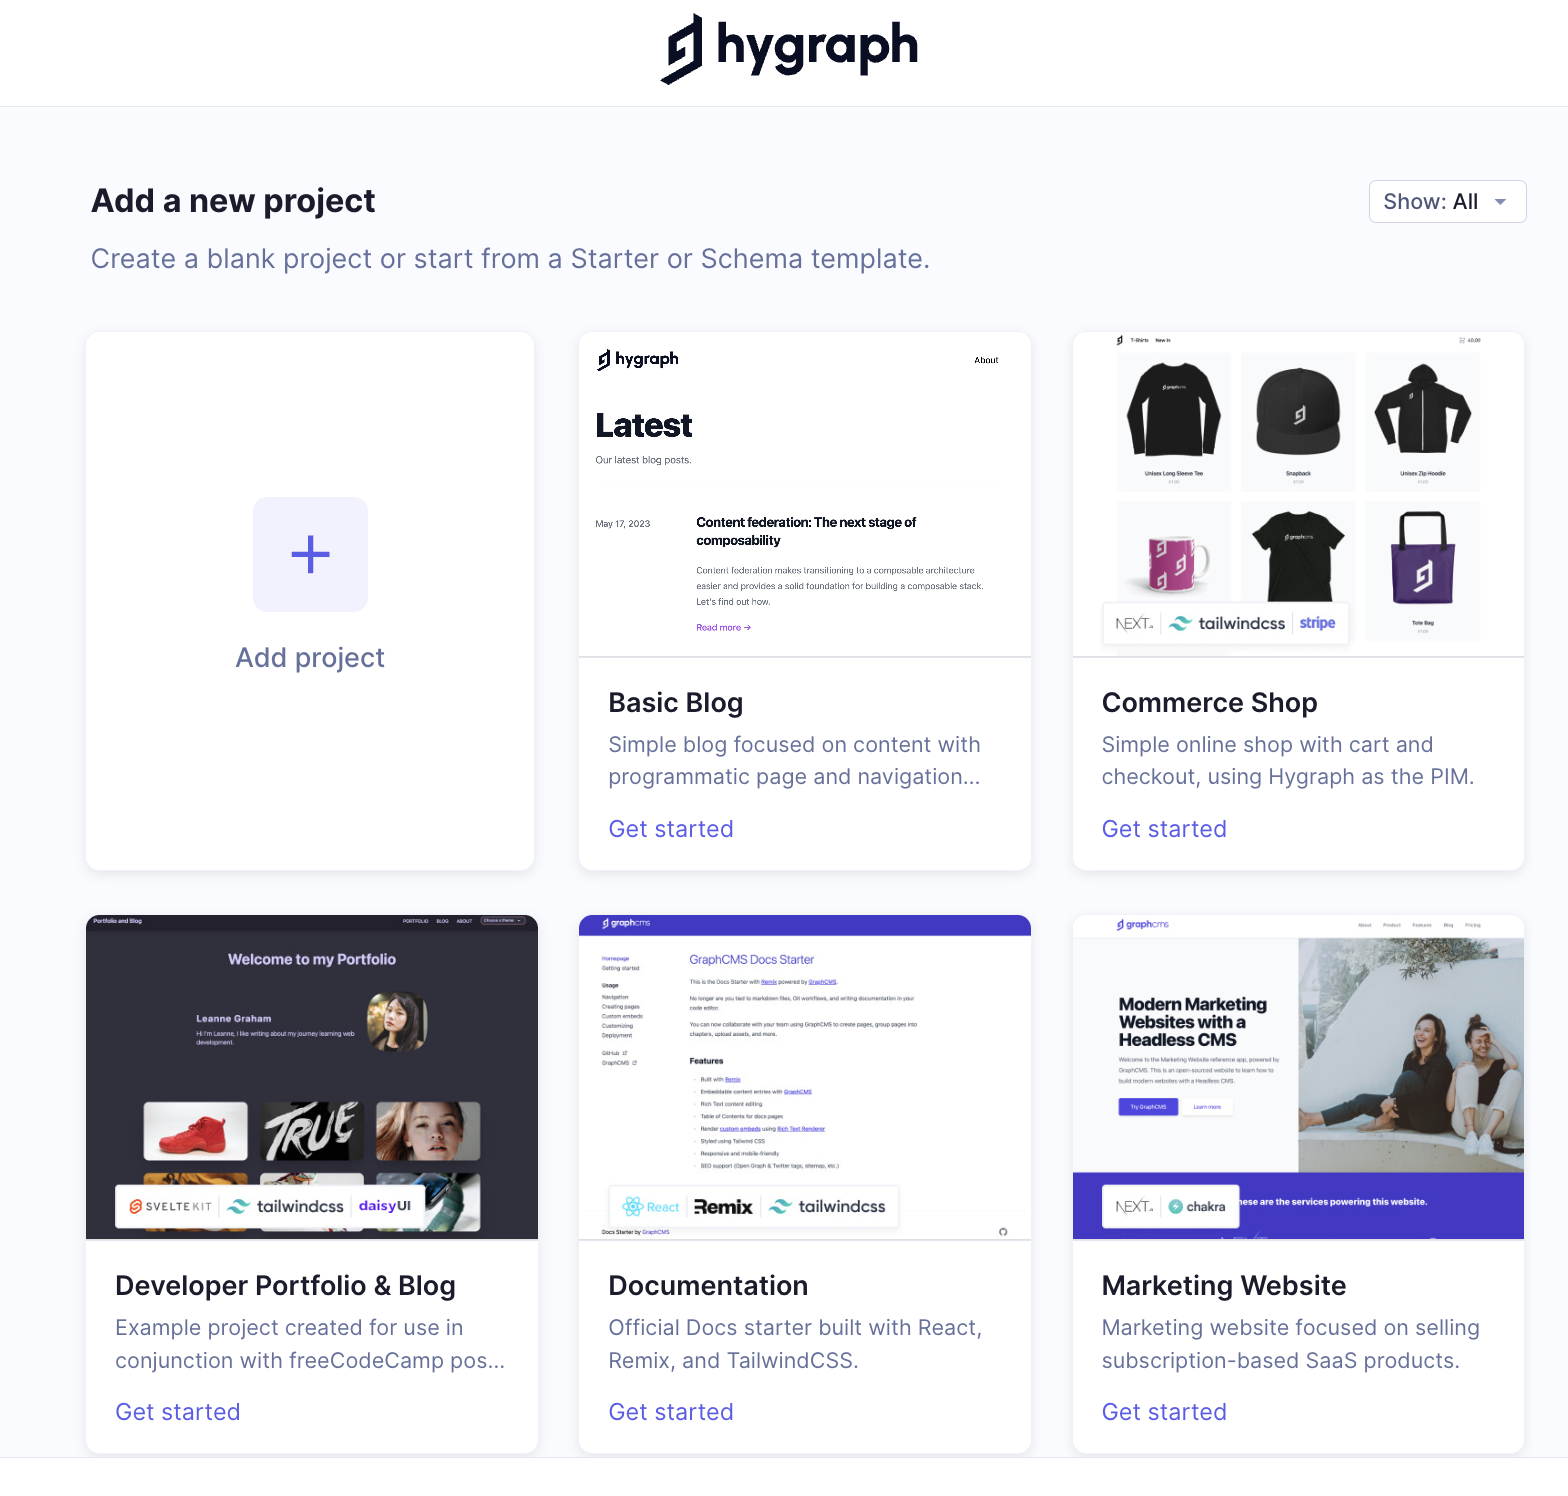
To create a project, scroll down to the Create a new project section of the screen, where you will have the option to create a Blank Project or use one of our Starters.
 Add a new project
Content is distributed globally using our CDN. The region you pick is where content is stored, and the CDN is where content is served.
You can learn more about this in our Caching documentation.
#Blank project
 Blank new project
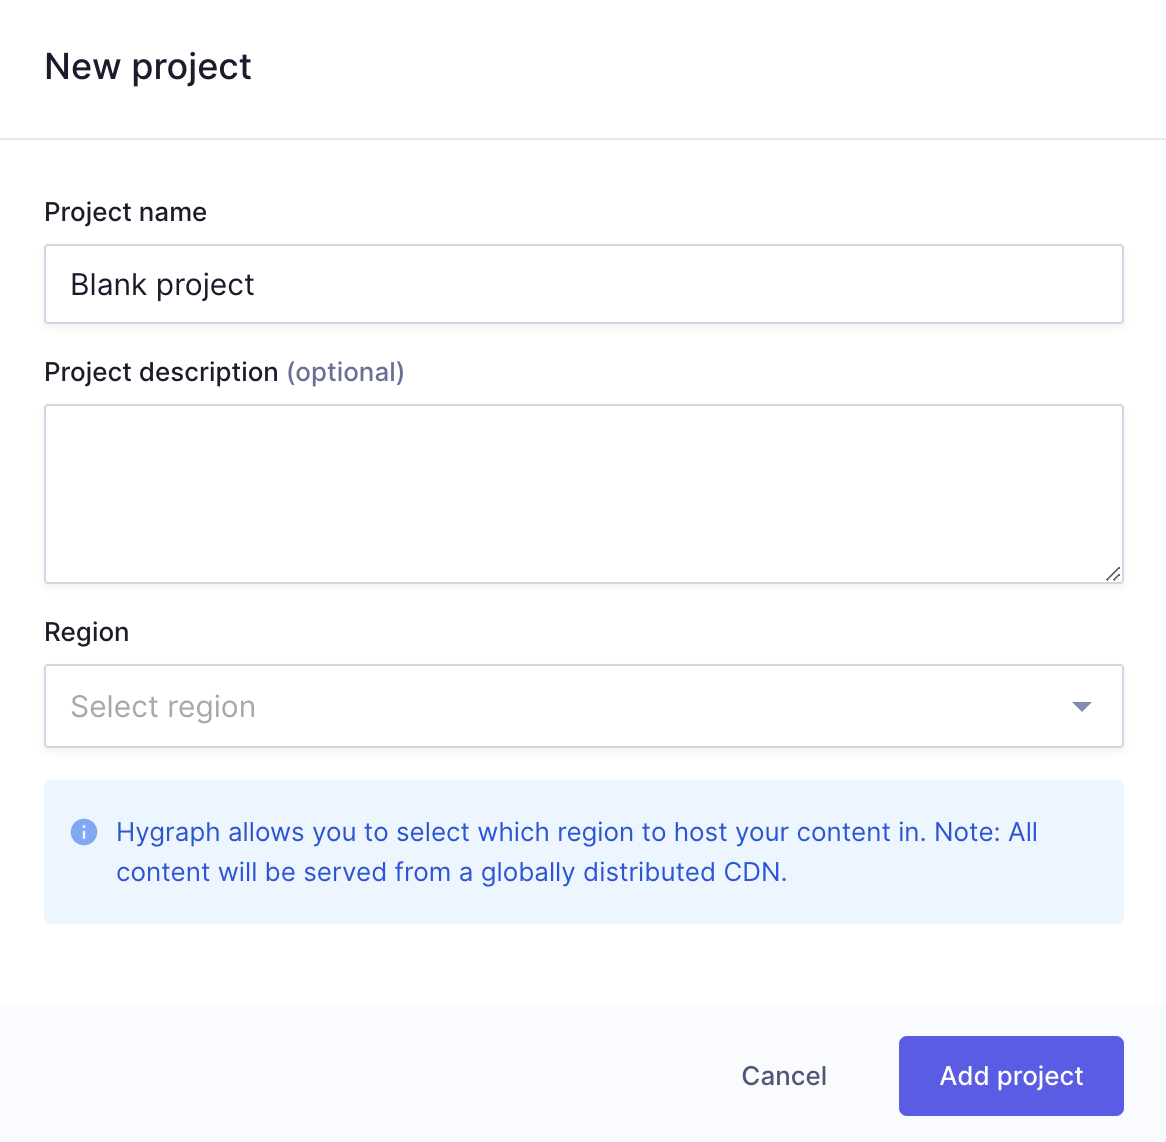
If you select to create a blank project, a screen will display, where you need to give your project a Name, and optionally add a Description. You must also use the dropdown to pick a Region where you want your content to be stored.
After completing all necessary information, click Add project to finalize the process. You will be redirected to the project dashboard.
#Starter
 Starter new project
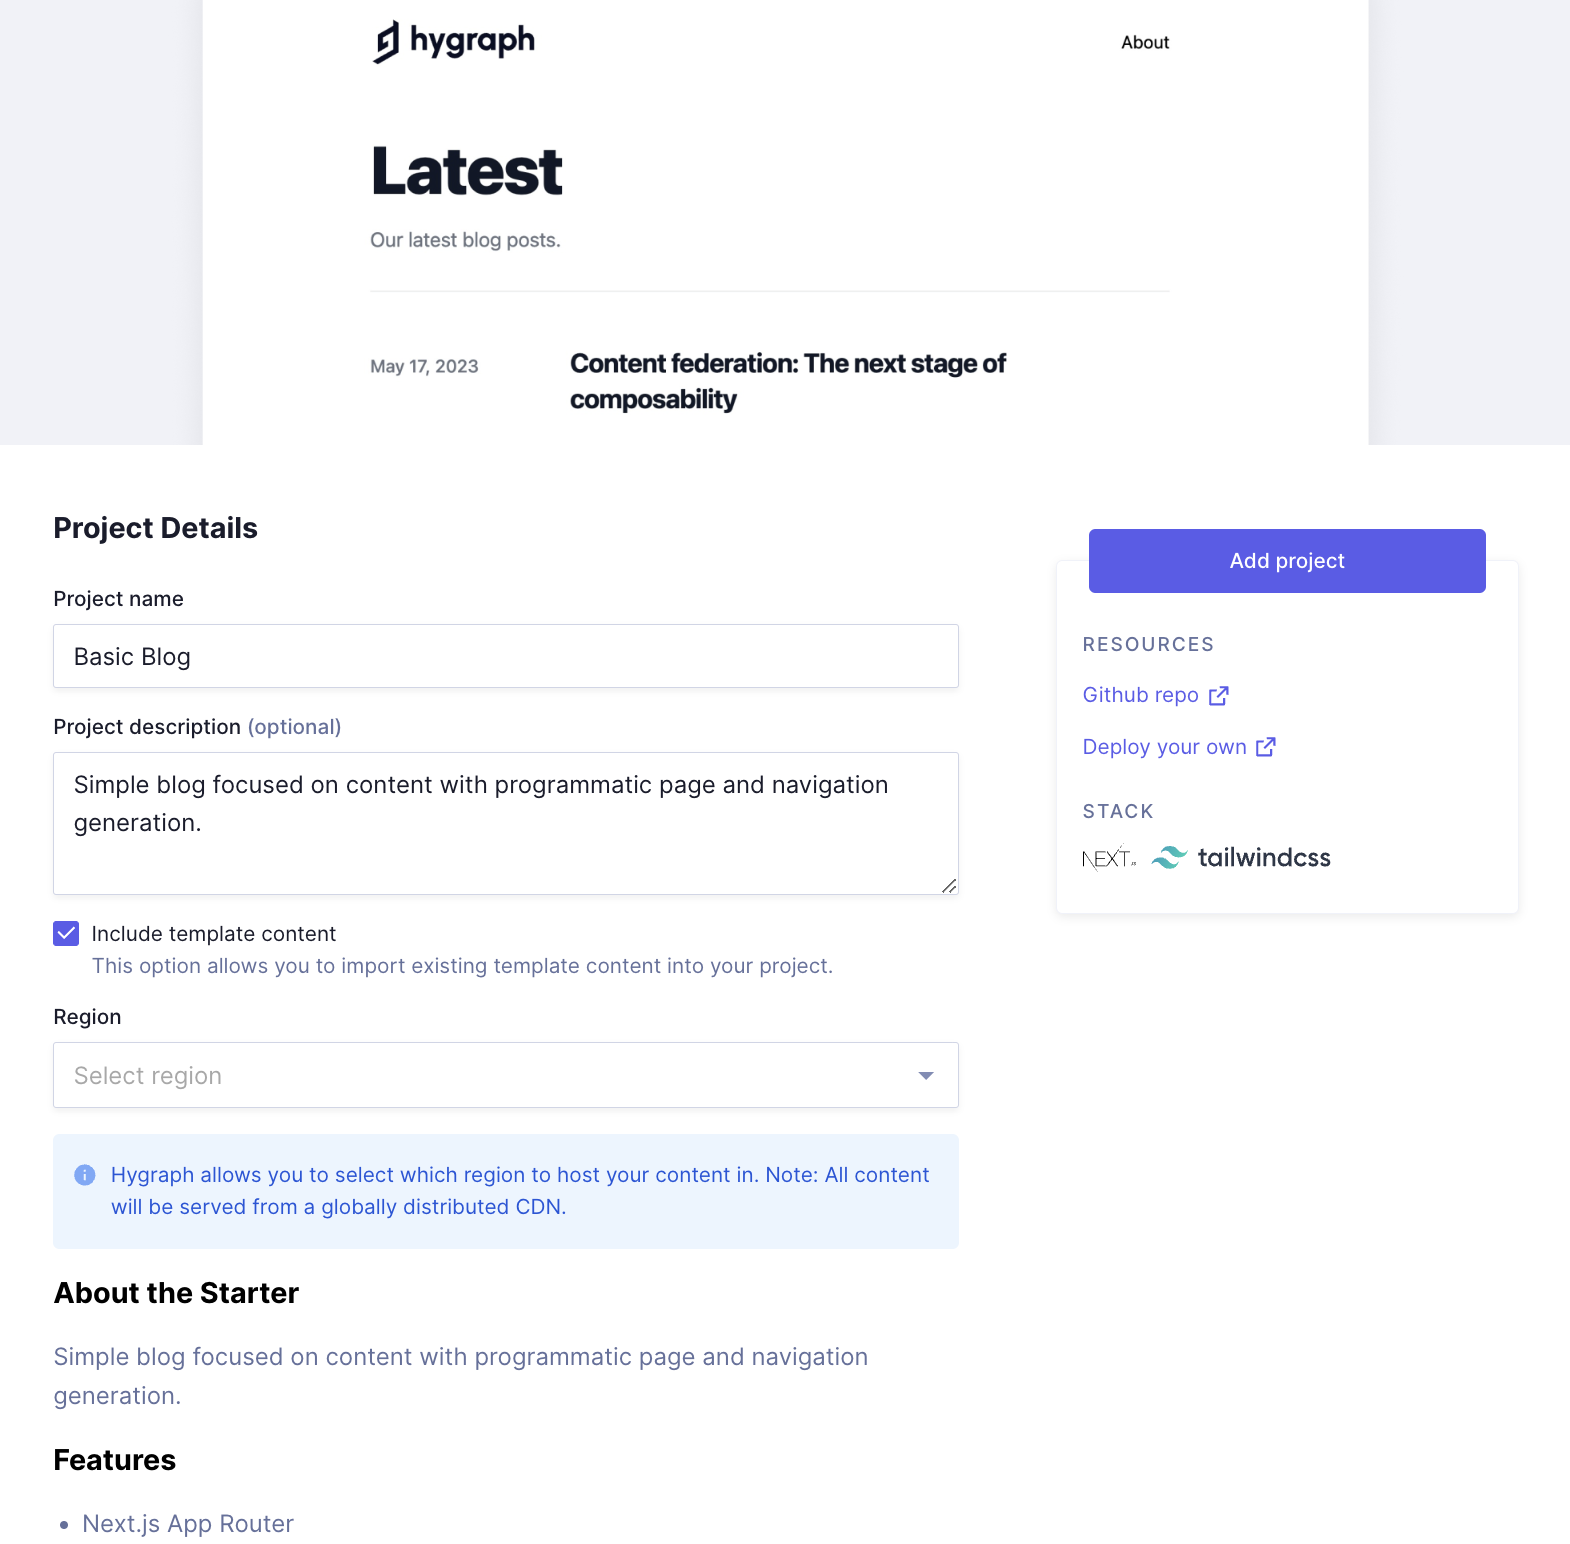
If you select one of our Starters, the screen will also show some information about the selected Starter, as well as the Include template content checkbox, which allows you to import existing template content into your project.
After completing all necessary information, click Add project to finalize the process. You will be redirected to the project dashboard.
#Create a model
Let's create a model for our products.
 Creating a product model
- Navigate to the Schema builder.
- Use the + Add button, create a new model called
Product, keeping the default suggested values forAPI IDandPlural API ID. - You can optionally set a
Descriptionthat will show for content editors inside the app, and within the GraphQL API schema. - Click
Add
We now have a Product model within our GraphQL schema. This is often thought of as a database "table" or "collection" in NoSQL.
Once the model is created, you can start adding fields to it, which we will do in the next step.
#Add fields to your model
We will now add some fields to our Product model for a product Name, Price and Image.
Every time we need to add a field, we will select one of the field types from the right sidebar of the schema builder.
Different field types may require for us to fill in different information.
In this Quickstart, we will add three fields to our Product model: One for product name, one for product price and one for product images. Check out our document on field types to learn more about all the types of fields you can add to your schema.
#Create a name field
 Creating a name field
- Select
Single line textfield from the right sidebar. - Set the
Display nameto Name. - Click on the
Validationstab and select theMake field requiredcheckbox. - Click
Add.
#Create a price field
 Creating a price field
- Select the
Numberfield from the right sidebar. You'll find it in theIntegersection. - Set the
Display nameto Price. - Click on the
Validationstab and select theMake field requiredcheckbox. - Click
Add.
#Create an image field
 Creating an image field
- Select the
Asset pickerfield from the right sidebar. You'll find it in theAssetsection. - Set the
Display nameto Image. - Select the
Allow multiple assetscheckbox. This will later allow you to add more than one image to your product content entries. - Click
Add.
Assets are a core feature in Hygraph, and the Assets model is added to every new project by default.
The Asset model allows us to store images and other files.
Would you like to know more? Check out our documentation on working with assets.
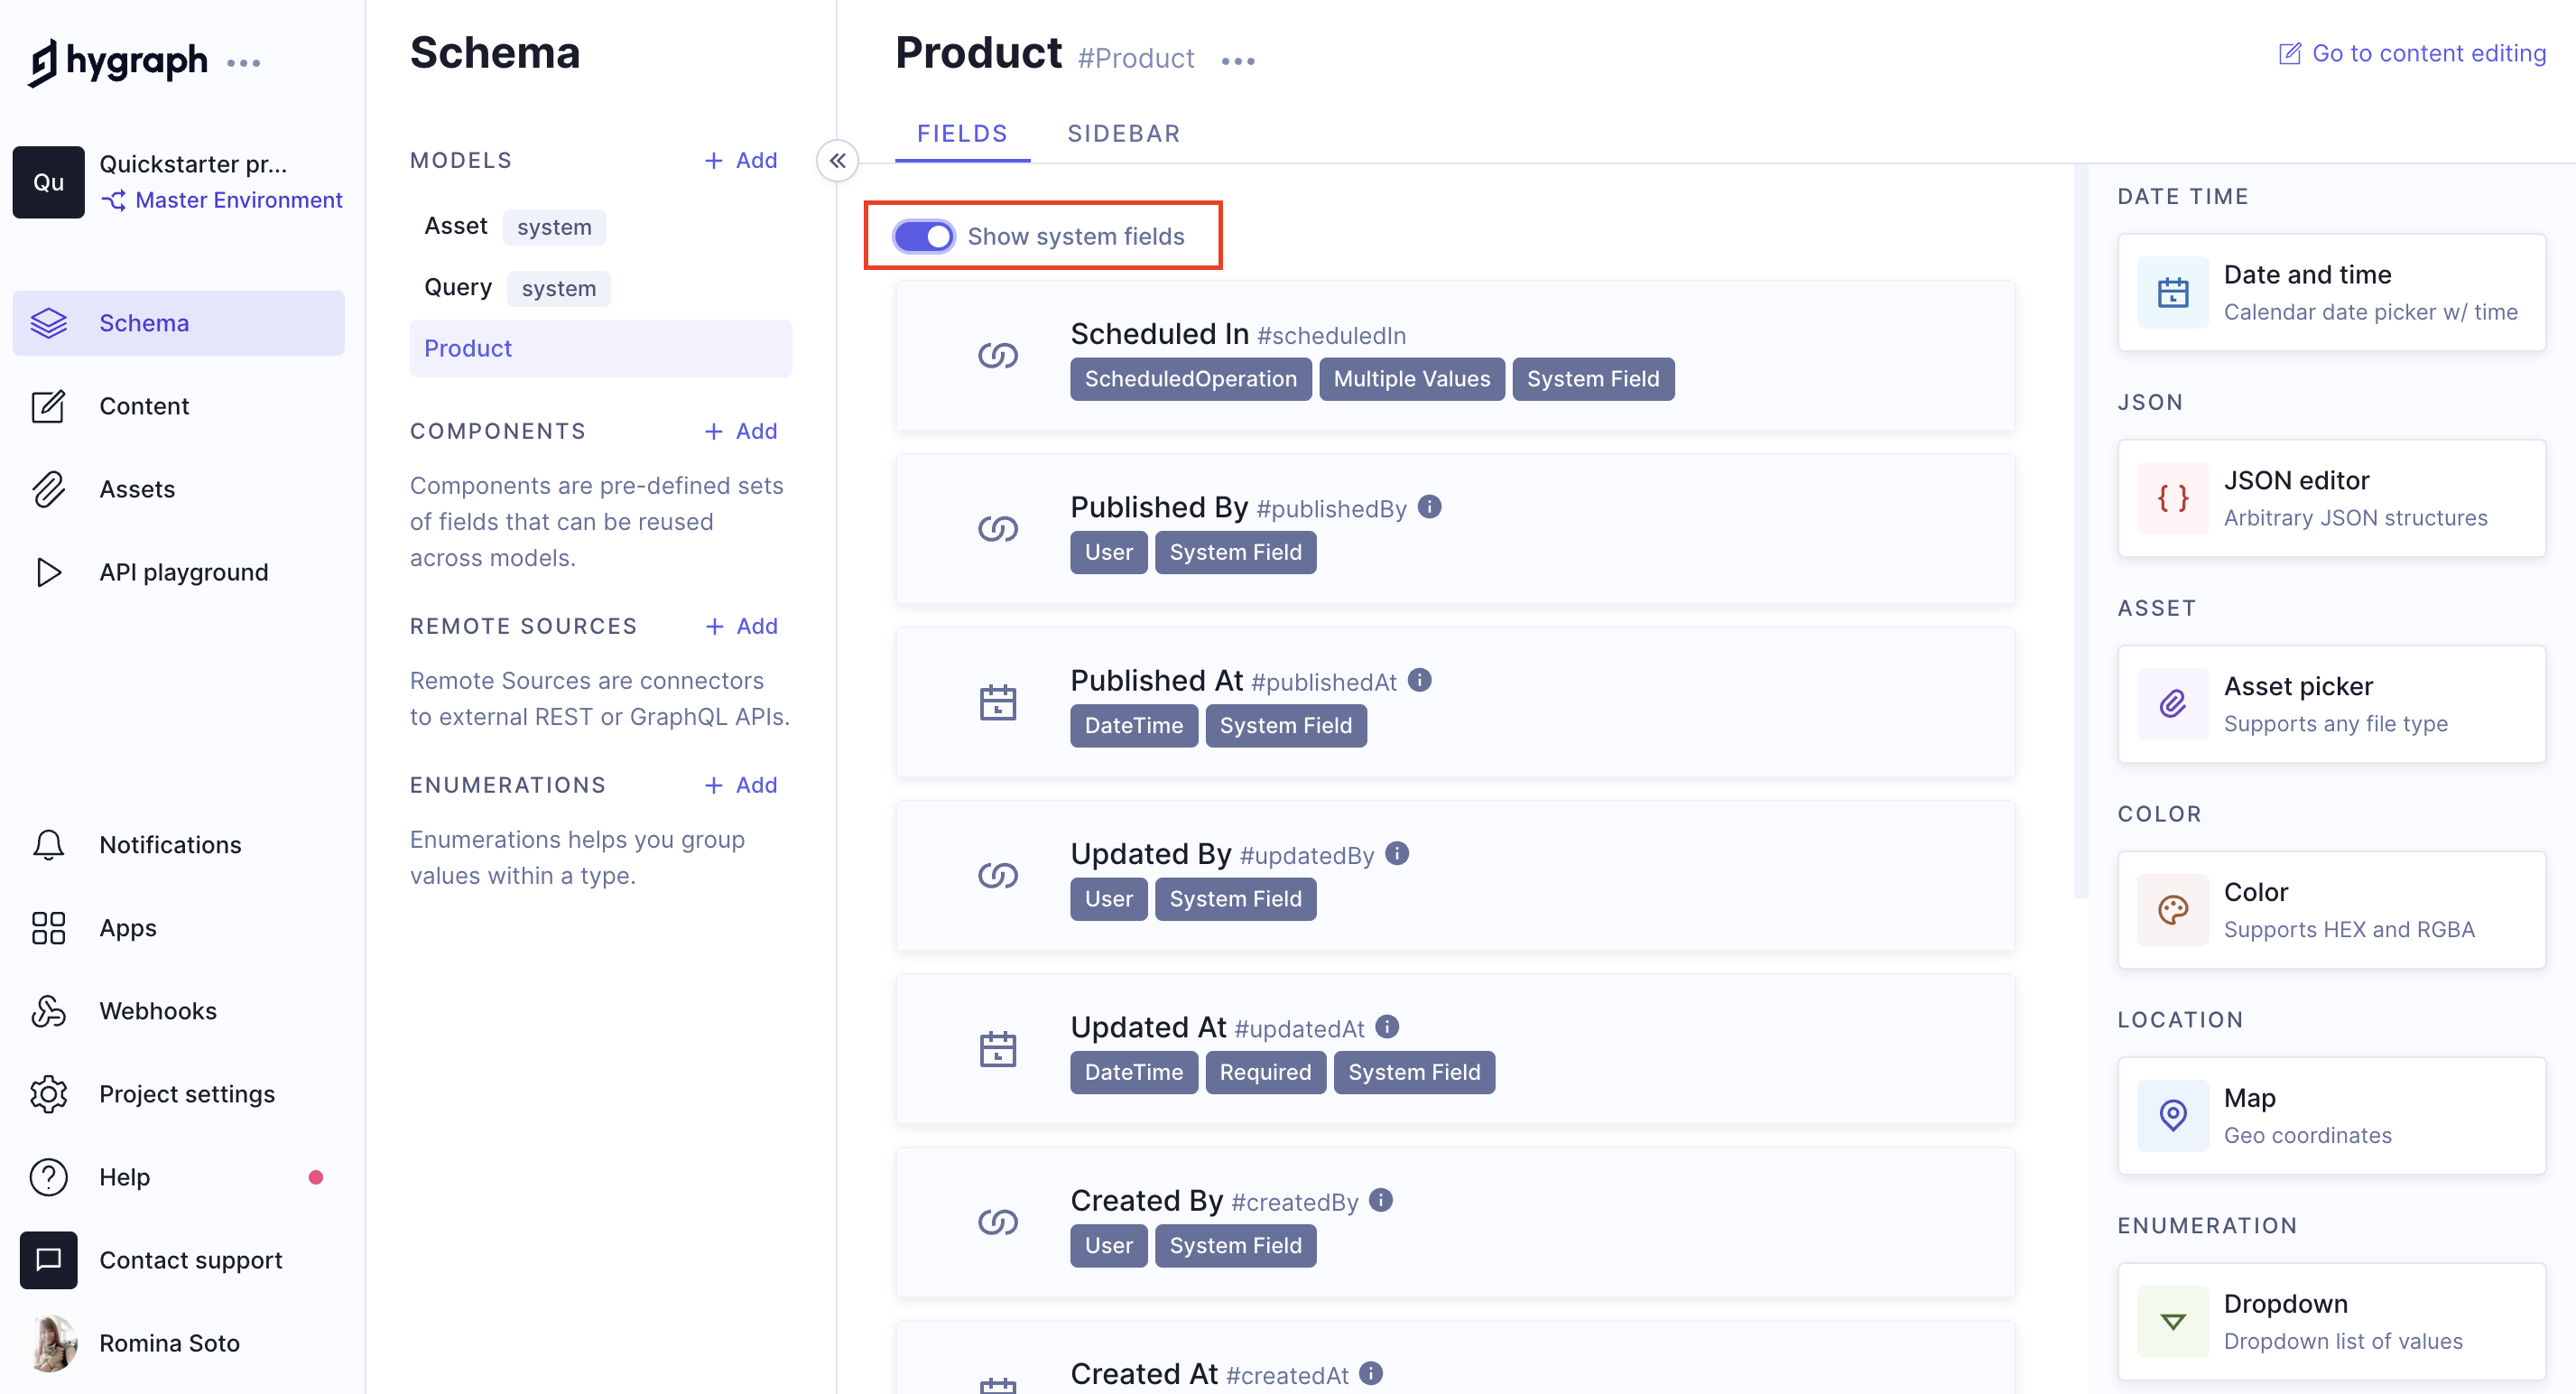
#Explore system fields
By default, Hygraph handles system fields for things such as the id, createdAt, publishedAt, and more.
You can see all of the system fields for your selected model by clicking on Show system fields.
 Show system fields
#Create a content entry
We will now add some content for our newly created Product model.
 Add entry
- Navigate to the Content editor in your Hygraph dashboard.
- Select the
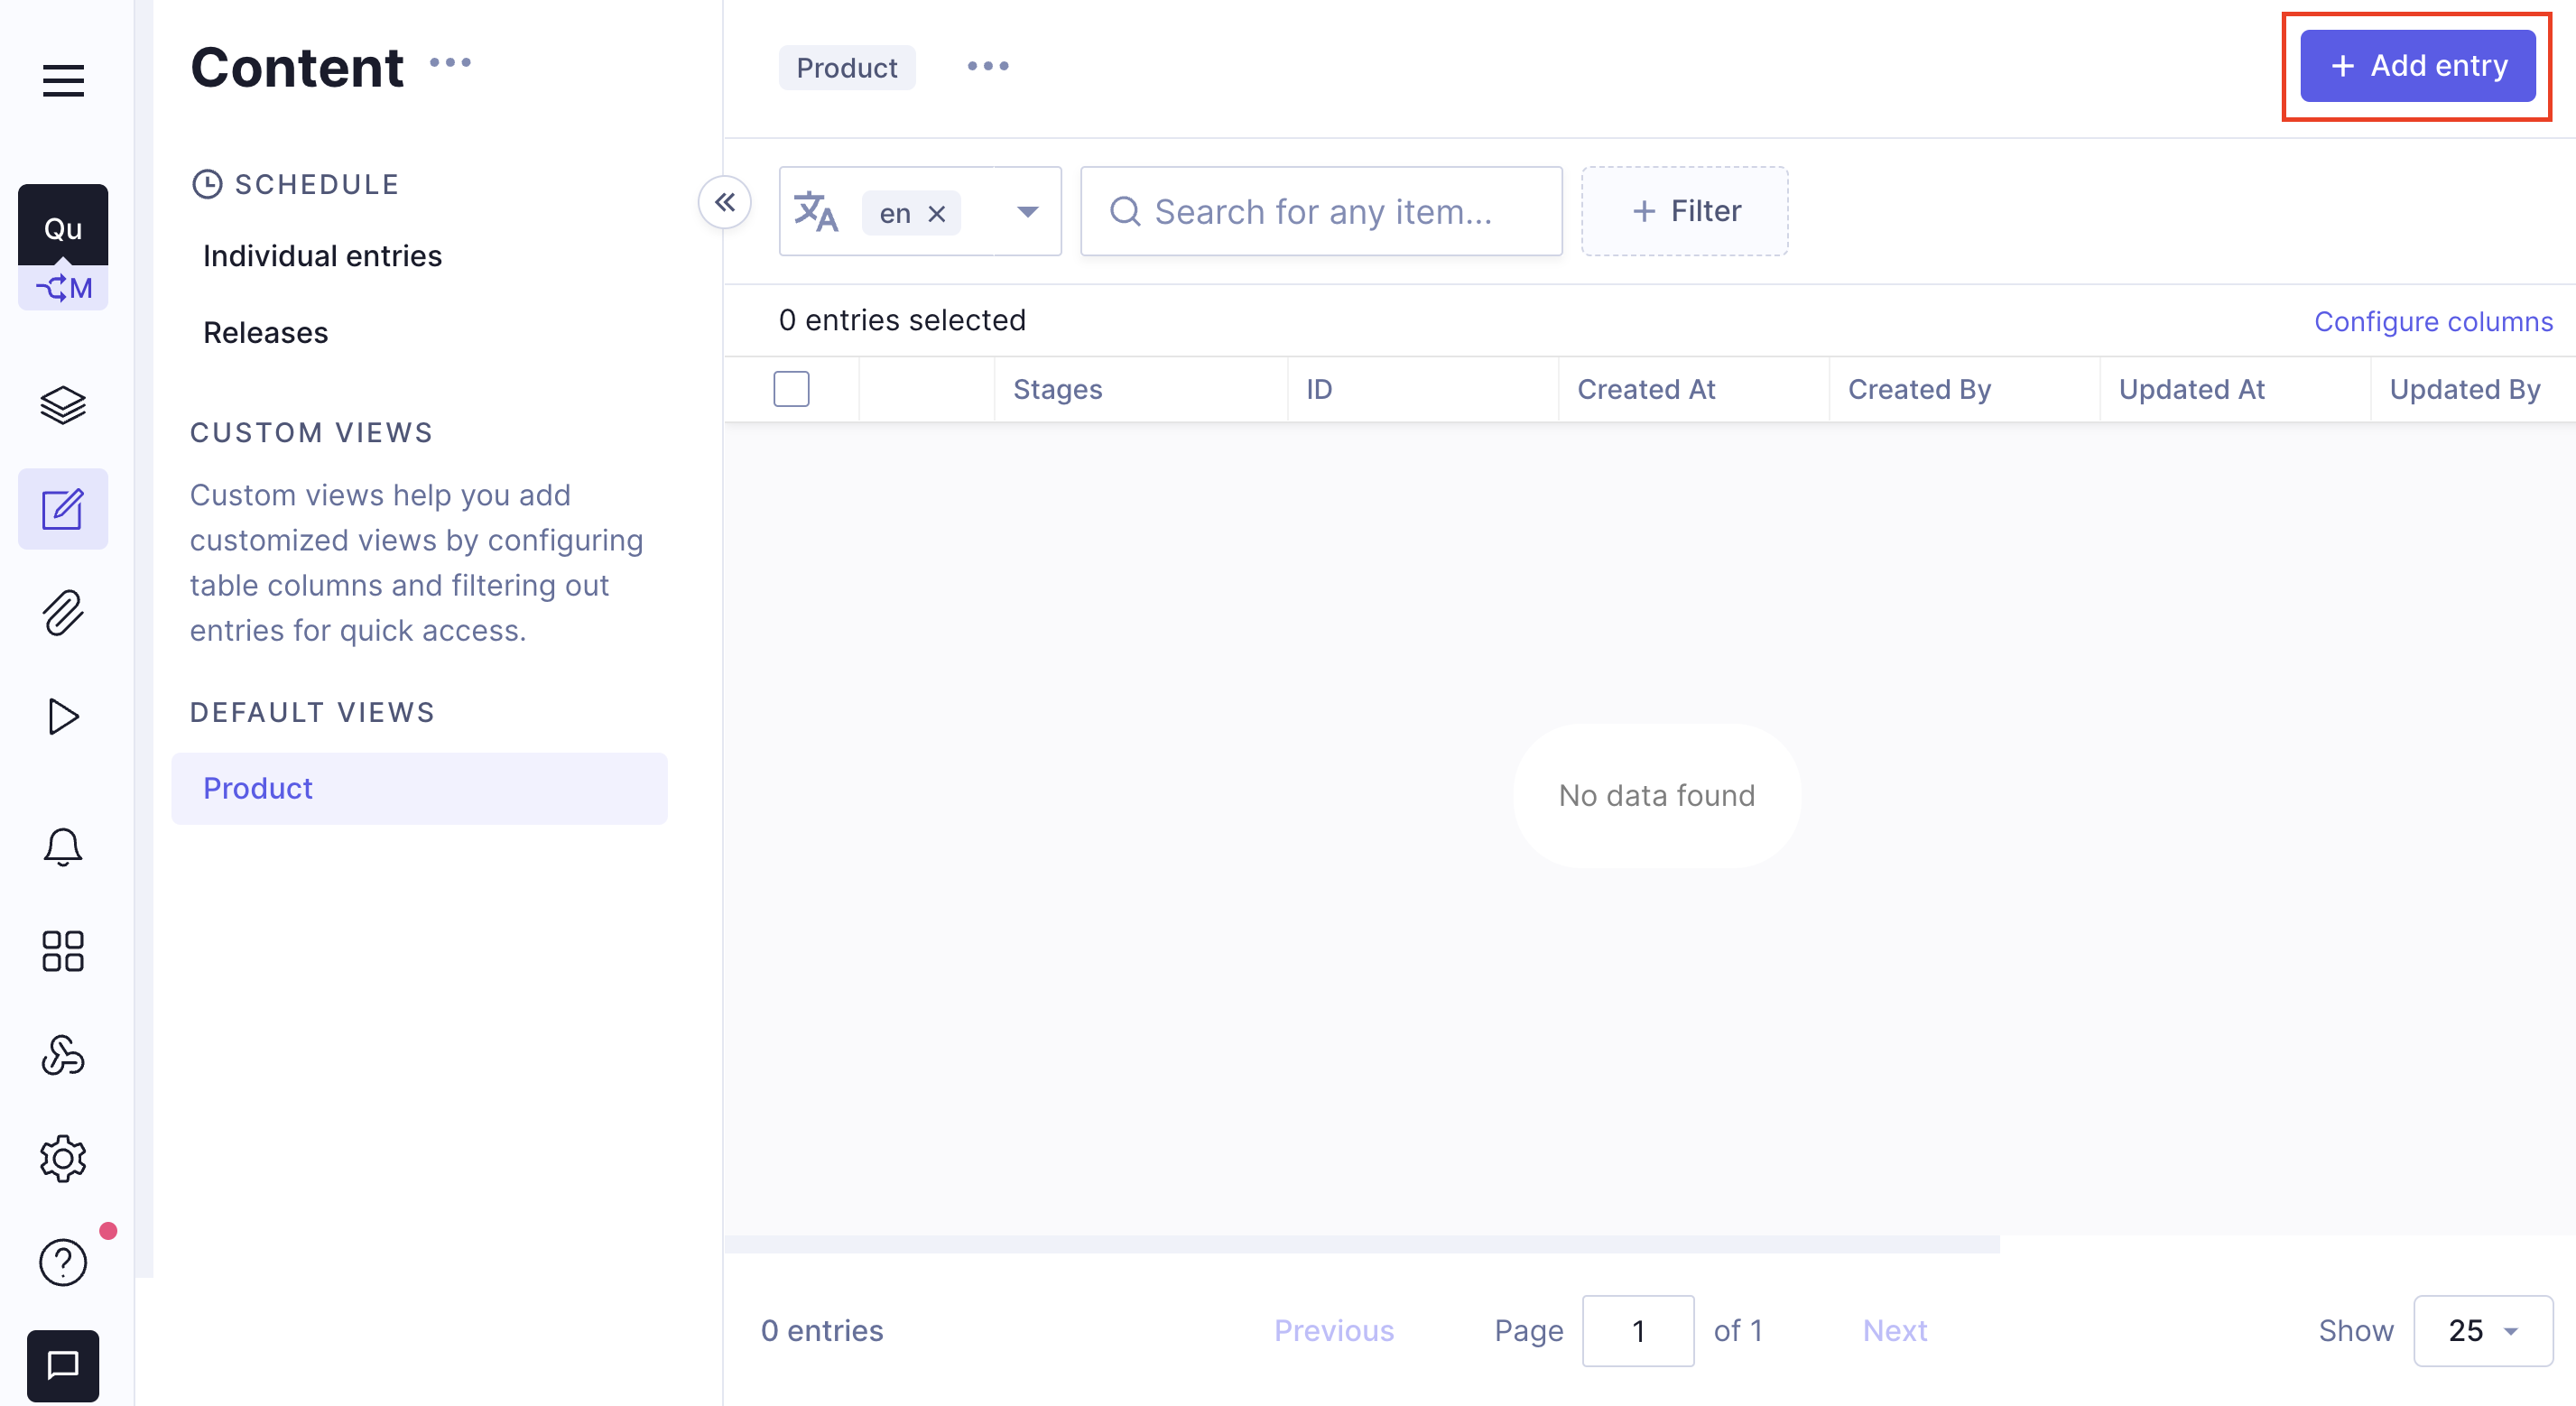
Productview from theDefault viewslist. If your project only has the Product model so far, this view will display automatically when you access the content editor. - Your content entries table for Product is currently empty. To create content, click + Add entry at the top-right corner of the screen.
- A form will display where you can enter the details for your new product. As you can see, the information you can complete here is the fields that we added to the model before.
- Go ahead and add your product details, this can be anything you like!
- To upload one or more images for your product. You can do this by clicking
Add existing Images, and choosing a file from your computer to upload. - Click on
Savein the top-right corner of the screen. This action saves without publishing, meaning the content will be in the DRAFT state. You can continue to make changes to your content entry, and then save it again as many times as you want.
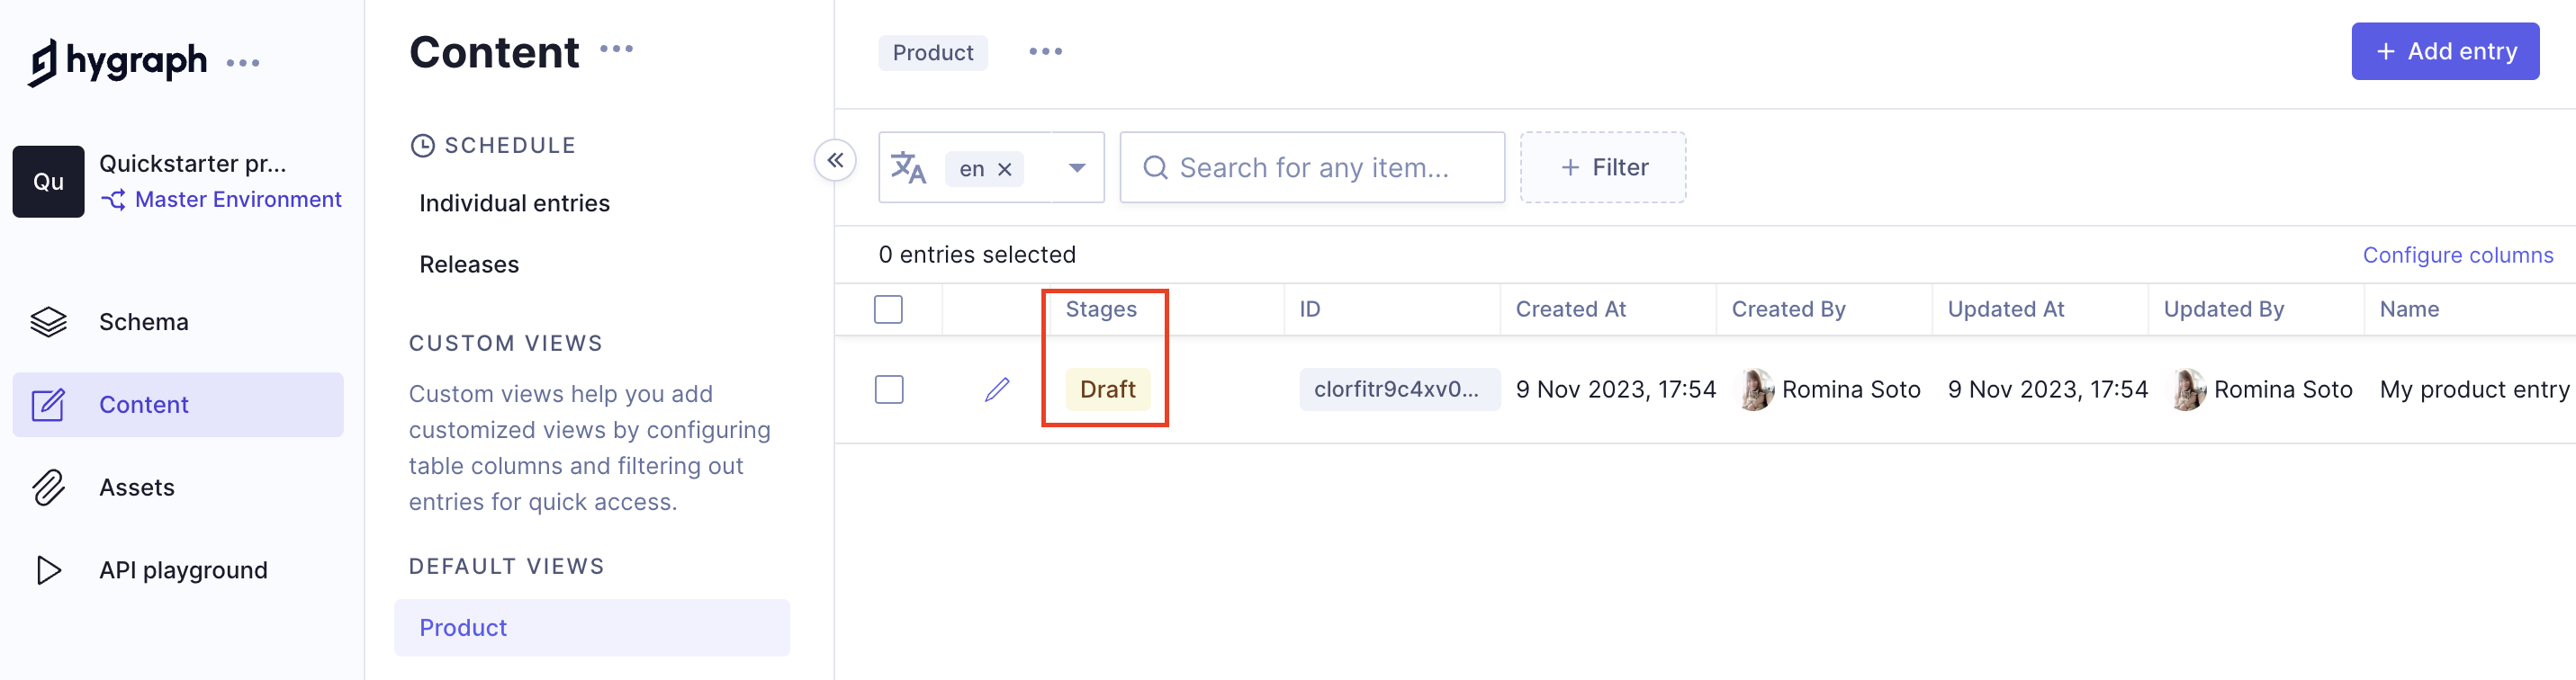 Entry in DRAFT stage
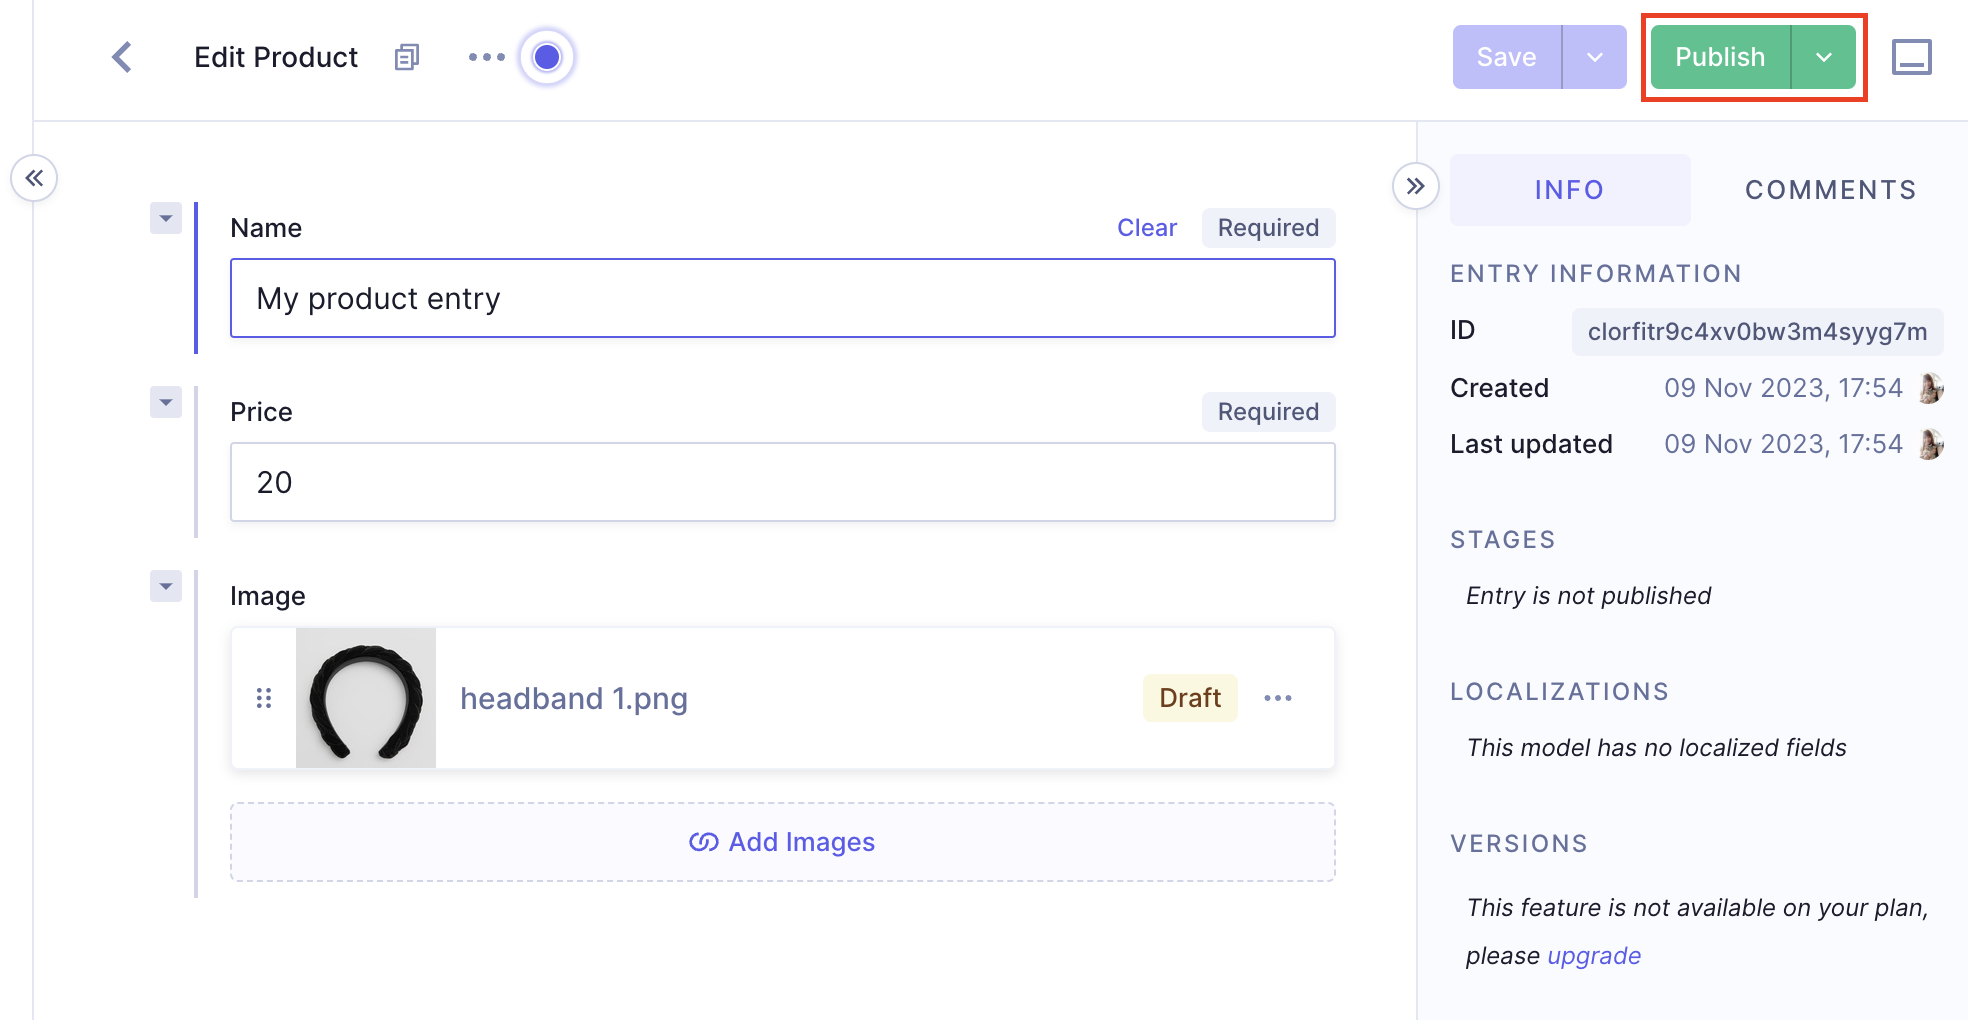
Name and Price were to set to required in the schema, so the UI here reflects those constraints.
Image allows multiple images to be uploaded since we allowed multiple values in the schema.
#Publish your content
You can publish your first content entry by clicking Publish at the top-right corner of the screen while editing your content entry.
 Publish your content
By default, all projects come with a DRAFT and PUBLISHED content stages. In this context, publishing an entry means to promote it to the PUBLISHED stage, so the content is live and others can consume it.
Most often Editors will use the DRAFT content stage to keep content local, or in a staging/preview environment. Meanwhile PUBLISHED is often used to represent what is in production/live on your app, or website.
Check out our document on content stages to learn more.
Once you click on Publish, a confirmation modal displays. This modal will also include any related entries or assets that are currently in the DRAFT stage and may need publishing as well.
The following image shows how Hygraph asks if you would like to also publish the assets related to your entry that are in the DRAFT stage:
 Publish your entry & assets
You should use the checkbox to Select all, and then click Publish.
You can continue to make changes to your content entry, and then save it again as many times as you want without publishing. When you save but don't publish, you'll see inside of the stages list that the entry is now outdated, meaning that the published version live on your website is different from the latest version in our Hygraph project.
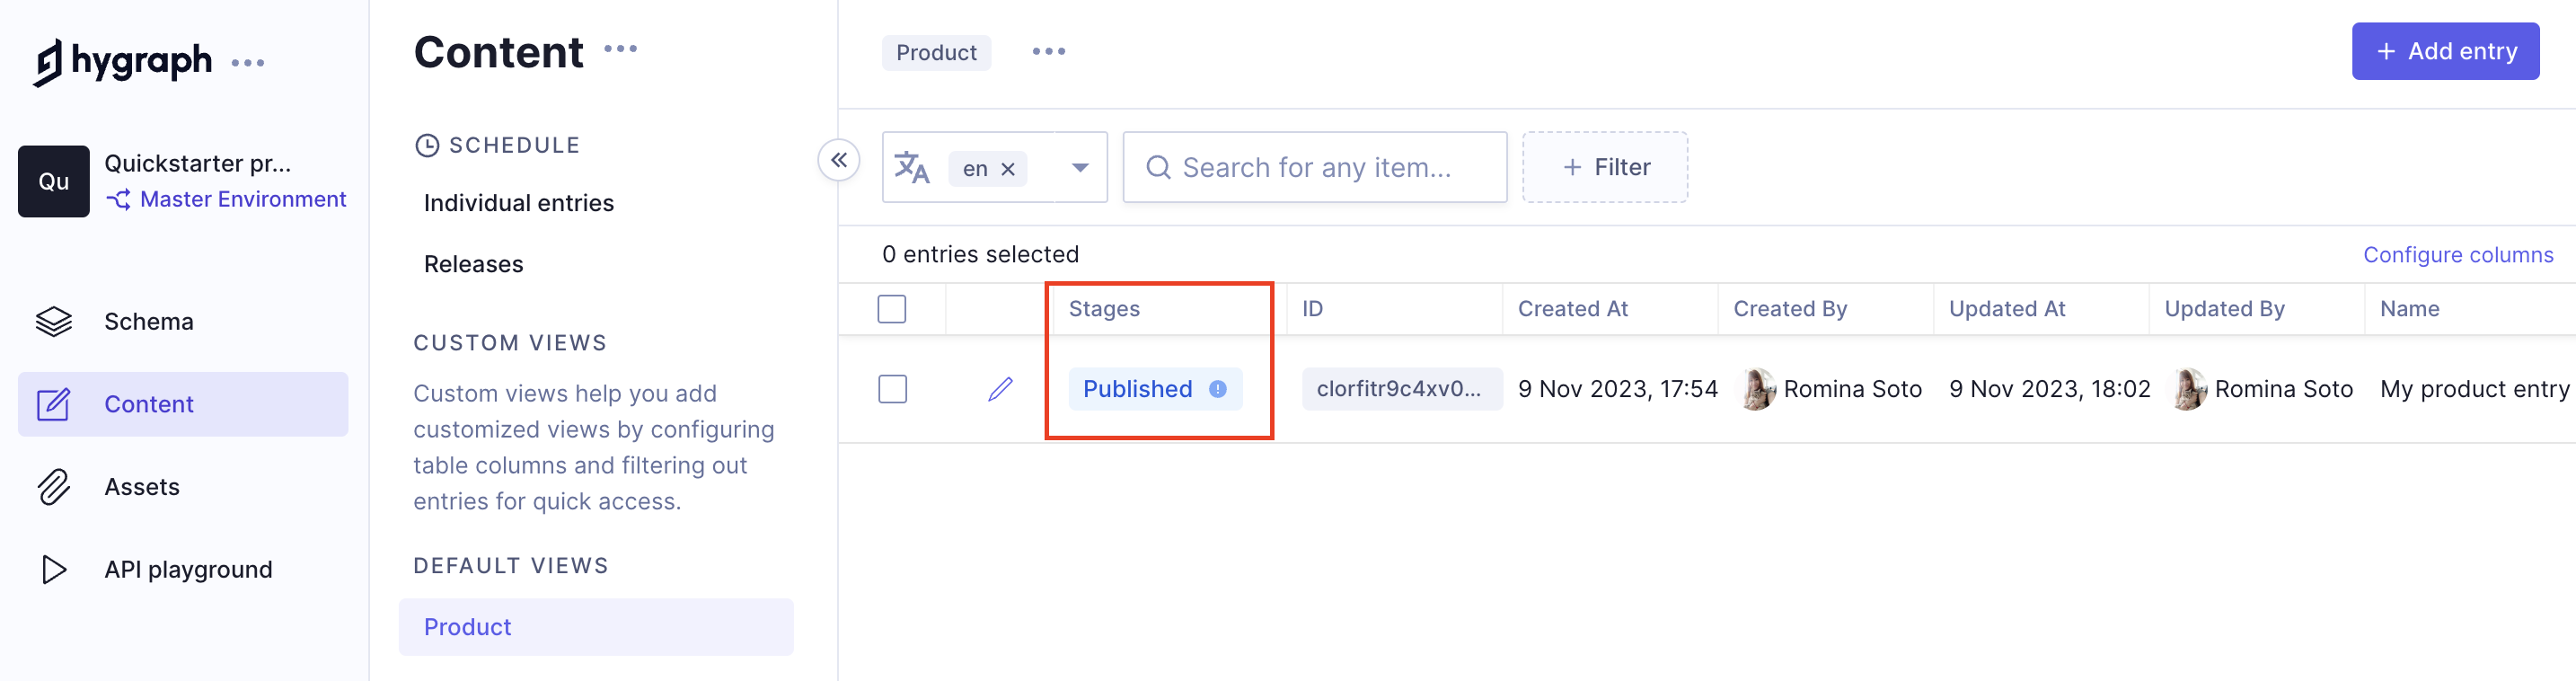 Outdated content entry
You can repeat publishing outdated entries either by clicking the Publish button again, or by scheduling for later.
Before saving changes you made to a content entry, the Publish button will read Save & Publish instead. Clicking on Save & Publish saves and publishes the content at once, so make sure you only use it when the content is ready to go live.
Check out out document on content publishing for more information.
#Query content
For any content model you create, Hygraph will automatically generate queries to fetch content entries, as well as mutations to create, update, delete, publish, and unpublish them.
You can try out all of the queries, and mutations your project has inside of the API Playground.
You can visit the API Playground by navigating to it from the sidebar:
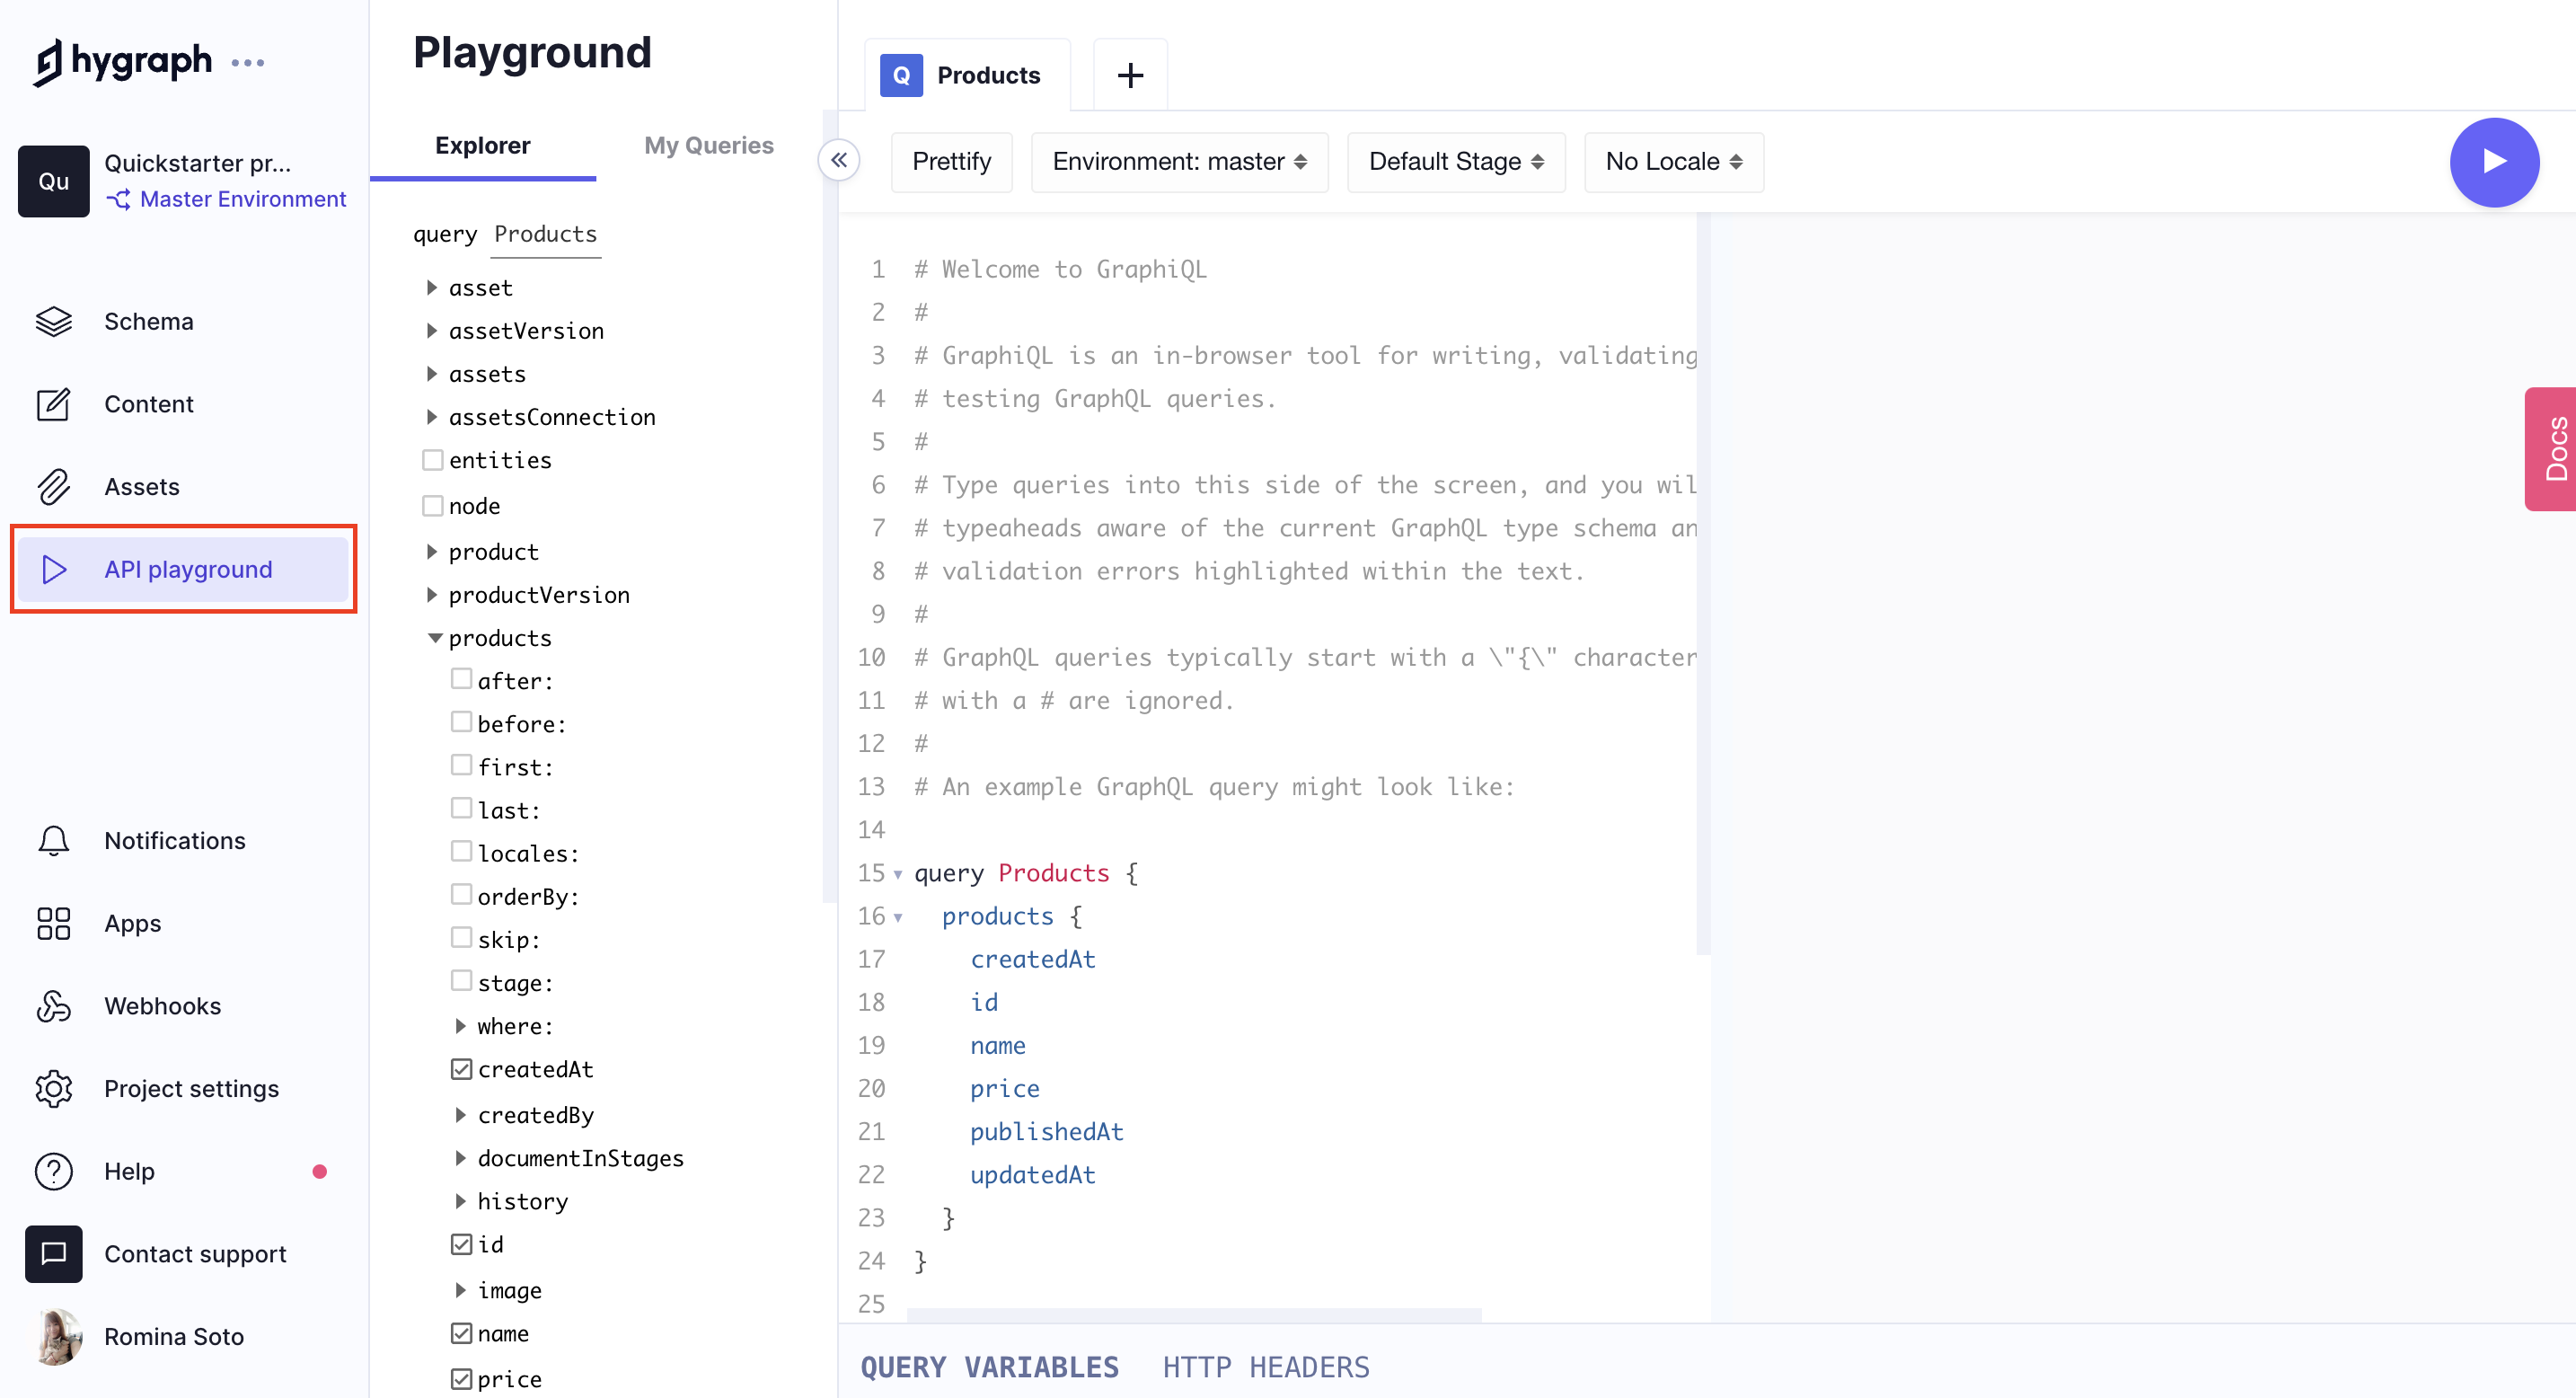 The API Playground
If you begin to type inside of the API Playground product you will see autosuggest recommend some queries. We'll get the query to fetch a single product entry, multiple, an individual product version, and the connection query to fetch edges/nodes.
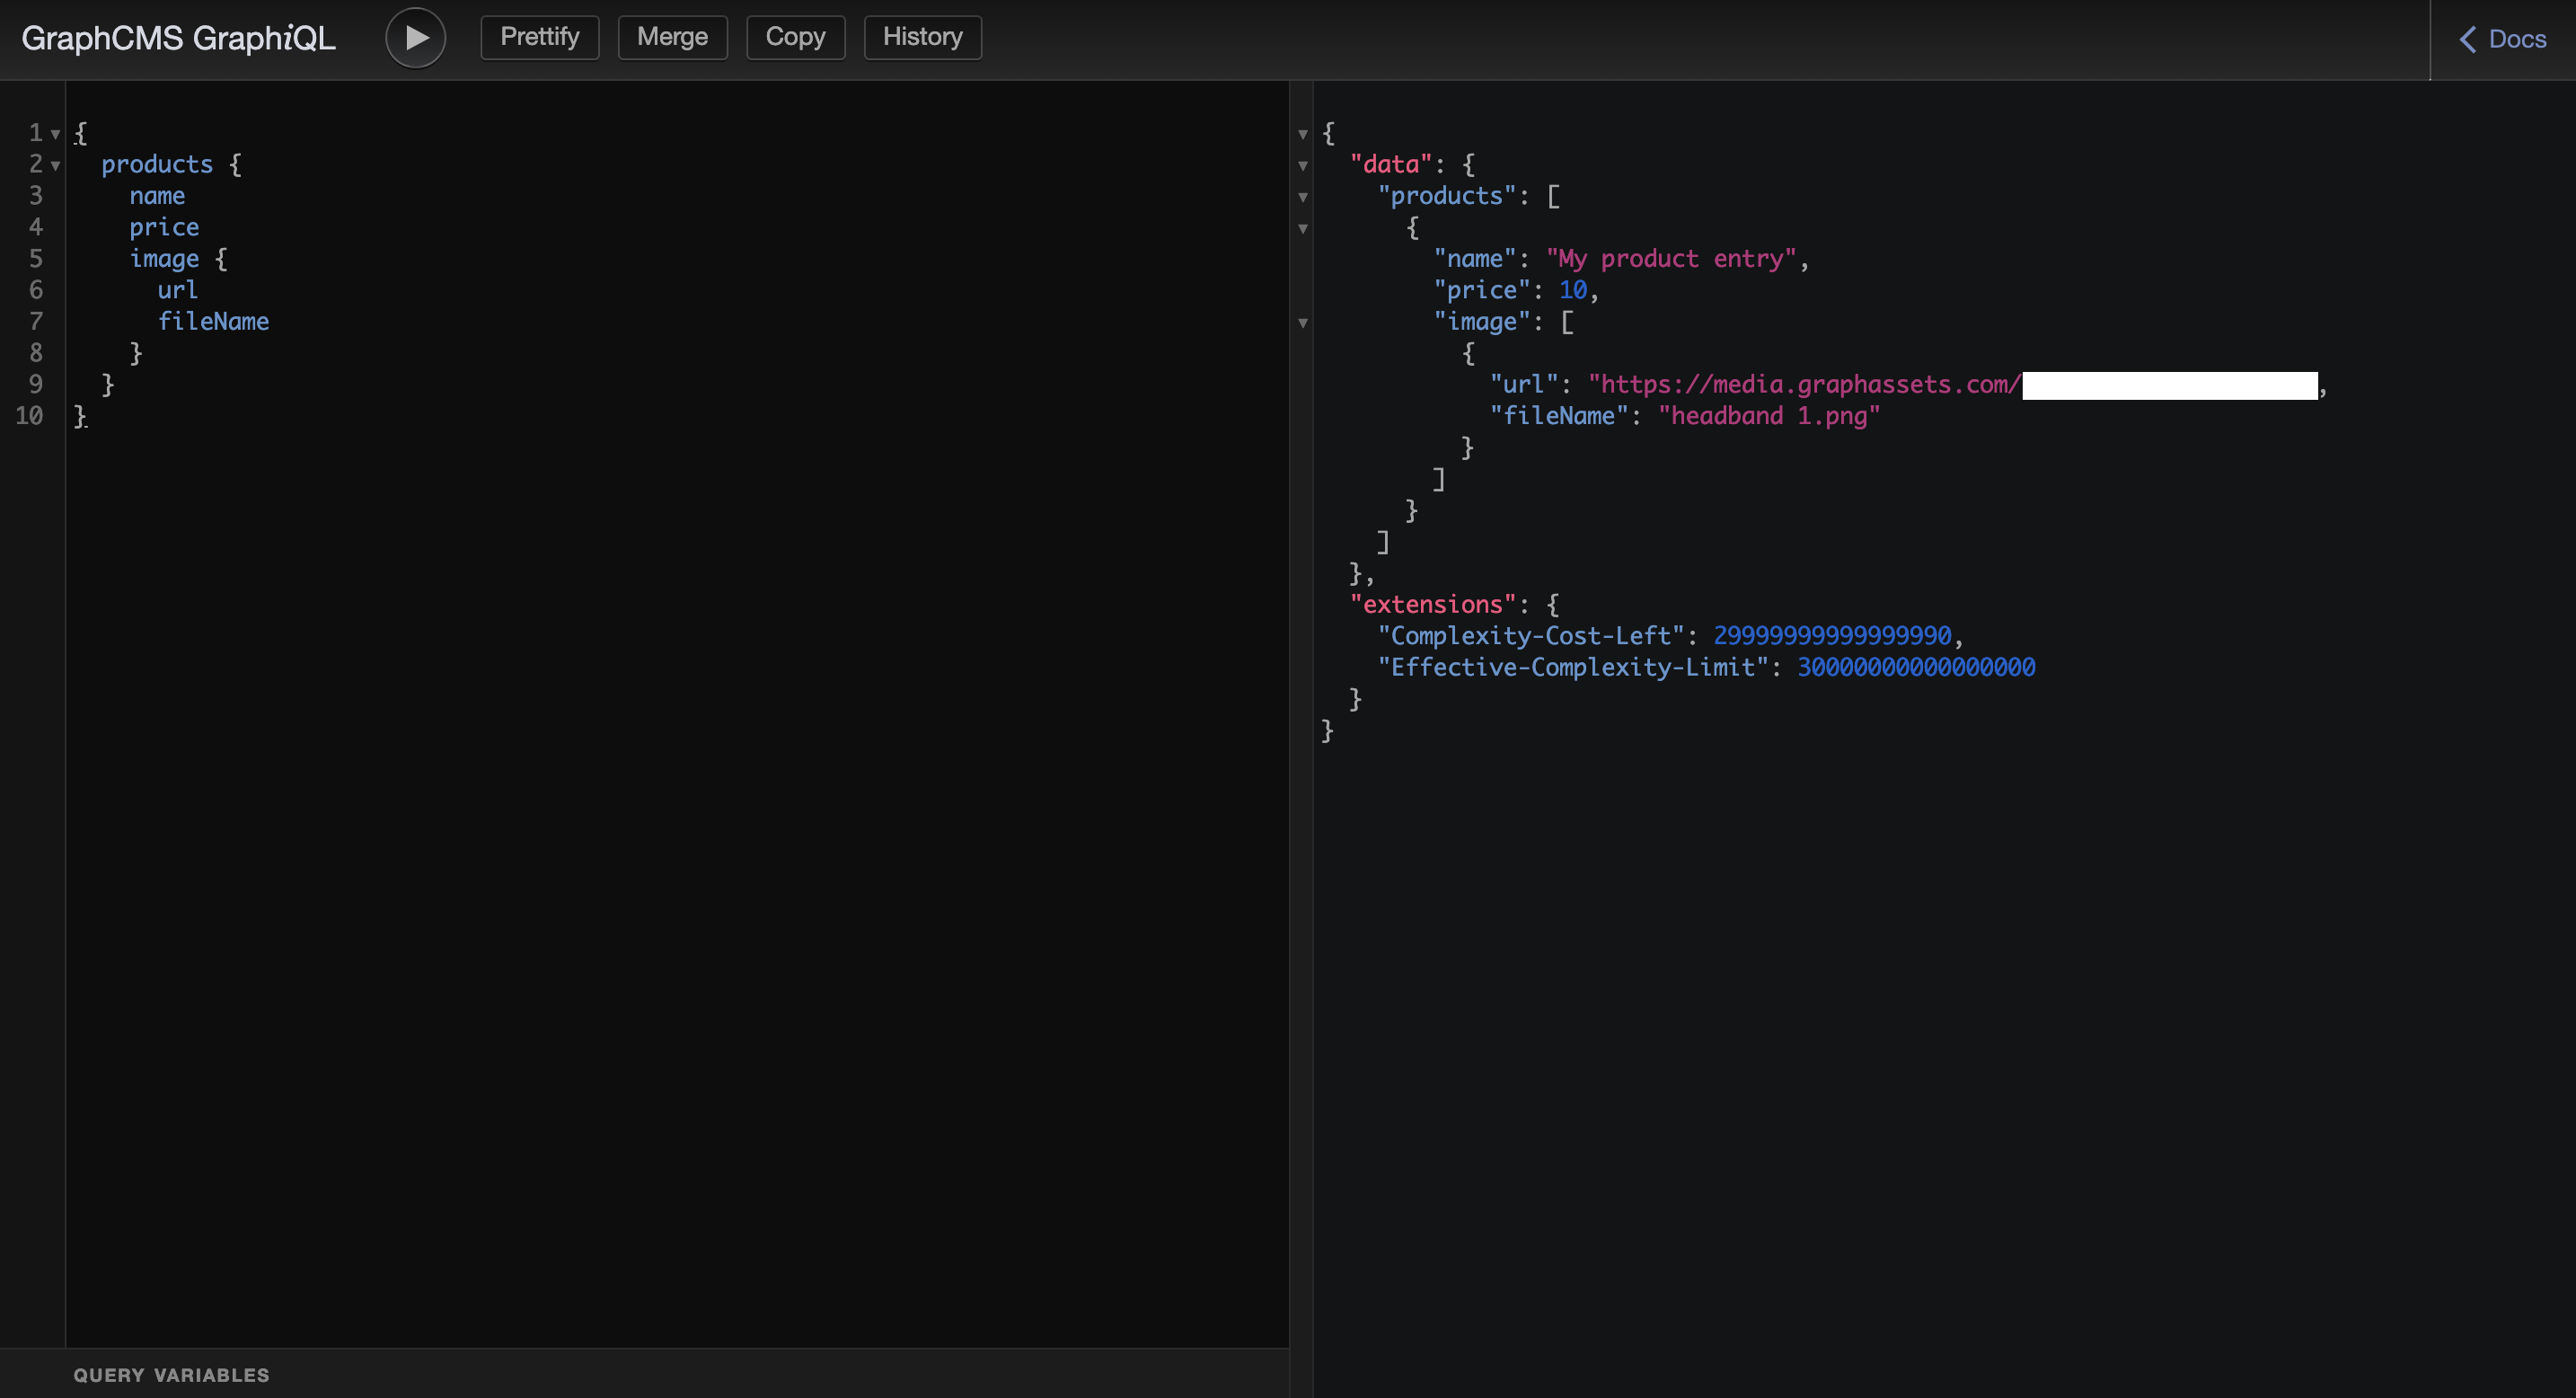
Let's use the products query to fetch all of our product content entries, as well as the fields for name, price, and the image:
{products {namepriceimage {urlfileName}}}
If you execute this query using the "Play icon" you'll get the results of the content entries you saved.
You can explore our API Reference to learn more about the API functionality. This includes filtering, pagination, ordering, transforming image assets, and more.
Our Getting Started tutorial offers the option to clone a project that you can use to practice queries.
#Mutate content
For any content model you create, Hygraph will automatically generate GraphQL mutations so you can create, update, delete, publish, and unpublish content entries.
You can try out all of the queries, and mutations your project has inside of the API Playground.
Just like we saw in the queries section, you can visit the API Playground by navigating to it from the sidebar.
Inside the API Playground, you'll start with the following:
mutation {}
Then inside there, when you type product you'll be given a list of all mutations that relate to your Product model.
For this tutorial we'll use the updateProduct mutation to modify the product entry we previously created using the UI.
You'll need an id of the product you created previously to continue. To get it, click on the pencil icon to edit the product entry, and copy the id from the sidebar.
If you explore the API Docs, you'll see the typed arguments the updateProduct mutation accepts. Just hover over the mutation, and a dialog will show you some information about it, which is clickable and displays documentation on the Docs tab of the API Playground:
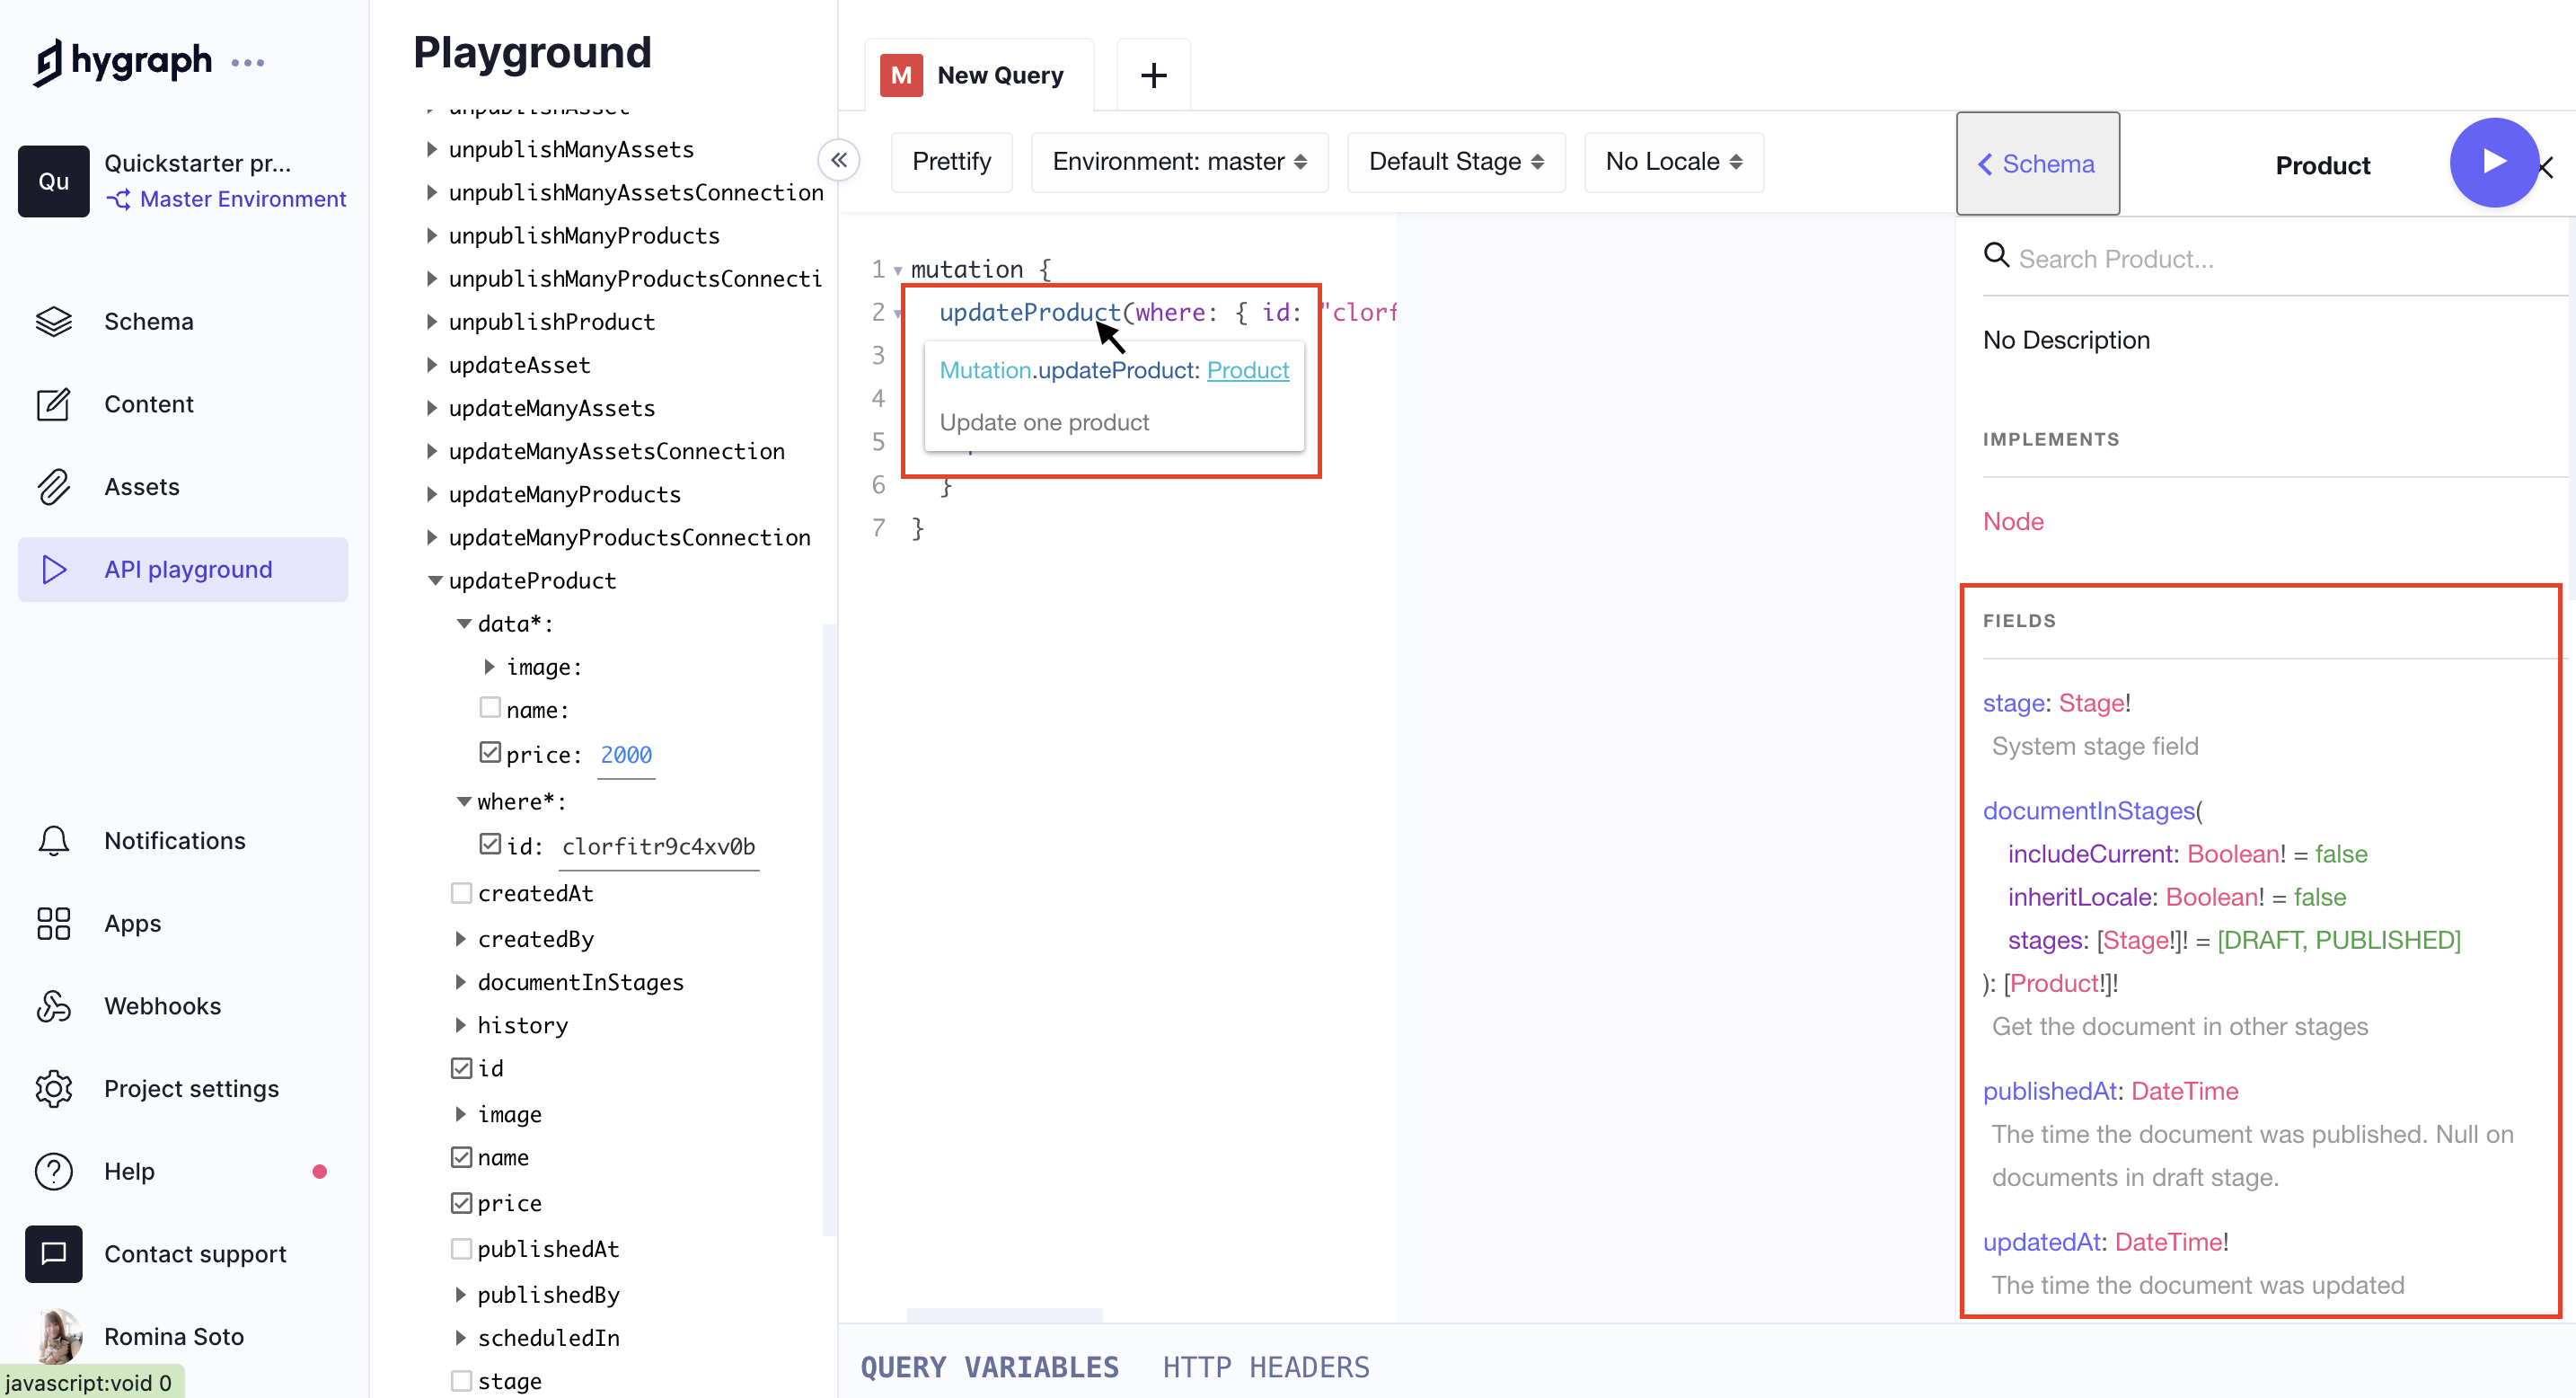 updateProduct mutation
You can click-through to the individual types to see what fields are necessary. For example, ProductUpdateInput will contain all of the fields that match your content model.
Let's use these types to help us write our GraphQL mutation, providing both where, and data arguments.
We'll only update the price field for our product entry.
mutation {updateProduct(where: { id: "<ADD_YOUR_ID_HERE>" }, data: { price: 2000 }) {idnameprice}}
You should then see once you execute the operation that the product entry has been updated with the new price value.
Our Getting Started tutorial offers the option to clone a project that you can use to practice mutations.
#API Access
The last step, is to navigate to your Project settings panel to enable access to your API. You can either enable full public access to your API or protect your API with permanent auth tokens.
The default stage for the Public Content API is set to Published. To create the new permissions click Yes, initialize defaults in the Content API Permissions section.
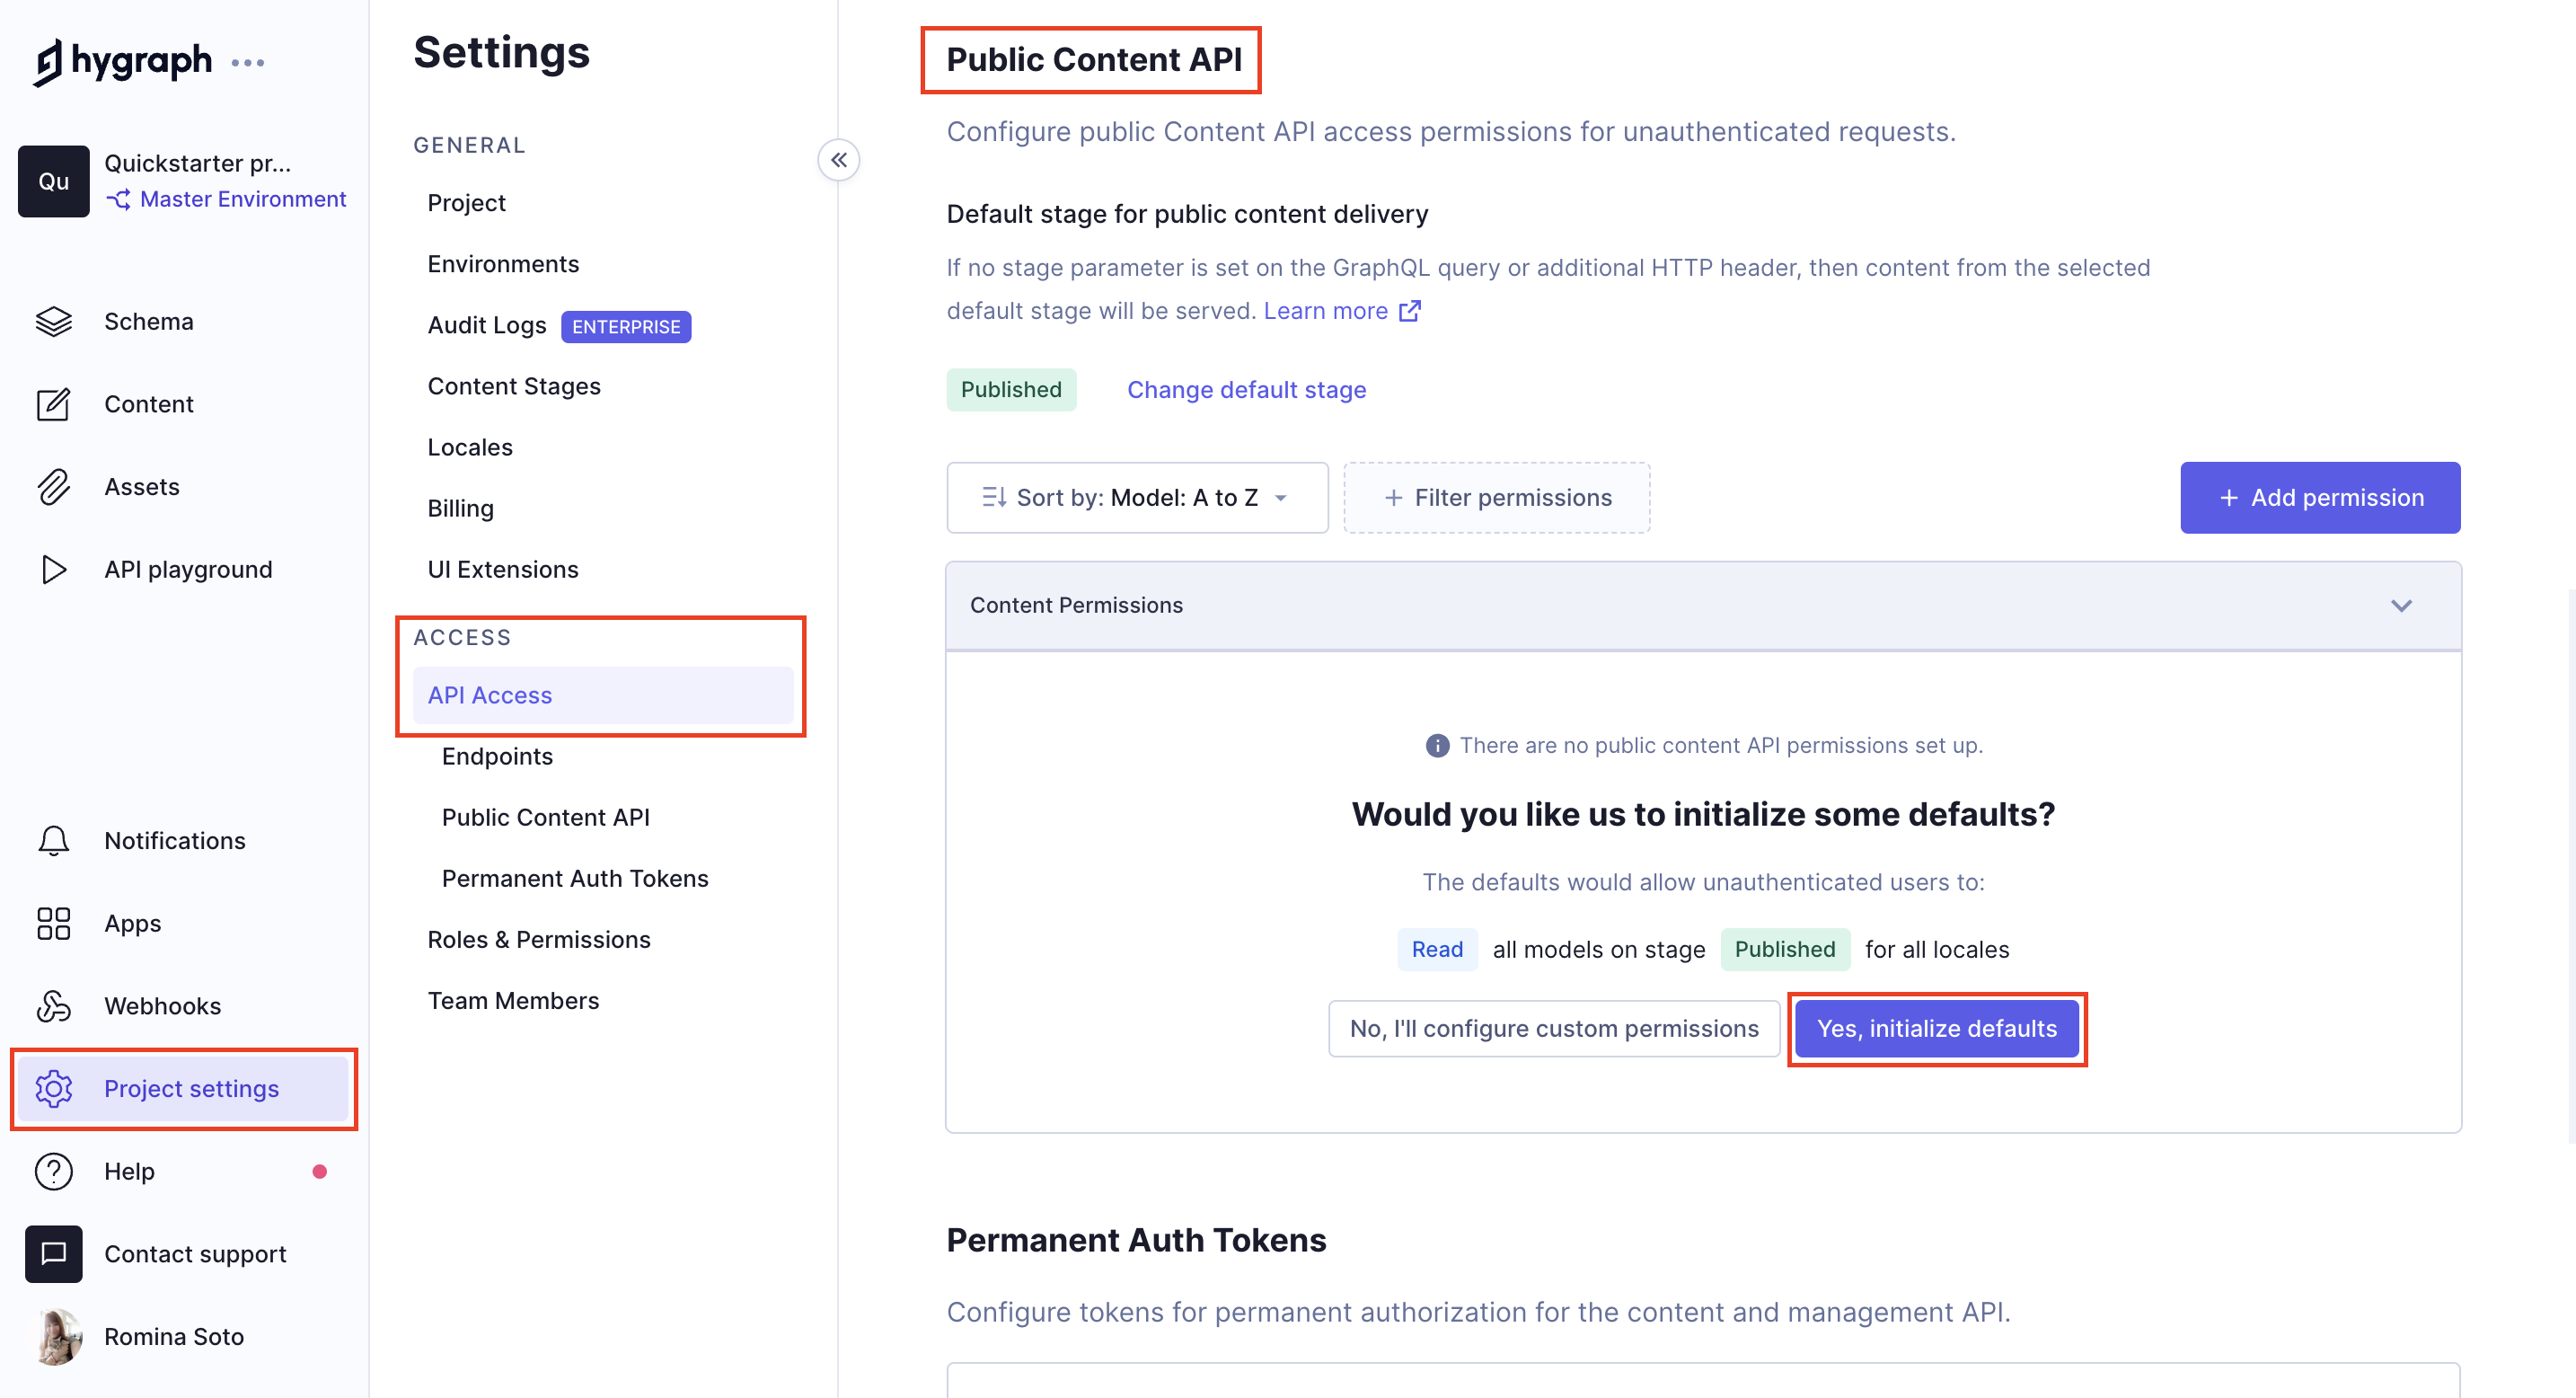 Public content API permissions
This will set Read permission on all models on stage Published.
Now that the API is public, let's test it. Copy your project's Content API endpoint and paste it in your URL bar for your browser. You'll find the Content API URL in Project settings > Access > Endpoints.
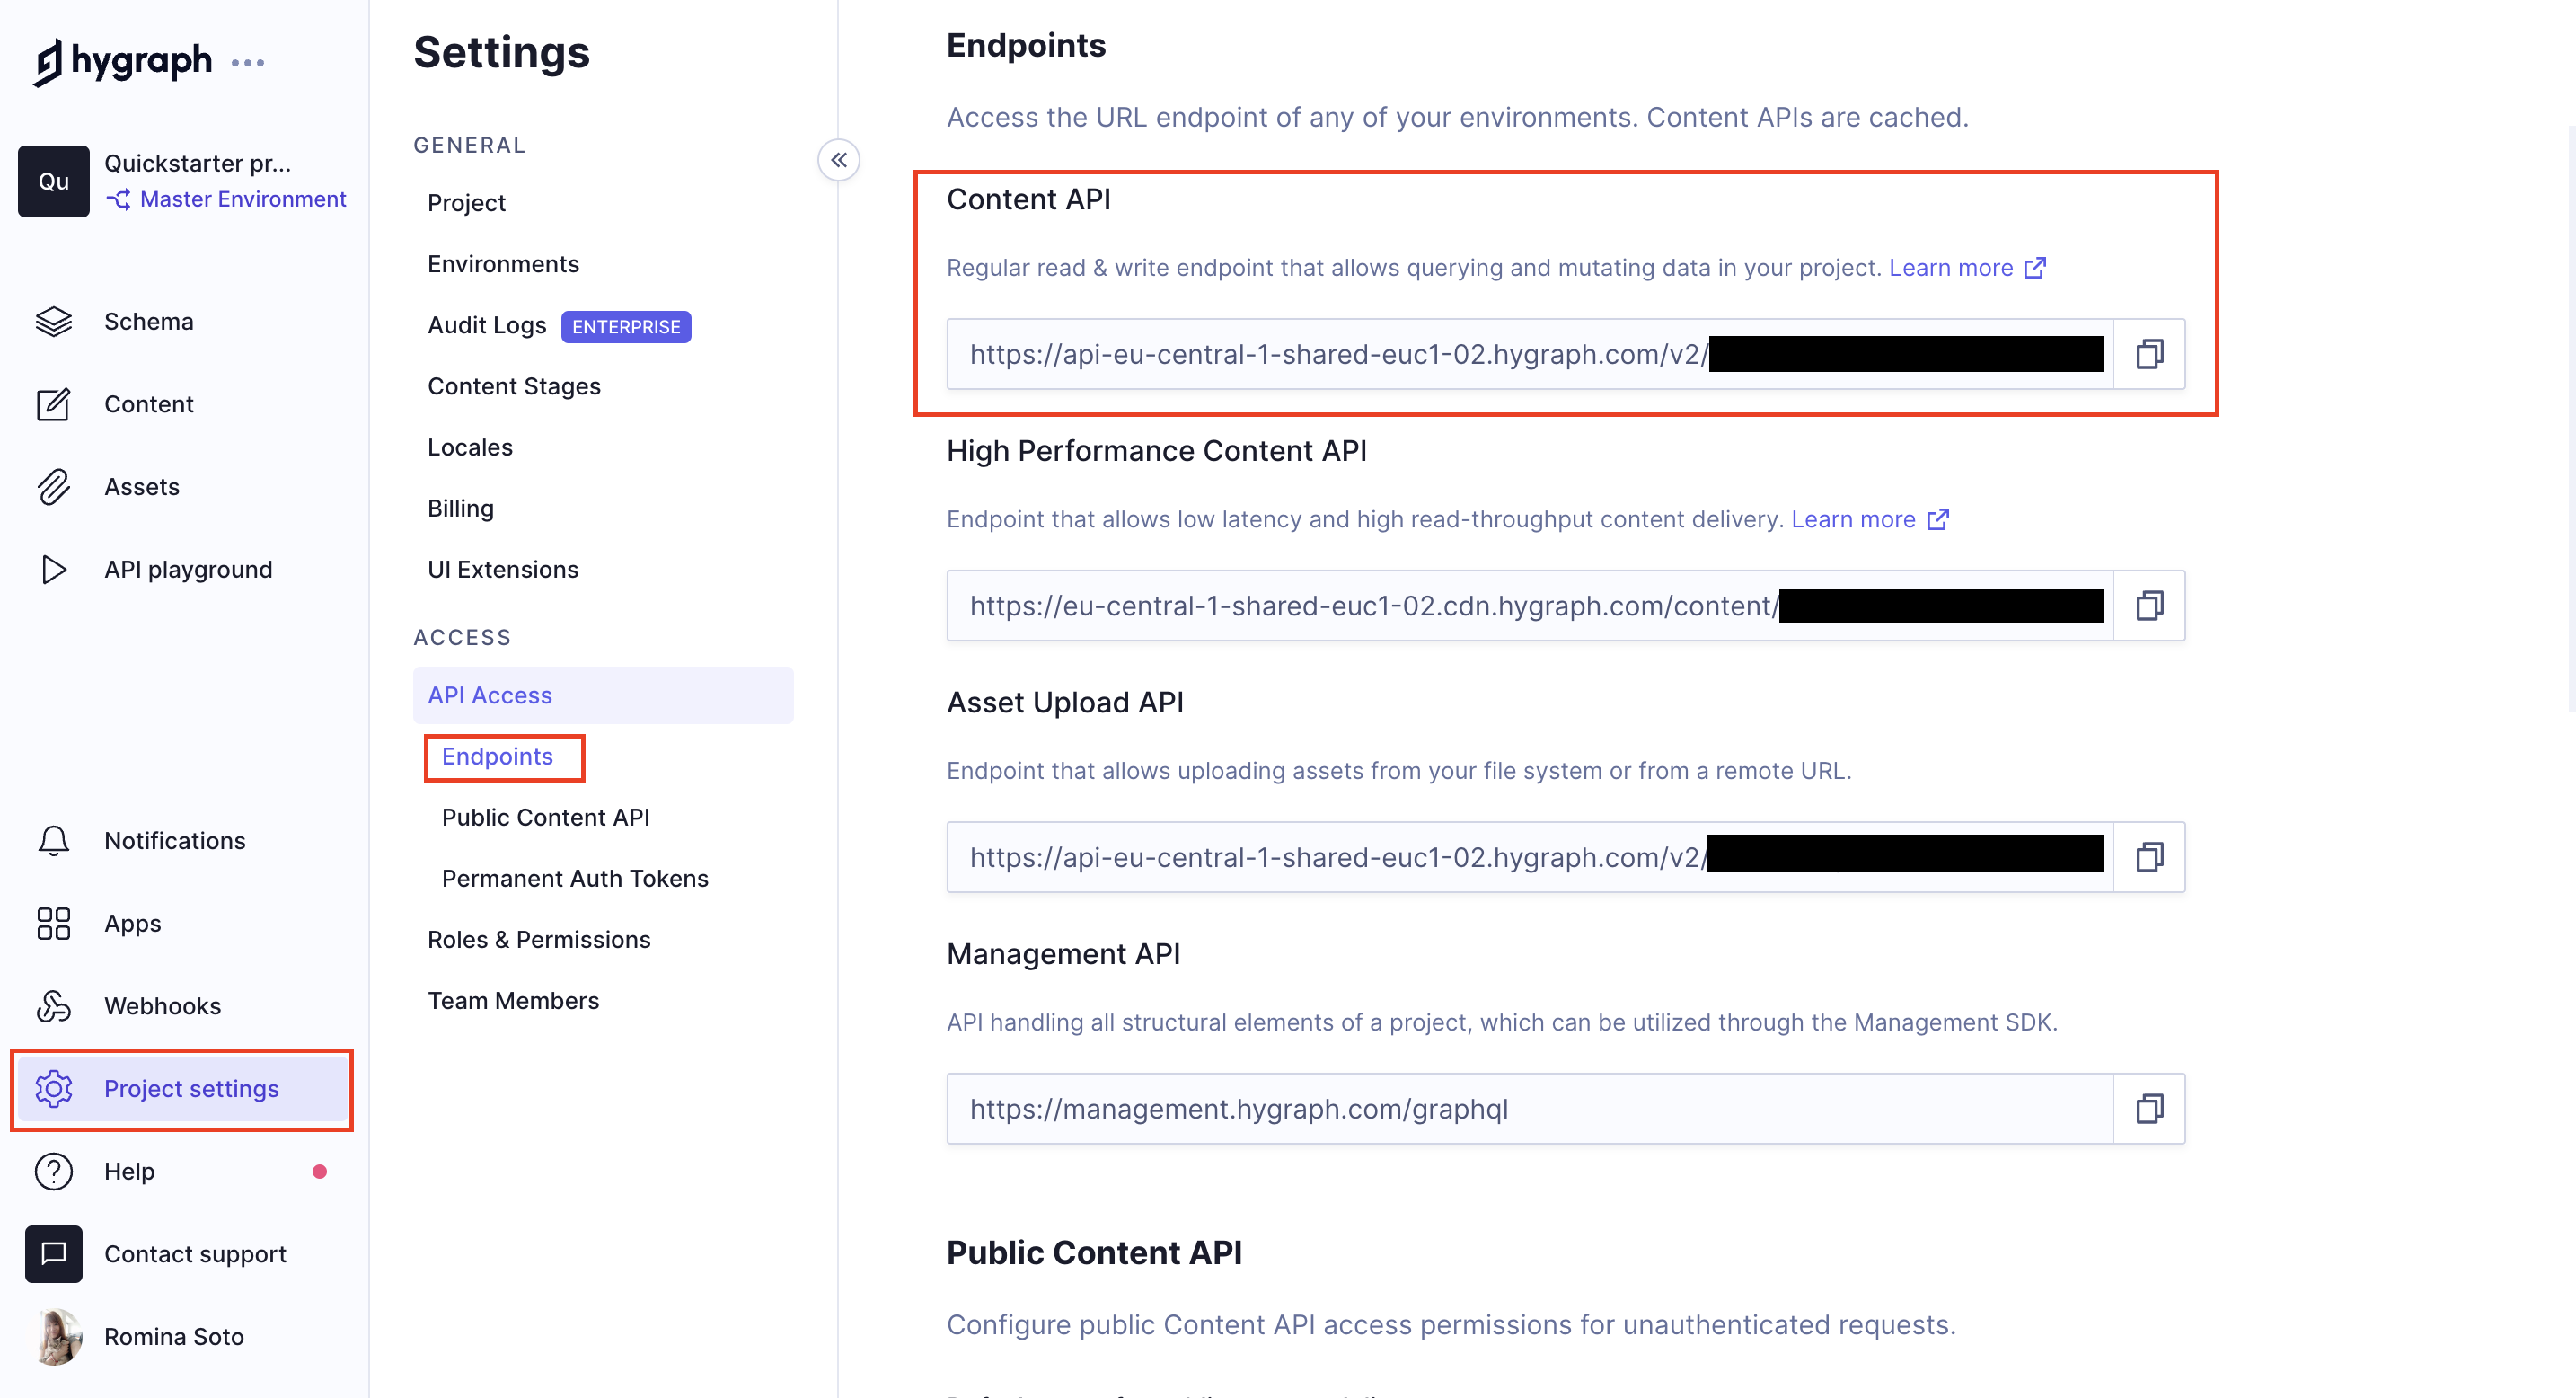 Content API URL
Run the query we used in the Query content section of this document once more. This is now publicly accessible on the web!
 Content publicly available
#Additional resources
| Document | About |
|---|---|
| Getting Started | Comprehensive project-based tutorial on how to create a Hygraph project from A to Z. |
| API access | Information on enabling API access. |
| Roles and permissions | Information on roles and permissions including system roles, custom roles, how to work with roles & permissions, and detailed examples. |