7.2 Connecting our storefront
In this step of the tutorial you will learn how to connect our e-commerce storefront to our existing Hygraph project.
#Overview
In this lesson, we'll connect Hygraph to the Next e-commerce starter that we cloned previously.
#Tokens & permissions
In the previous lesson, we cloned the starter for local development and deployed our clone to Netlify. We need to make Hygraph accessible to our Next app. First, let's allow read permissions on the Content API. Head over to your project's settings and click on API Access.
We'll start by setting the Public Content API to its default, which will give us access to all the content in our models, including the remote reviews from the Hygraph Demo API remote source. From this same screen, copy the Content API endpoint URL.
We'll also create a Permanent Auth token. Permanent Auth Tokens (PATs) allow permanent authorization for the content and management API. They are used for controlling access to querying, mutating content and come in the form of Bearer token authentication. You can learn more about using PATs in your Hygraph project in our API Access documentation.
Why are we configuring both?
We want to have PUBLISHED content accessible through the Public API, and DRAFT content through the PAT.
This is because we want to be able to see DRAFT content in a Preview URL that we will work on in the next lesson, and we also want a webhook that we will configure two lessons from now to trigger our frontend build every time content moves from DRAFT to PUBLISHED.
#Public content API
We need to configure public Content API access permissions for unauthenticated requests. To achieve this, we'll to go Project settings > Access > API Access > Public content API in our Hygraph project.
There is a Content Permissions box that reads Would you like us to initialize some defaults? We'll click on Yes, initialize defaults.
The content permissions box now looks like this:
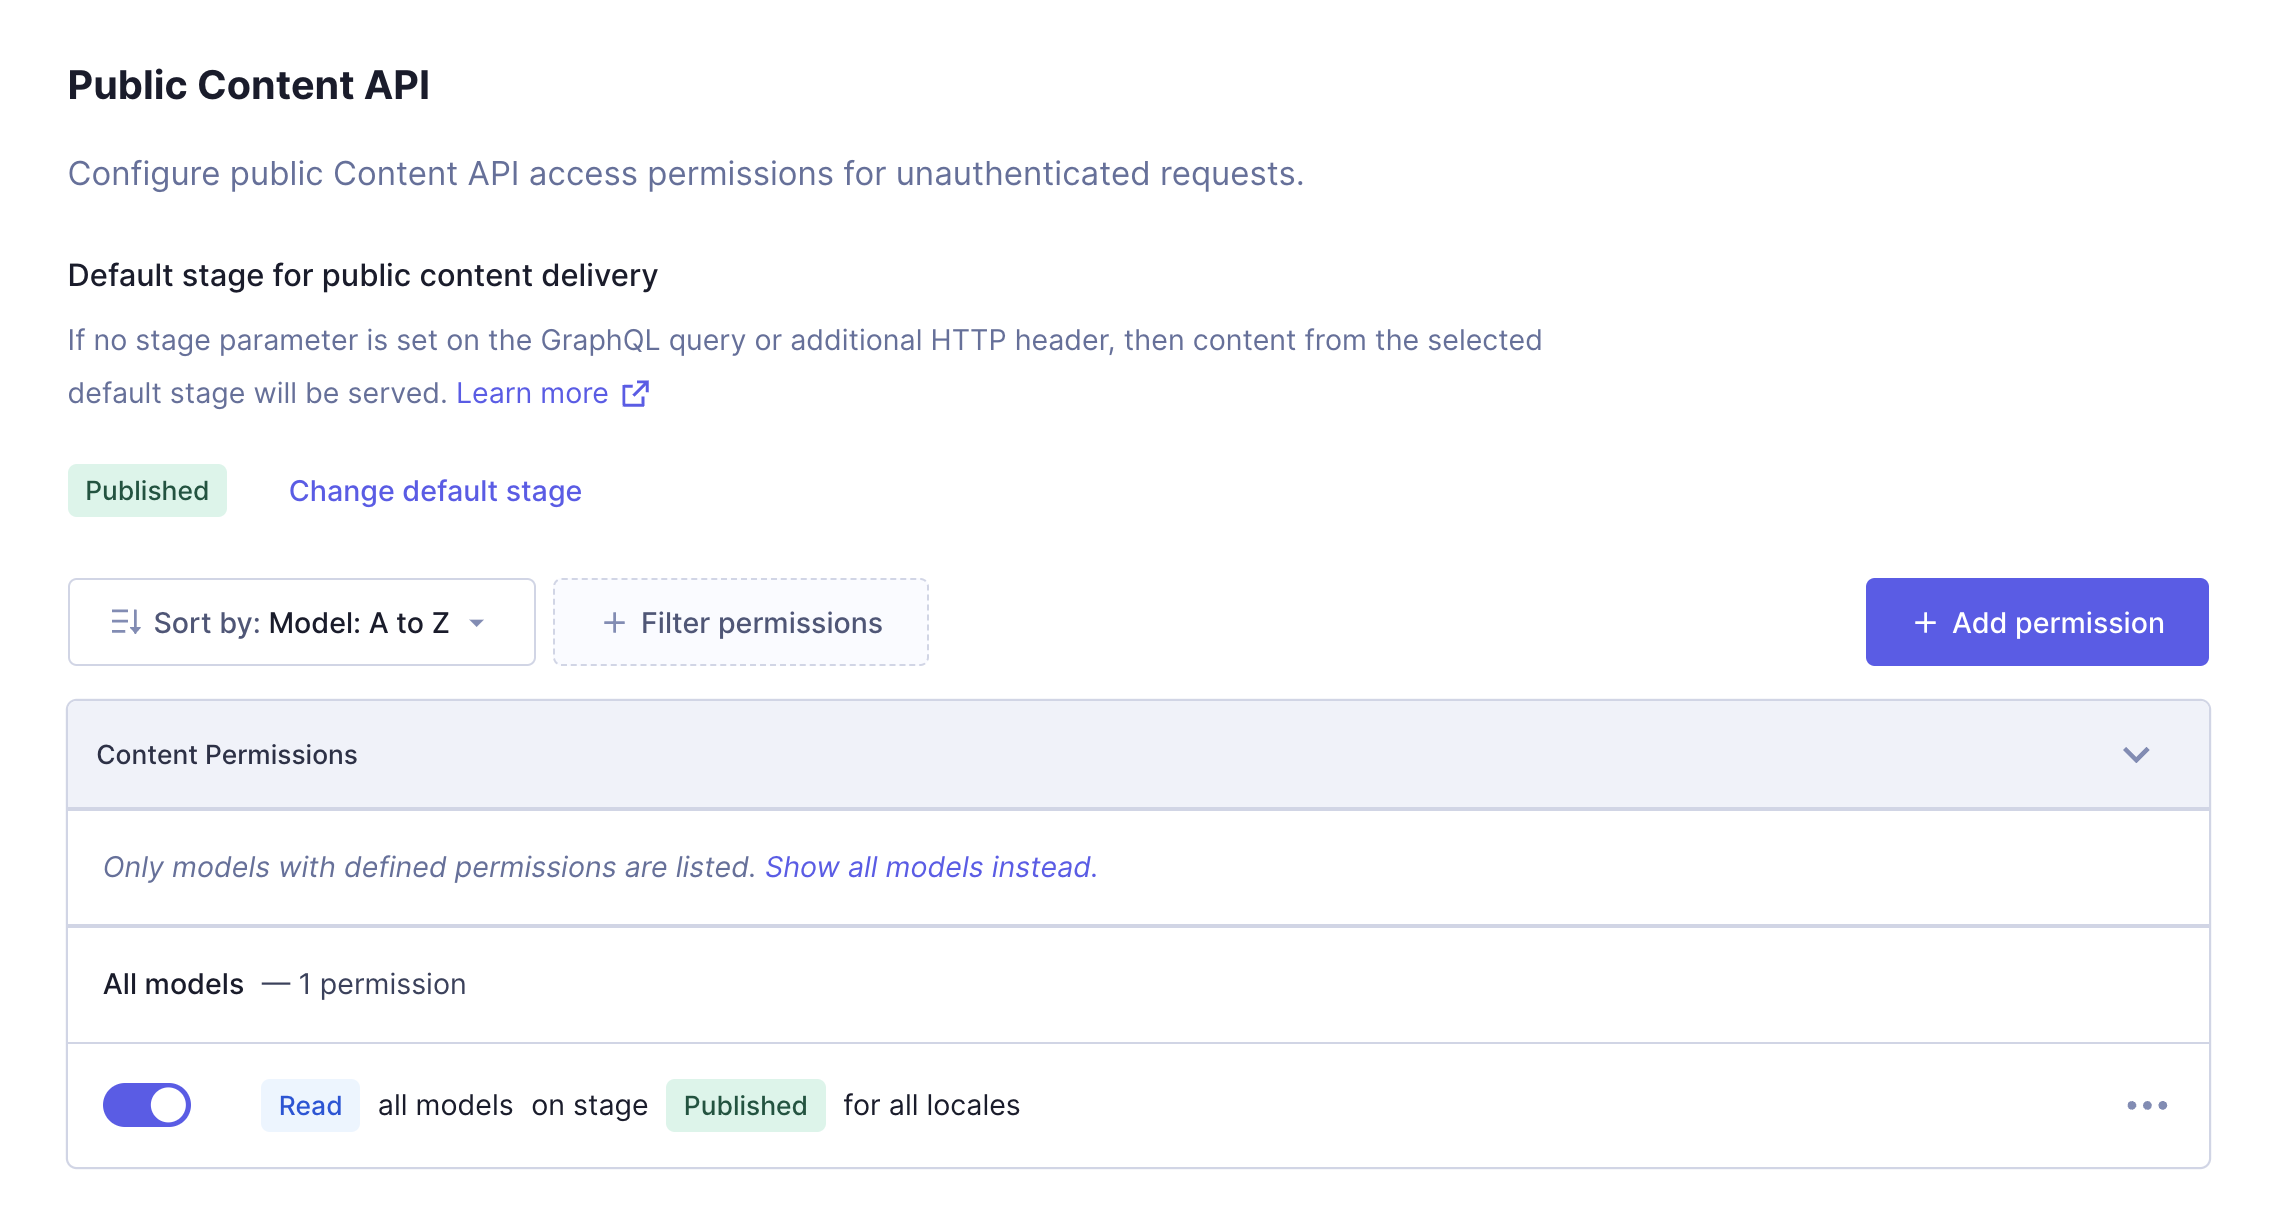 Content permissions
If no stage parameter is set on the GraphQL query or additional HTTP header, then content from the selected default stage will be served.
#Permanent Auth Token
Next, we need to configure tokens for permanent authorization for the content and management API. To do this, we will scroll down a bit from where we just initialized our Public Content API permissions to the Permanent Auth Tokens section.
We'll click on the + Add token button to display the Add token screen, and we'll write “Draft content” in the Token name field. We'll select DRAFT as our default stage for content delivery using the radio buttons, and we'll click Add & configure permissions to create our token.
Right after creating the token, the API Access screen for that token will display. It contains our Token name & Value, and the permissions for that token.
We'll scroll down to the Content API section, and we'll click Yes, initialize defaults - like we did for our Public Content API. This will configure Content API access permissions for requests sent using this token.
The content permissions box now looks like this:
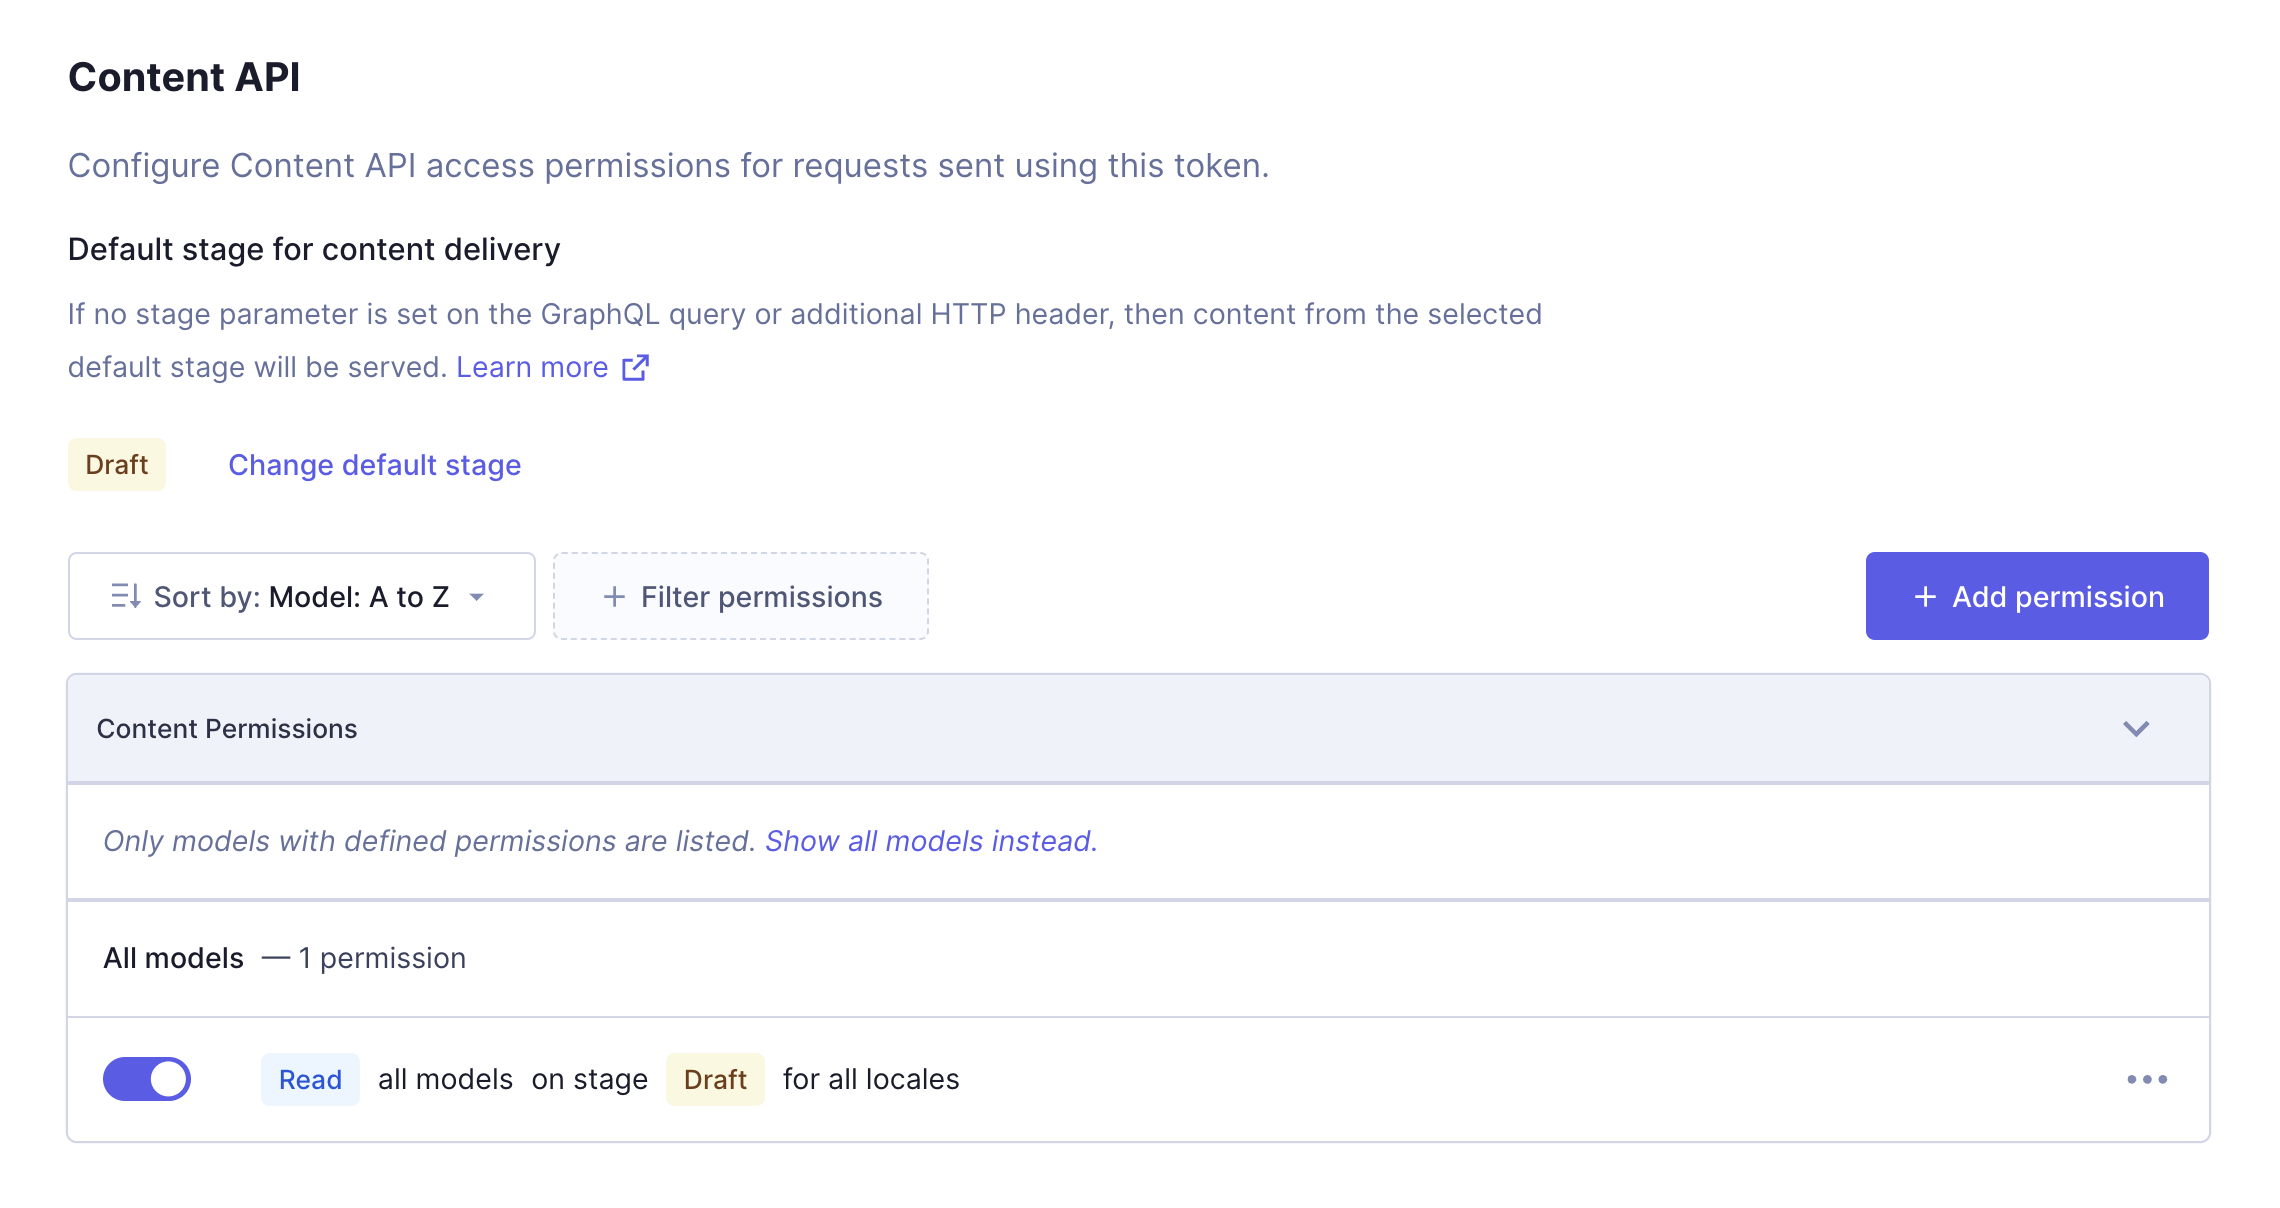 Initialized permissions
If no stage parameter is set on the GraphQL query or additional HTTP header, then content from the selected default stage will be served.
#Connecting Hygraph to Next
Now that we've initialized permissions, copy the file .env.sample in the root of your project and rename it to .env.local and add the variable HYGRAPH_ENDPOINT.
This will be where we paste the endpoint URL we copied from Hygraph:
HYGRAPH_ENDPOINT=YOUR-URL-HERE
Once, we initialize the app, our storefront will be available in the browser at http://localhost:3000/.
#Copy the "Draft content" token
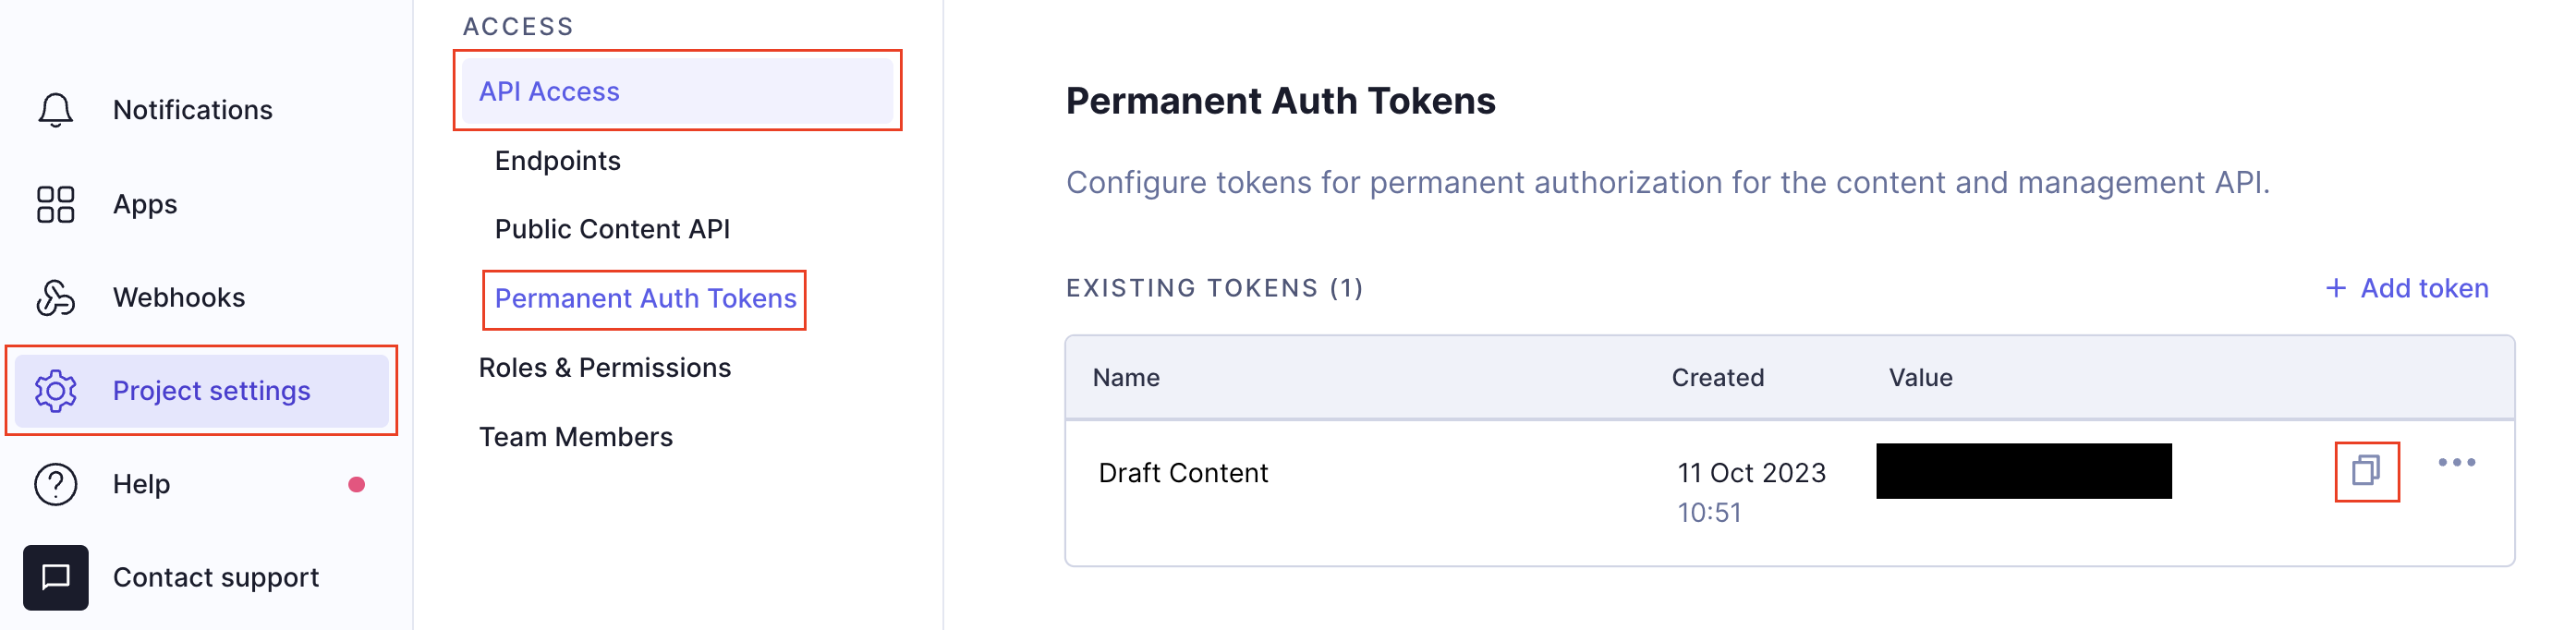 Copy the DRAFT content token
Copy the "Draft content" token we created earlier and add it to your .env.local file as HYGRAPH_DEV_AUTH_TOKEN. This token will allow us to gain access to saved content, so that we can preview it before we publish.
Your .env.local file should look like this:
HYGRAPH_DEV_AUTH_TOKEN=(<put_your_draft_token_HERE>)
#Overview of the Starter
The e-commerce starter contains frontend components to create landing pages, product pages along with components to render navigation, CTA, and reviews. While we will not focus on the details of the frontend code, spend some time getting to know your project in your code editor, where key code elements are located in the app directory, and viewing the storefront in your browser.
The GraphQL queries we created in the API Playground are used by Next.js 13's app directory to create dynamic routes such as product and landing pages for our store front.
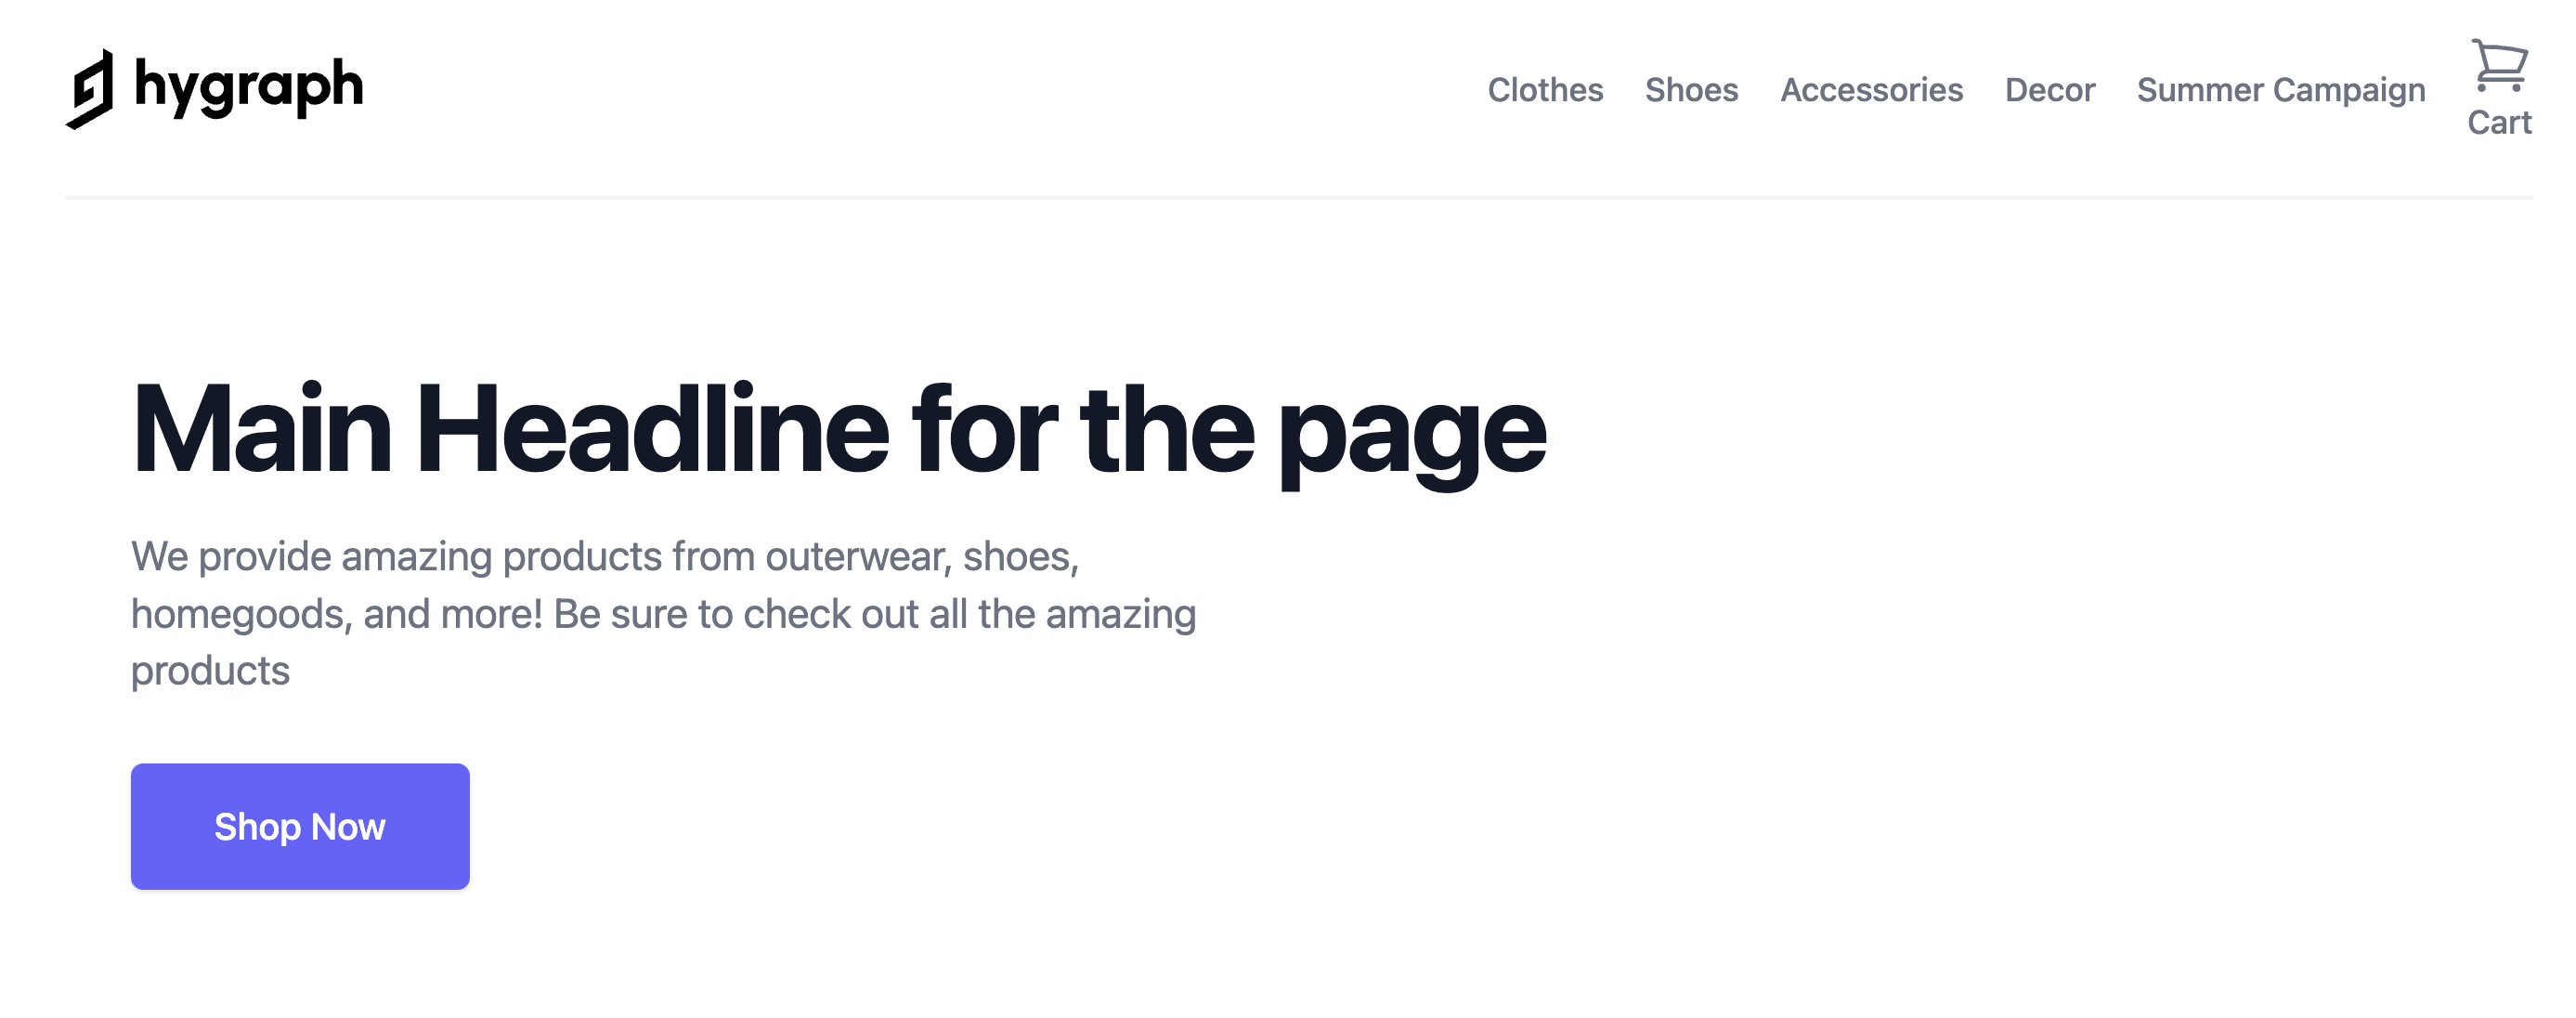 Starter homepage
Great work! We have a Hygraph project that is not connected to a storefront built with Next 13 and Tailwind CSS. Next, we will configure a preview URL so that we can preview Product pages before they are published.
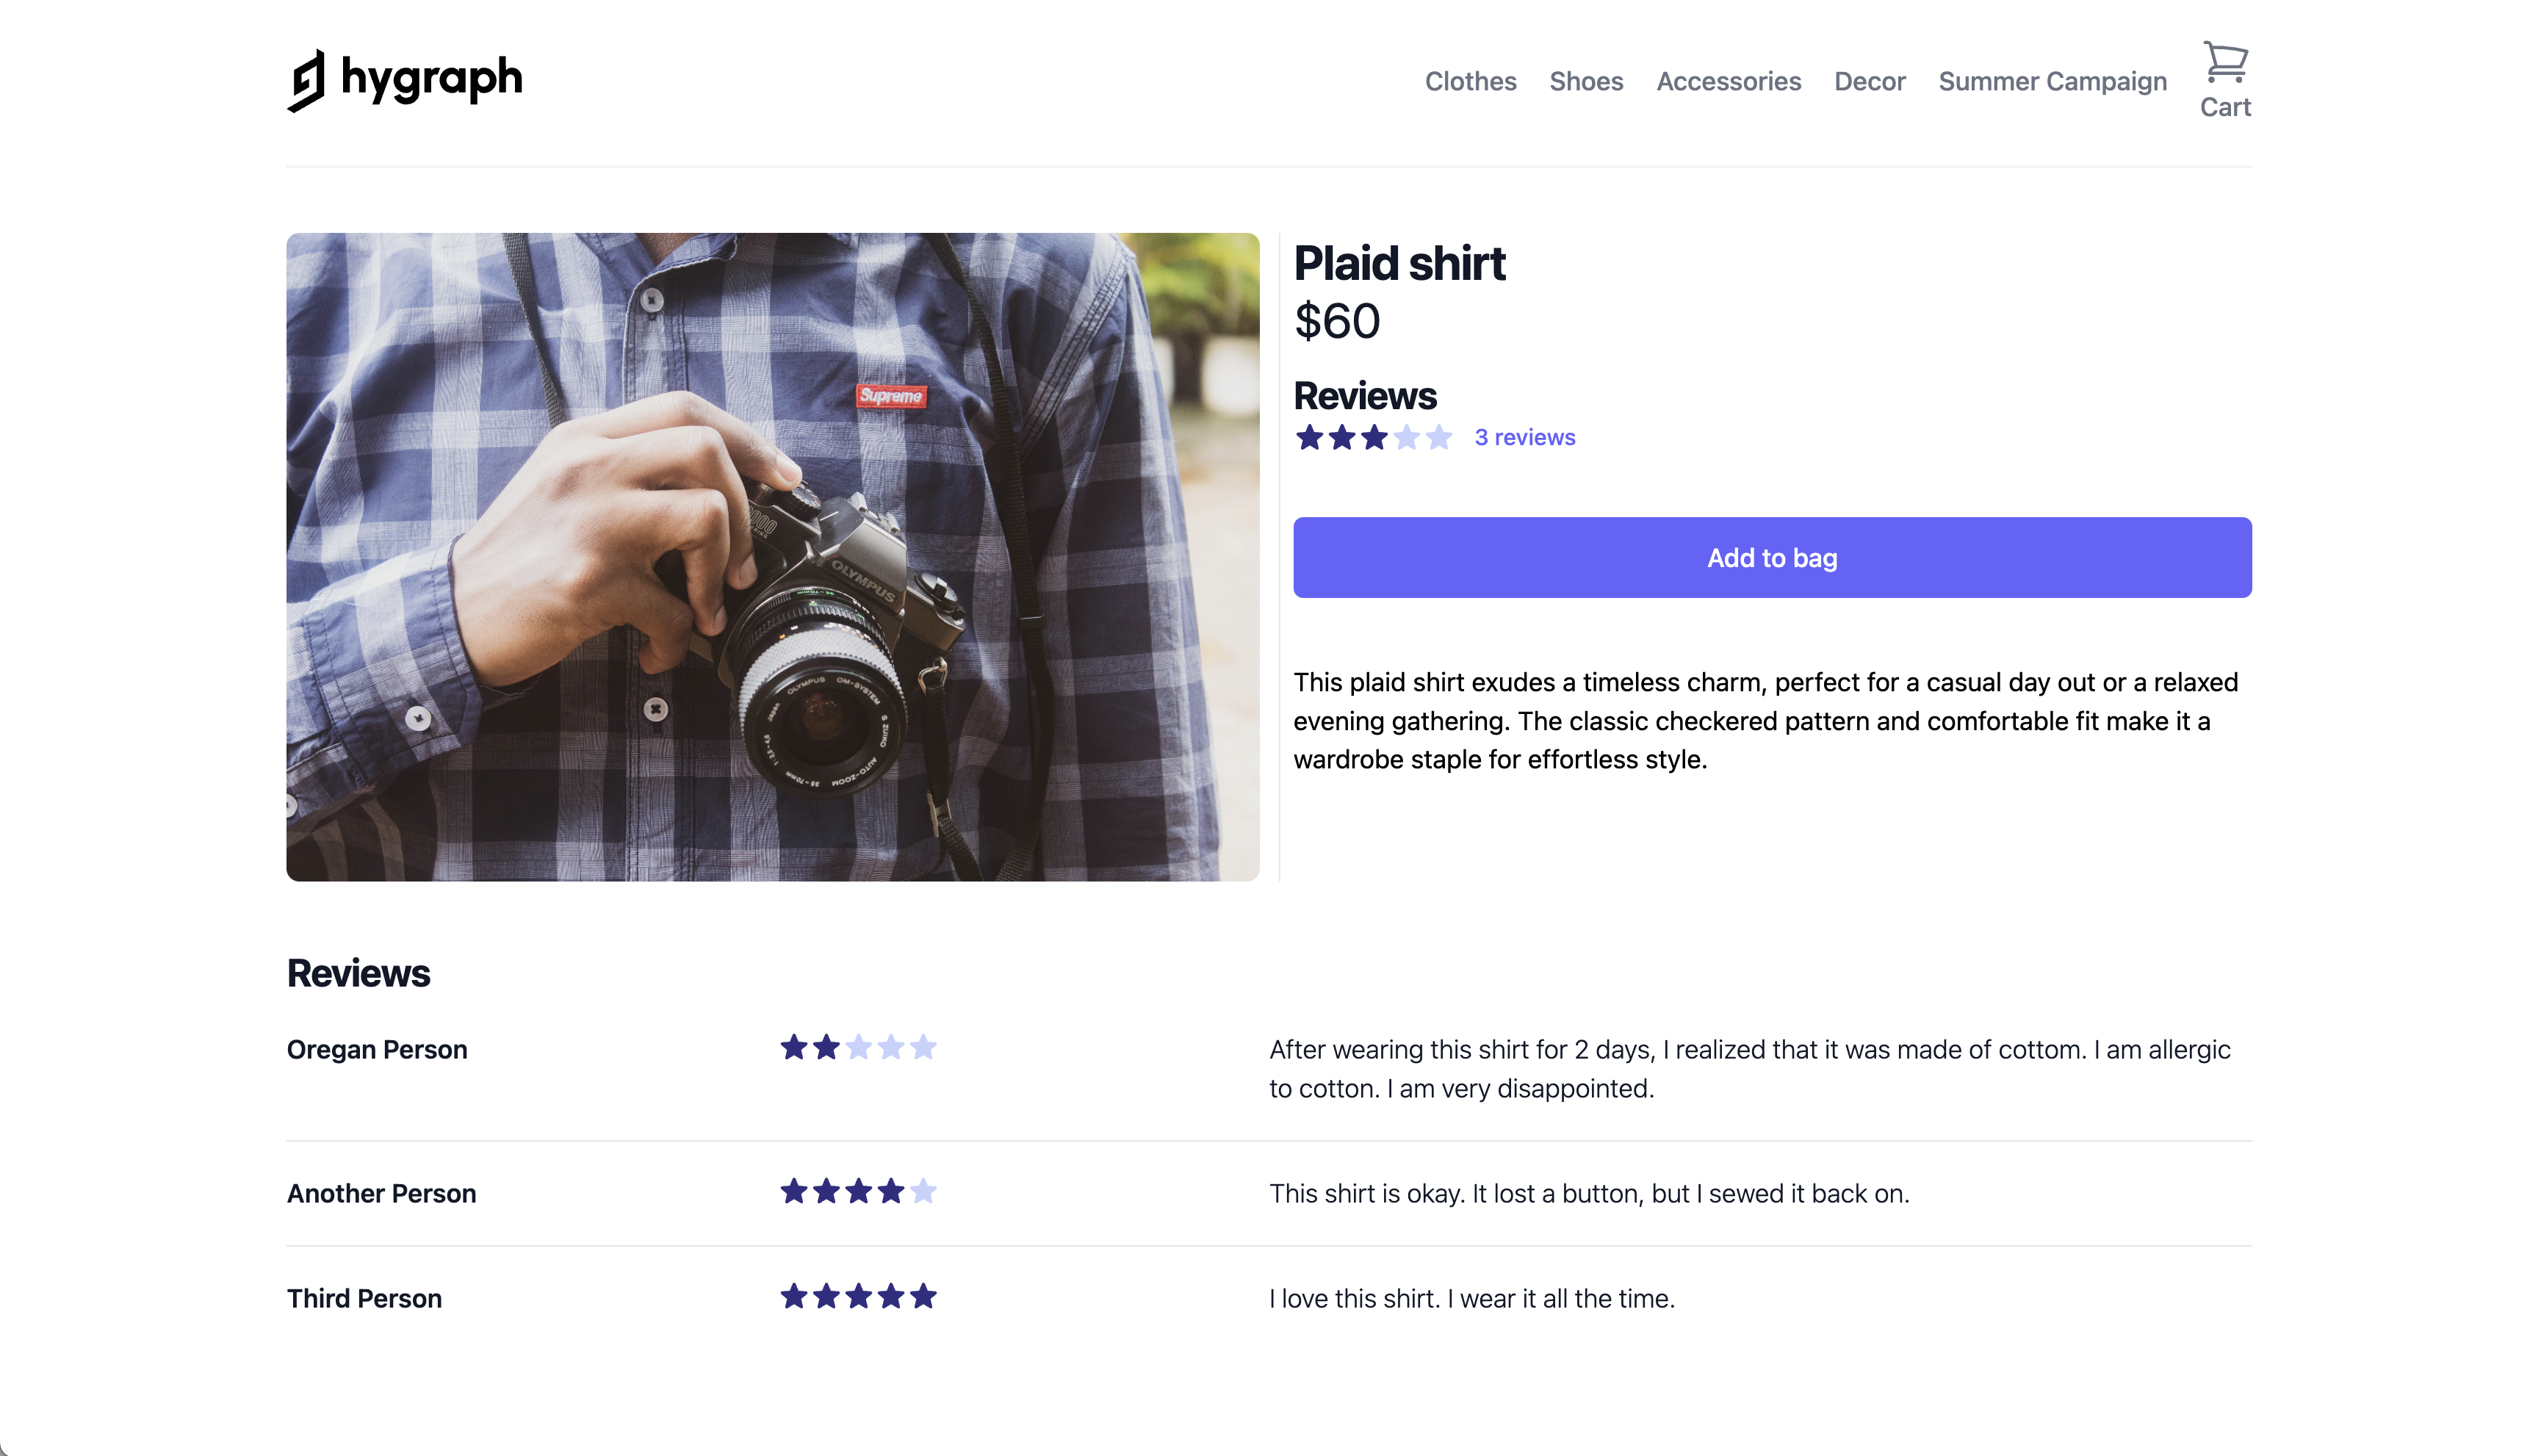 Product page
Once you've connected your storefront to your Hygraph project, move on to our next lesson:
7.3 Creating a preview URL